Bright Authentication Recorder
Bright’s authentication recorder is a simple utility that assists practitioners in setting the authentication object for the scanning flow. The idea is to start a recording session in the background. The user performs a regular login flow, and Bright captures all actions in the background to be re-played later during the scan automation. Below are the details of how to perform this activity.
To record your login session, follow these steps:
-
Open the Authentications tab on the left menu and click +Create authentication:

-
Specify the required details: enter your Authentication name (this name aims to provide context when selected later while defining a discovery or a scan). Select a Project from the available projects and a Reapeater, if needed:
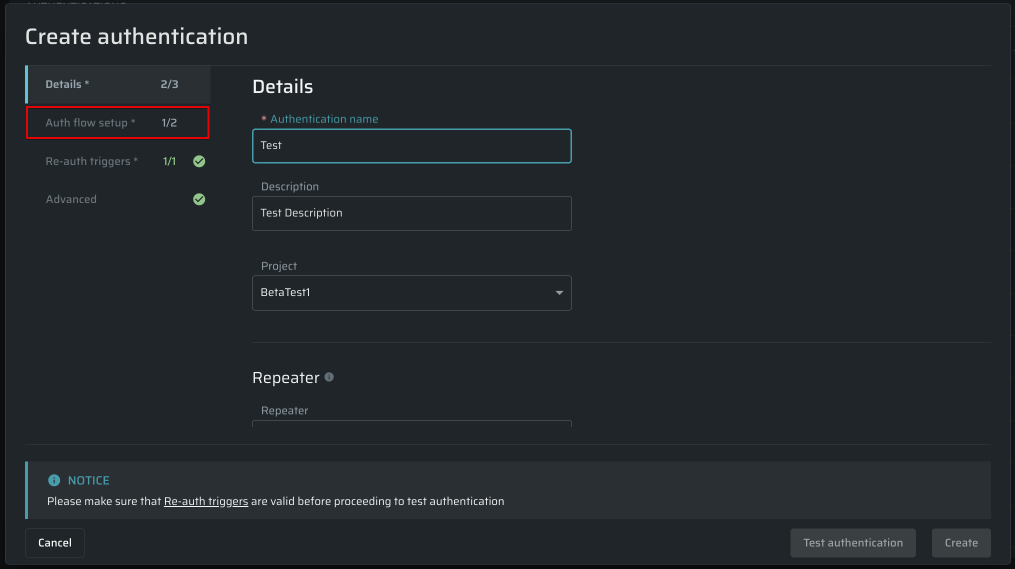
-
Enter the target's address in the Protected resource details section to proceed:
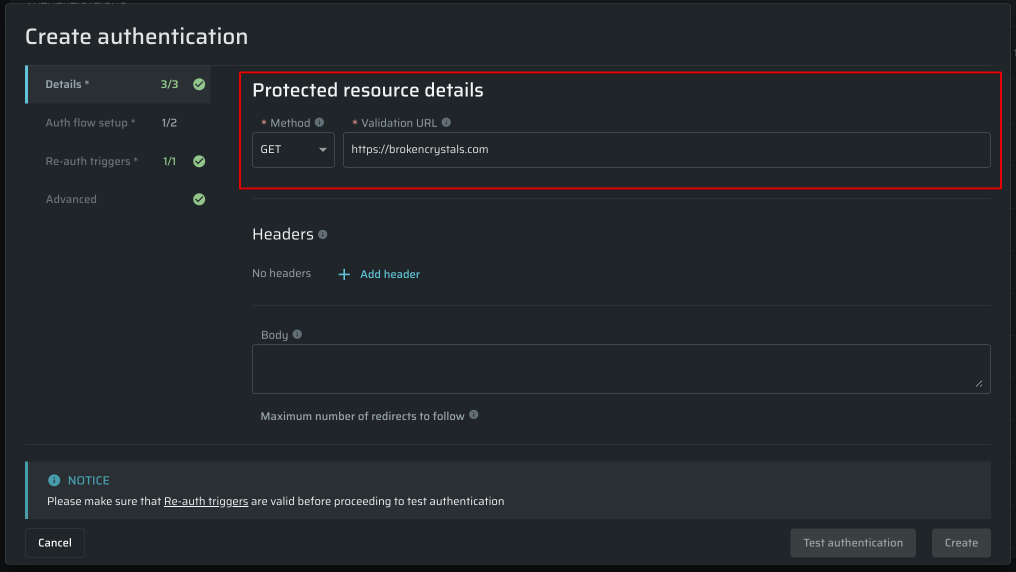
-
Select the next tab in the flow called Auth flow setup. In the Authentication type field, select the Recorded browser-based form authentication:
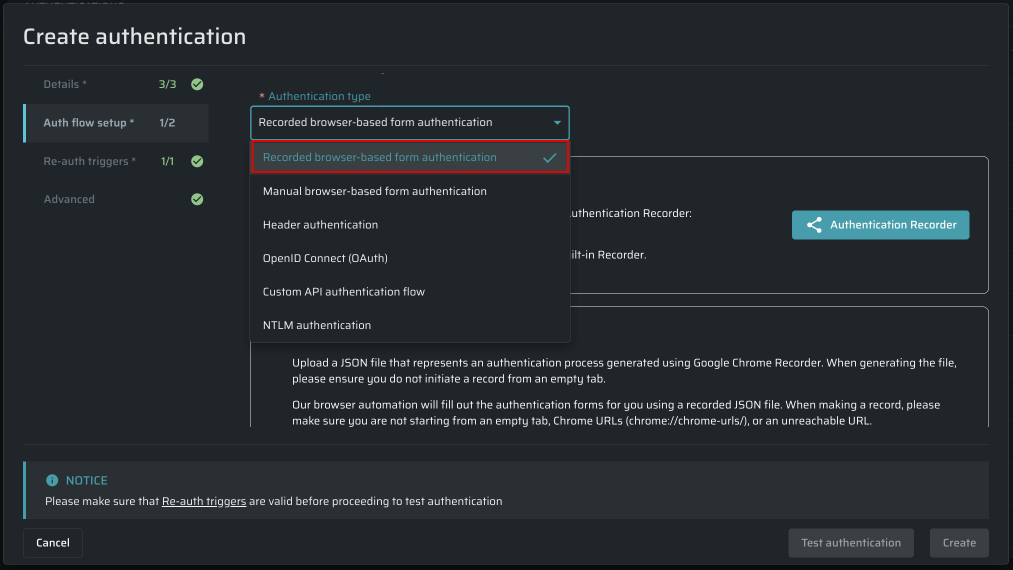
-
Select the Record with Bright option and click the Authentication Recorder button:
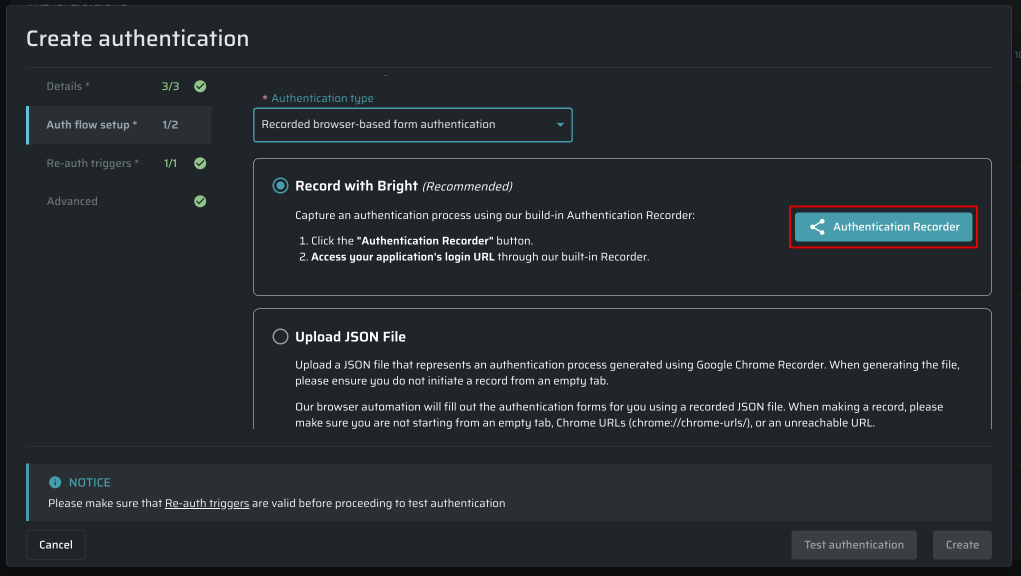 Note
NoteWhen you first run Authentication Recorder, your browser may request permission to access your clipboard. Grant the permission to proceed.
-
After the Authentication Recorder is started, you'll see a browser window:
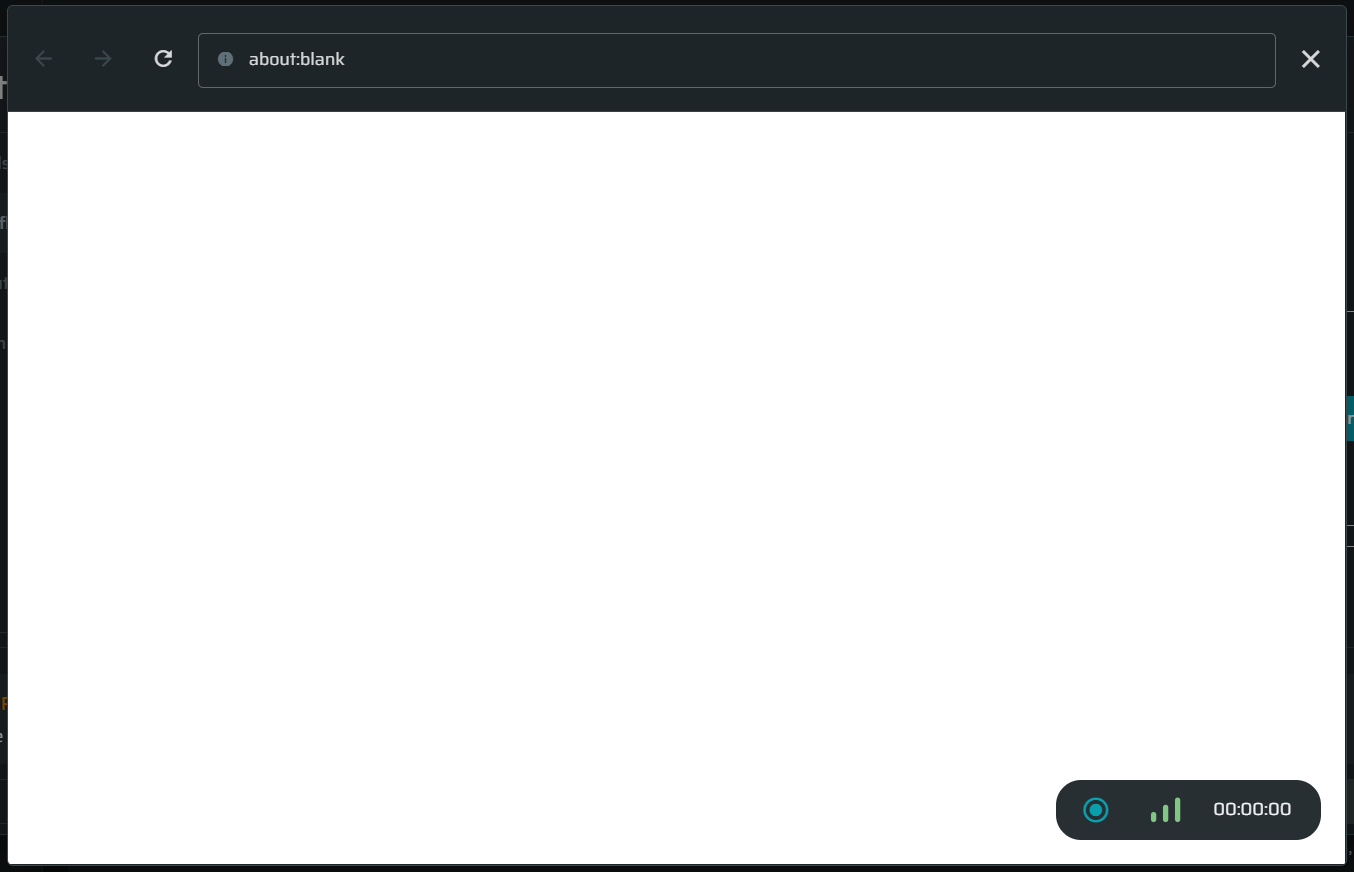
The navigation is simple as in any other browser: use the address bar to access web pages, the arrows to go forward and backward, and the reload button to refresh the page.
The recording does NOT start automatically when the browser window appears. -
Click the Recording button to start the recording. Perform the required login steps of the authentication process.
-
After finishing the authentication process, click the Save button to stop and save the recording.

-
Once the saving is done, close the recorder window the recording will be attached to the authentication:
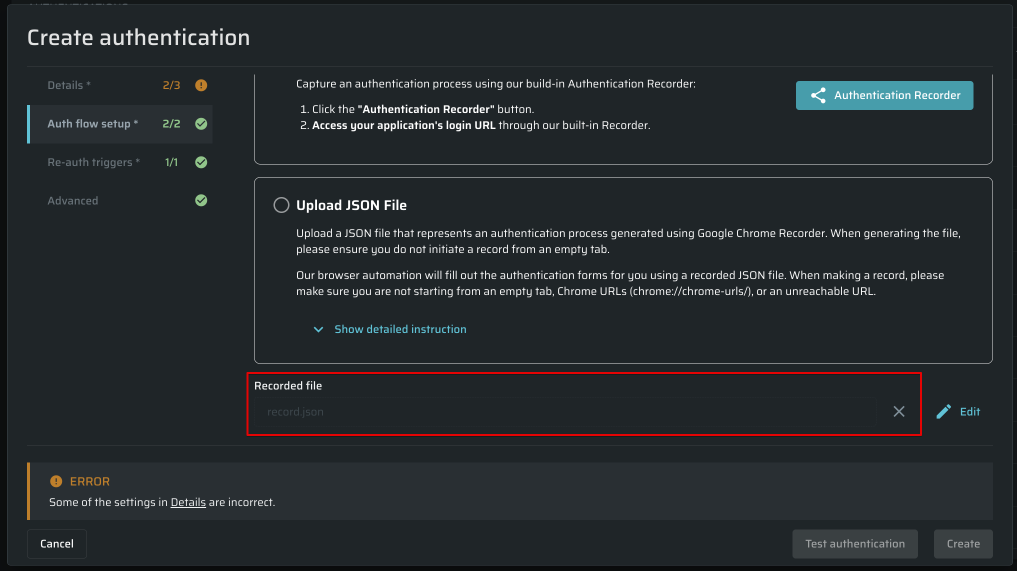
To learn about how to edit or delete the recorded session, see the article.
Updated 6 months ago