Configuring NTLM Authentication
Before following the instructions below, ensure that your application and authenticated resources are accessible to the Bright engine, either directly from the Internet or via the Repeater.
If the target network uses the NTLM protocol to verify the user’s access rights, you need to set up an NTLM authentication object. The protocol requires a user to be authenticated by providing a username and a corresponding password. After the user’s log-in credentials are recognized, the network can check access rights and allow the user to enter.
Important:If using a Repeater, add
--ntlmflag to keep an open connection between a Repeater and the target. To learn more about Command Language Syntax, see the article.
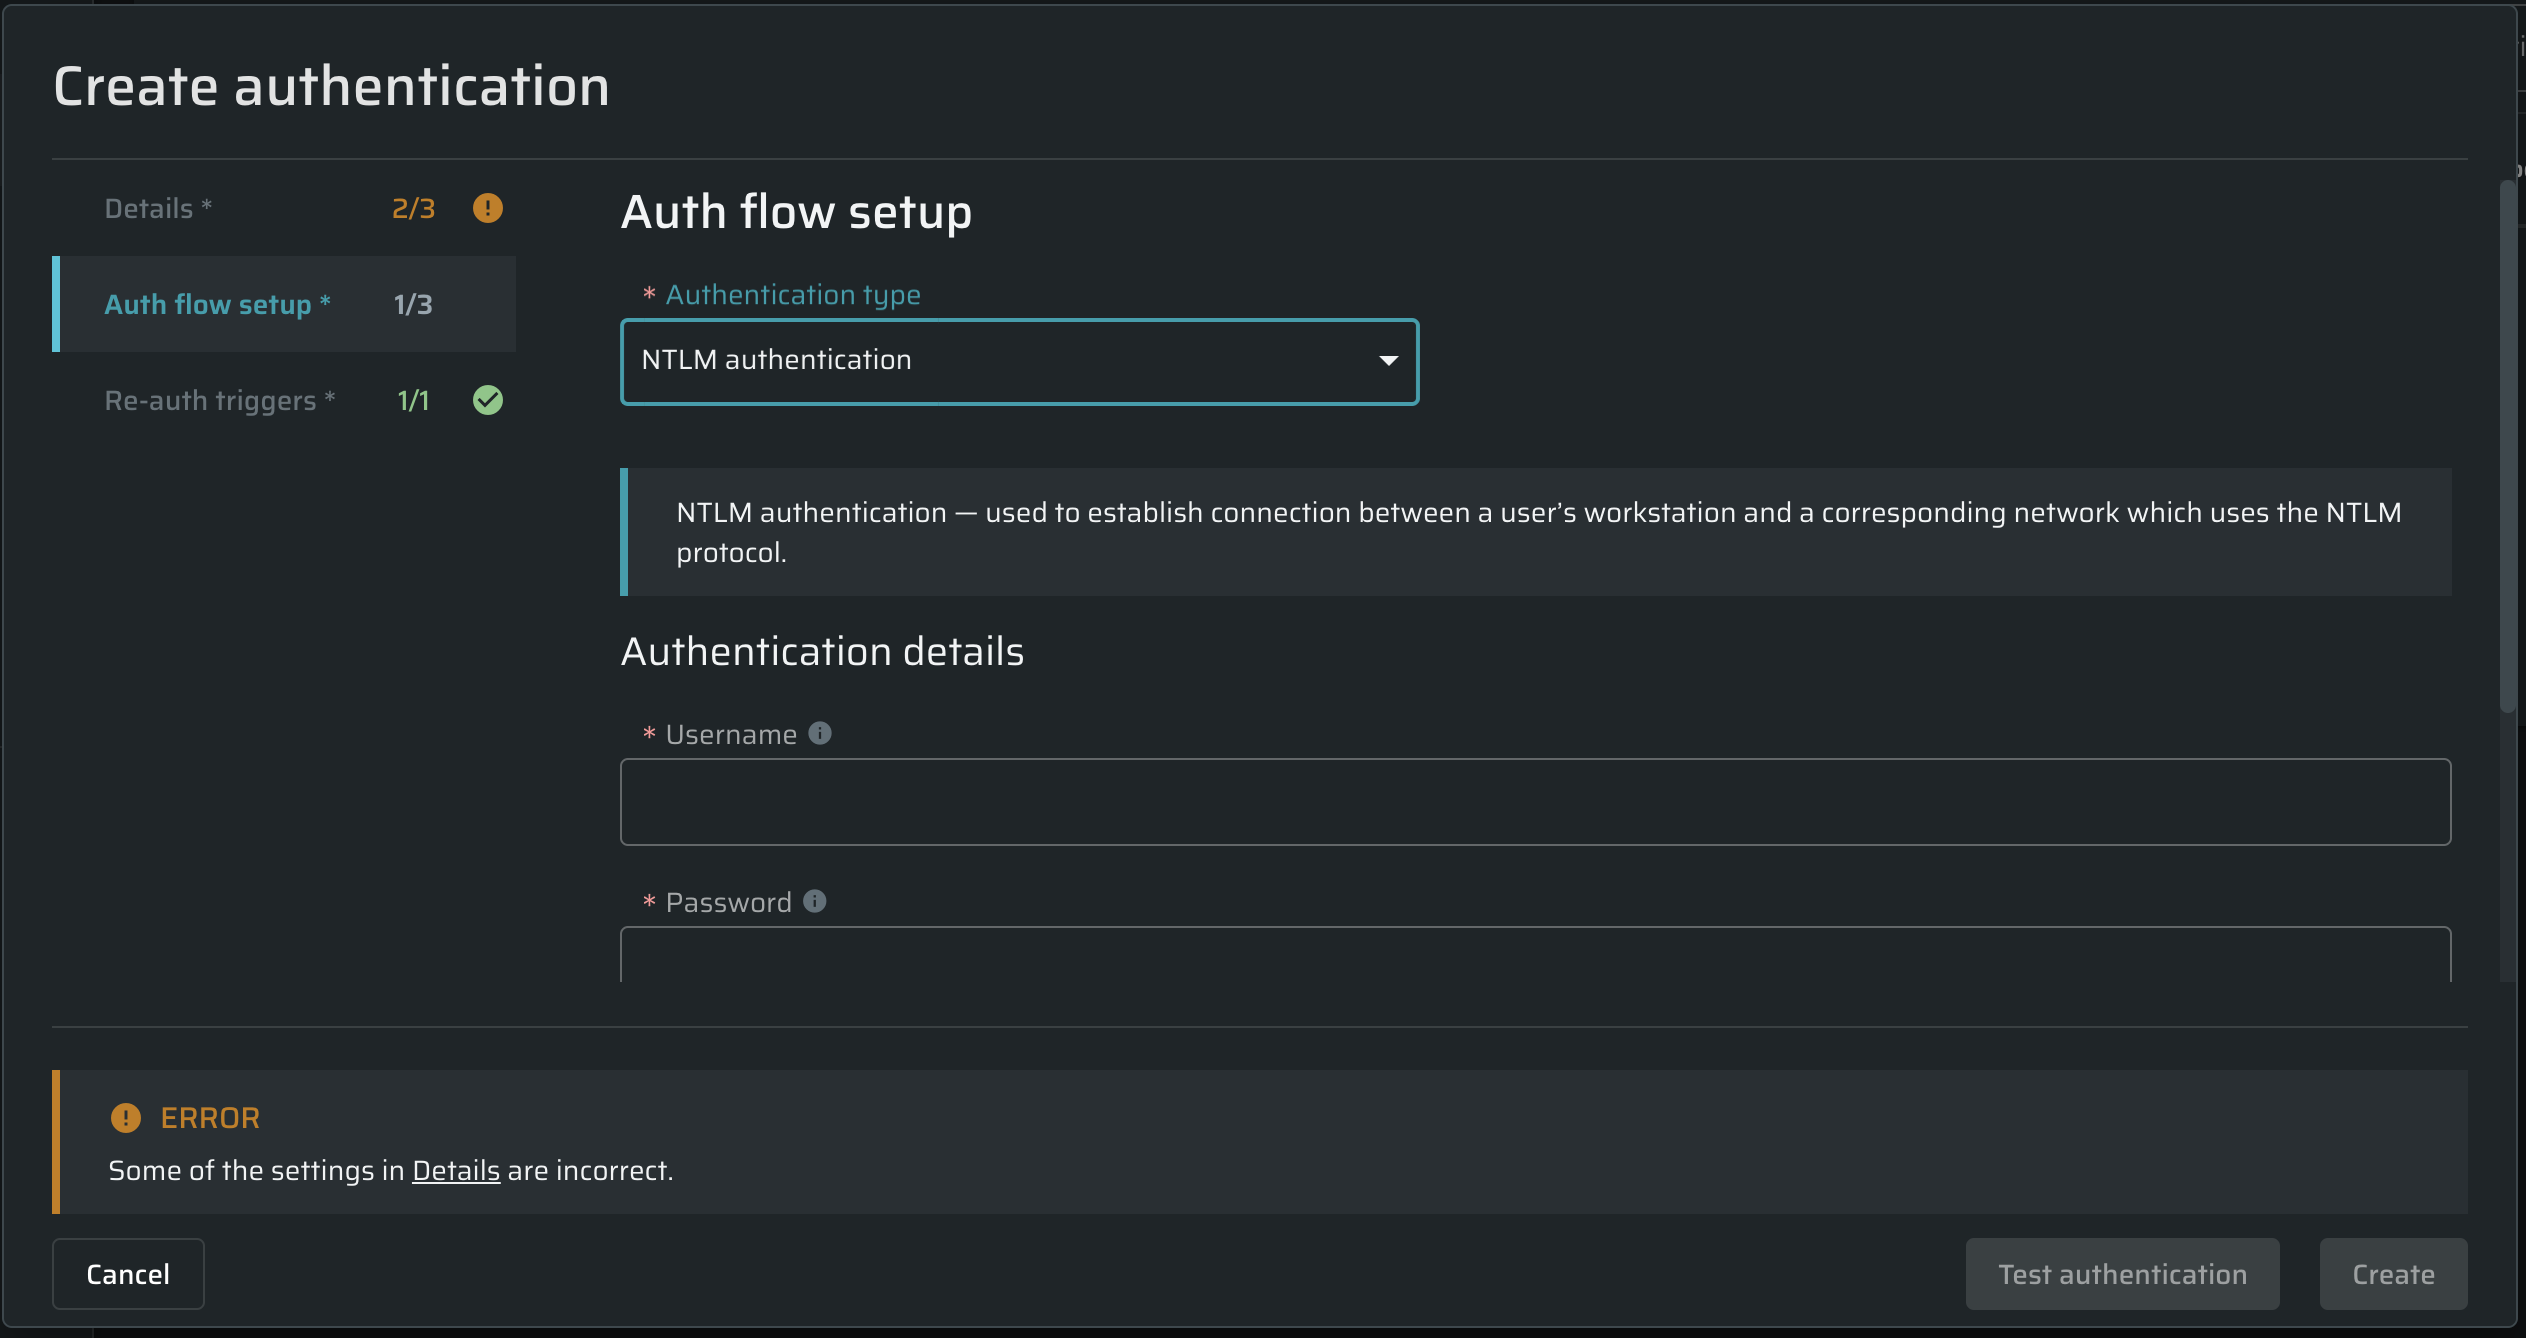
From the Authentication type dropdown list, select NTLM authentication, and then proceed to the authentication details.
Authentication details
In this section, complete the provided fields to set up a valid authentication request for the end-point API.
| Field | Guidelines |
|---|---|
| Username | Enter the username. |
| Password | Enter the password. |
| Domain | (Optional): Enter the domain of the NTLM network you need to get access to. |
| Workstation | (Optional): Enter your workstation name, for example, a computer name. The maximum length of a workstation name is 64 characters. |
Updated 4 months ago