Azure AD: Identity Provider initiated SSO
In an Identity Provider (IdP) initiated login, a user gains access to the IdP site (Azure AD) first and then clicks on the service provided by the remote Service Provider (Bright). After the user selects the required service, the IdP initiates the authentication process.
Configuration (Bright app)
Open the Bright app and do the following:
-
Log in to the Bright app.
-
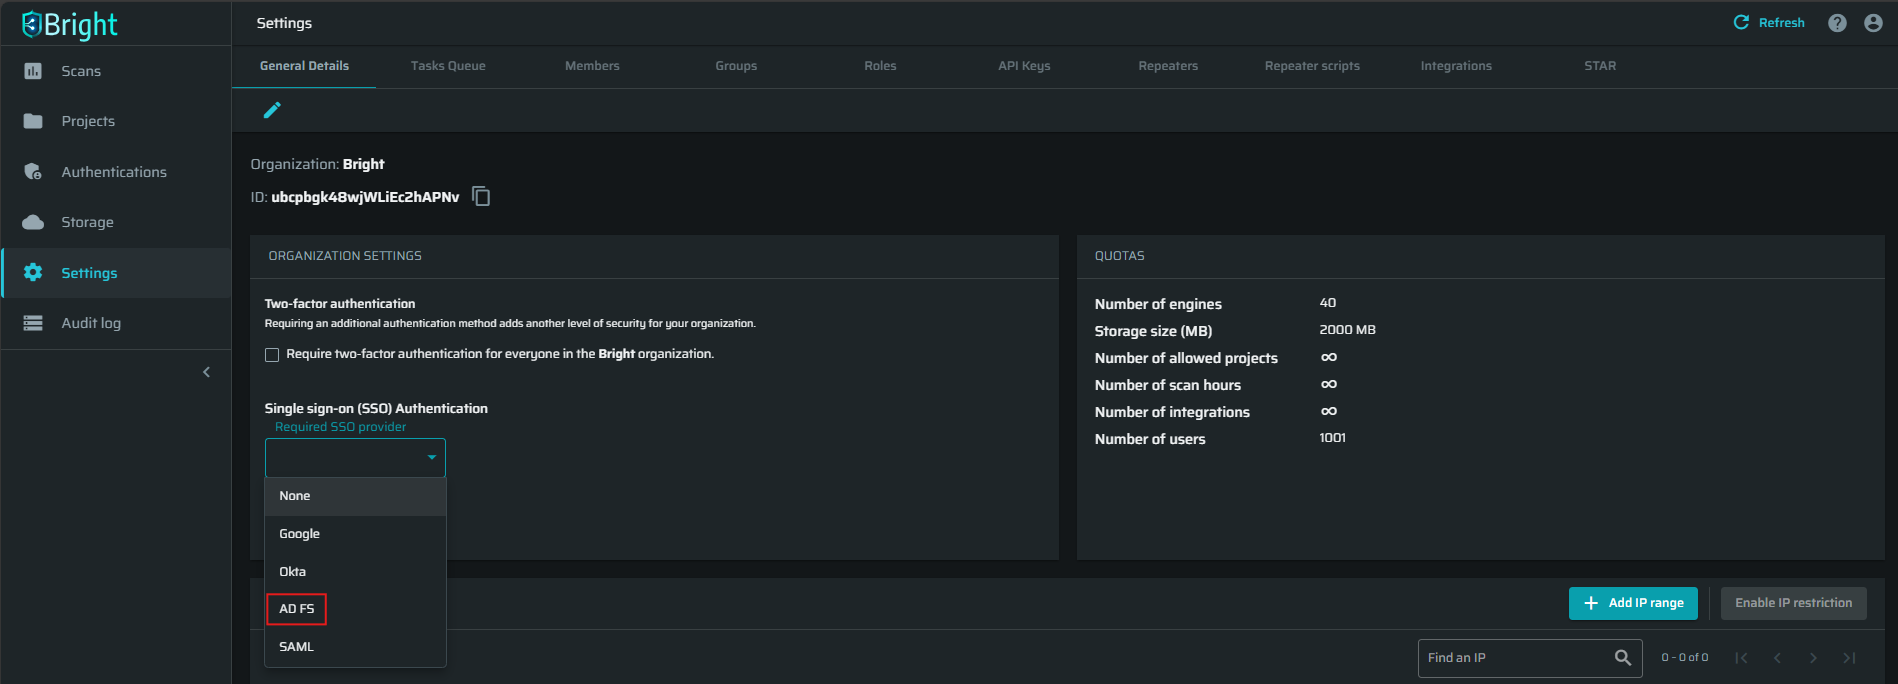
In the left pane, select the Settings option.
-
At the ORGANIZATION SETTINGS section, open the Single sign on (SSO) Authentication dropdown list, select AD FS, and then click Connect.
-
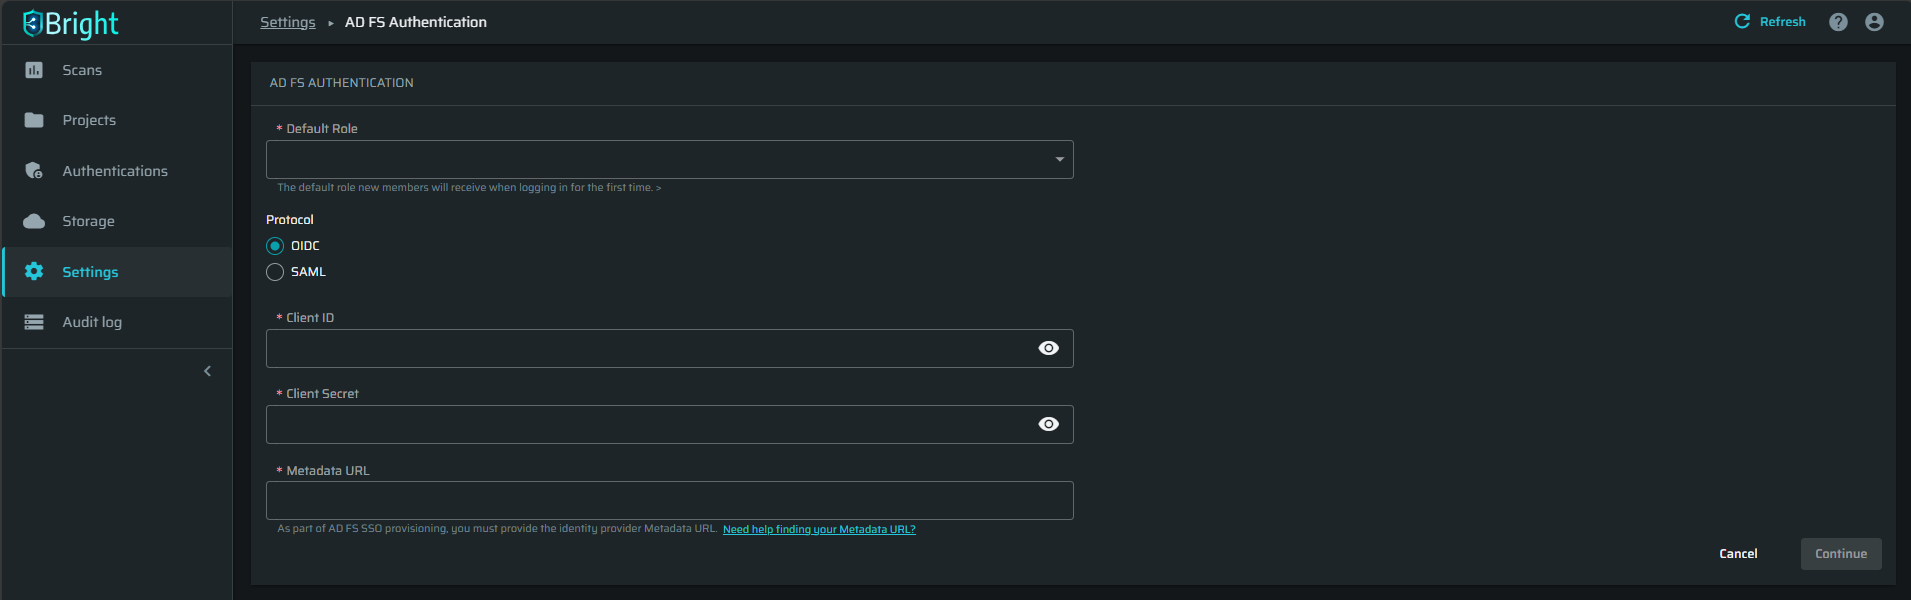
Fill in the AD FS Authentication fields with the credentials copied in Azure AD, and then click Continue.
-
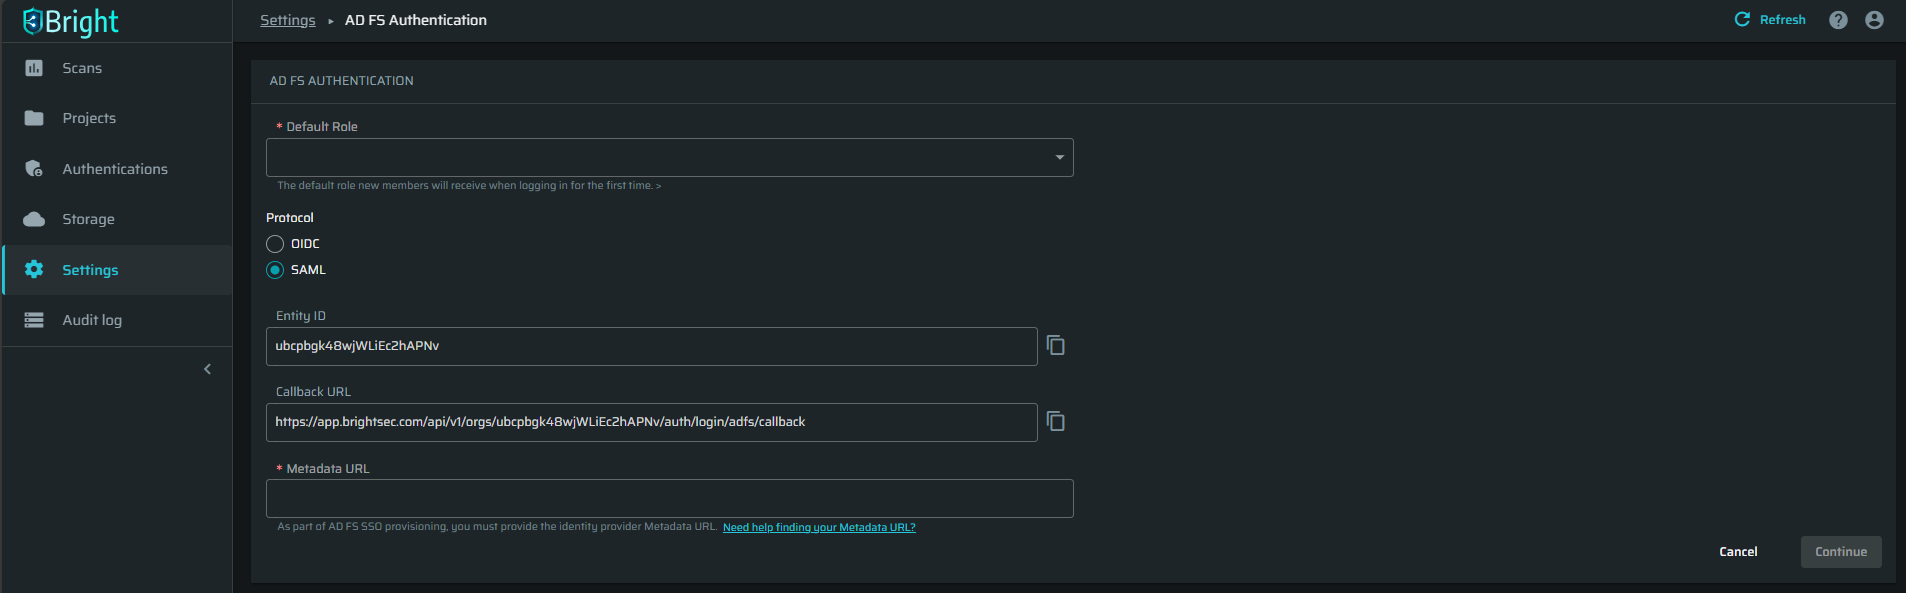
Select the SAML protocol and fill in the fields: Default Role and Metadata URL.
-
Copy the Entity ID and Callback URL properties to Azure on this step.
-
Provide Metadata URL that you copied from the Azure side on this step.
-
Click Continue to finish the integration process.
Configuration (Azure)
- Create the enterprise application; see details on how to create it here.
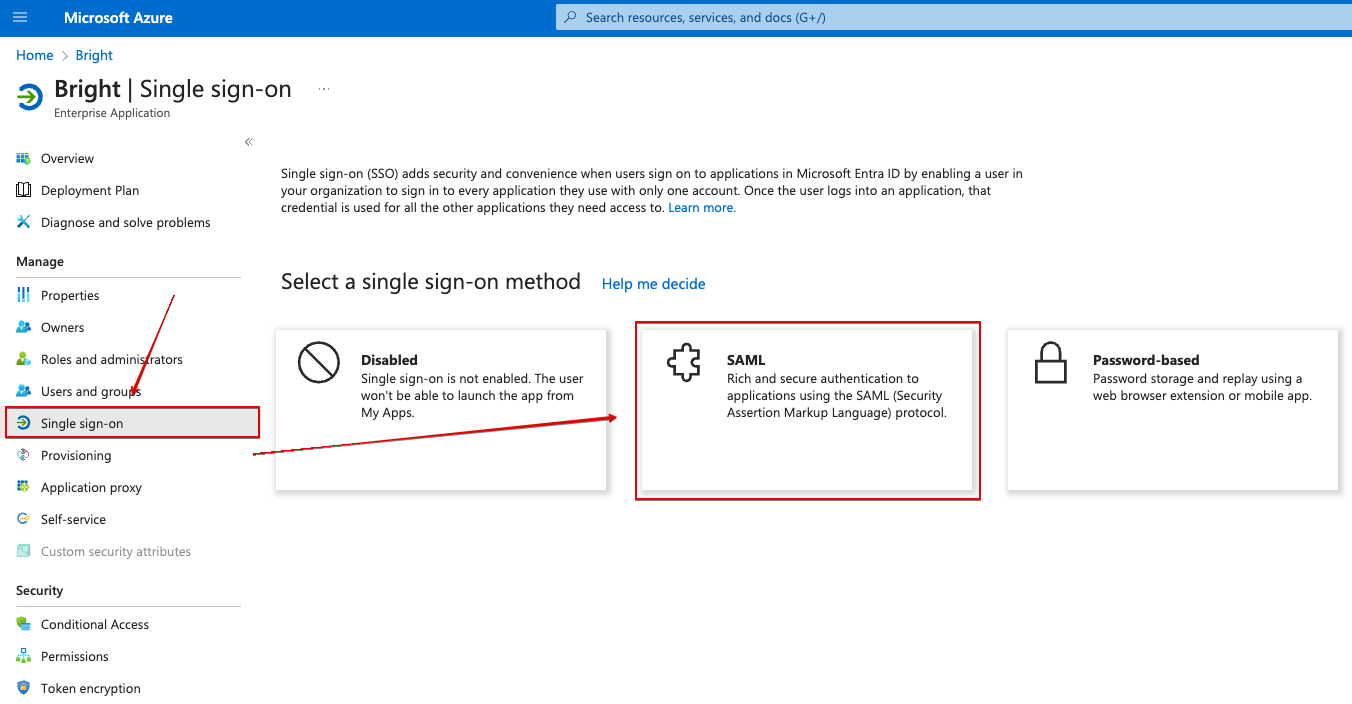
- To configure SSO for your application, go to Enterprise Application → Your application → Single sign-on → SAML
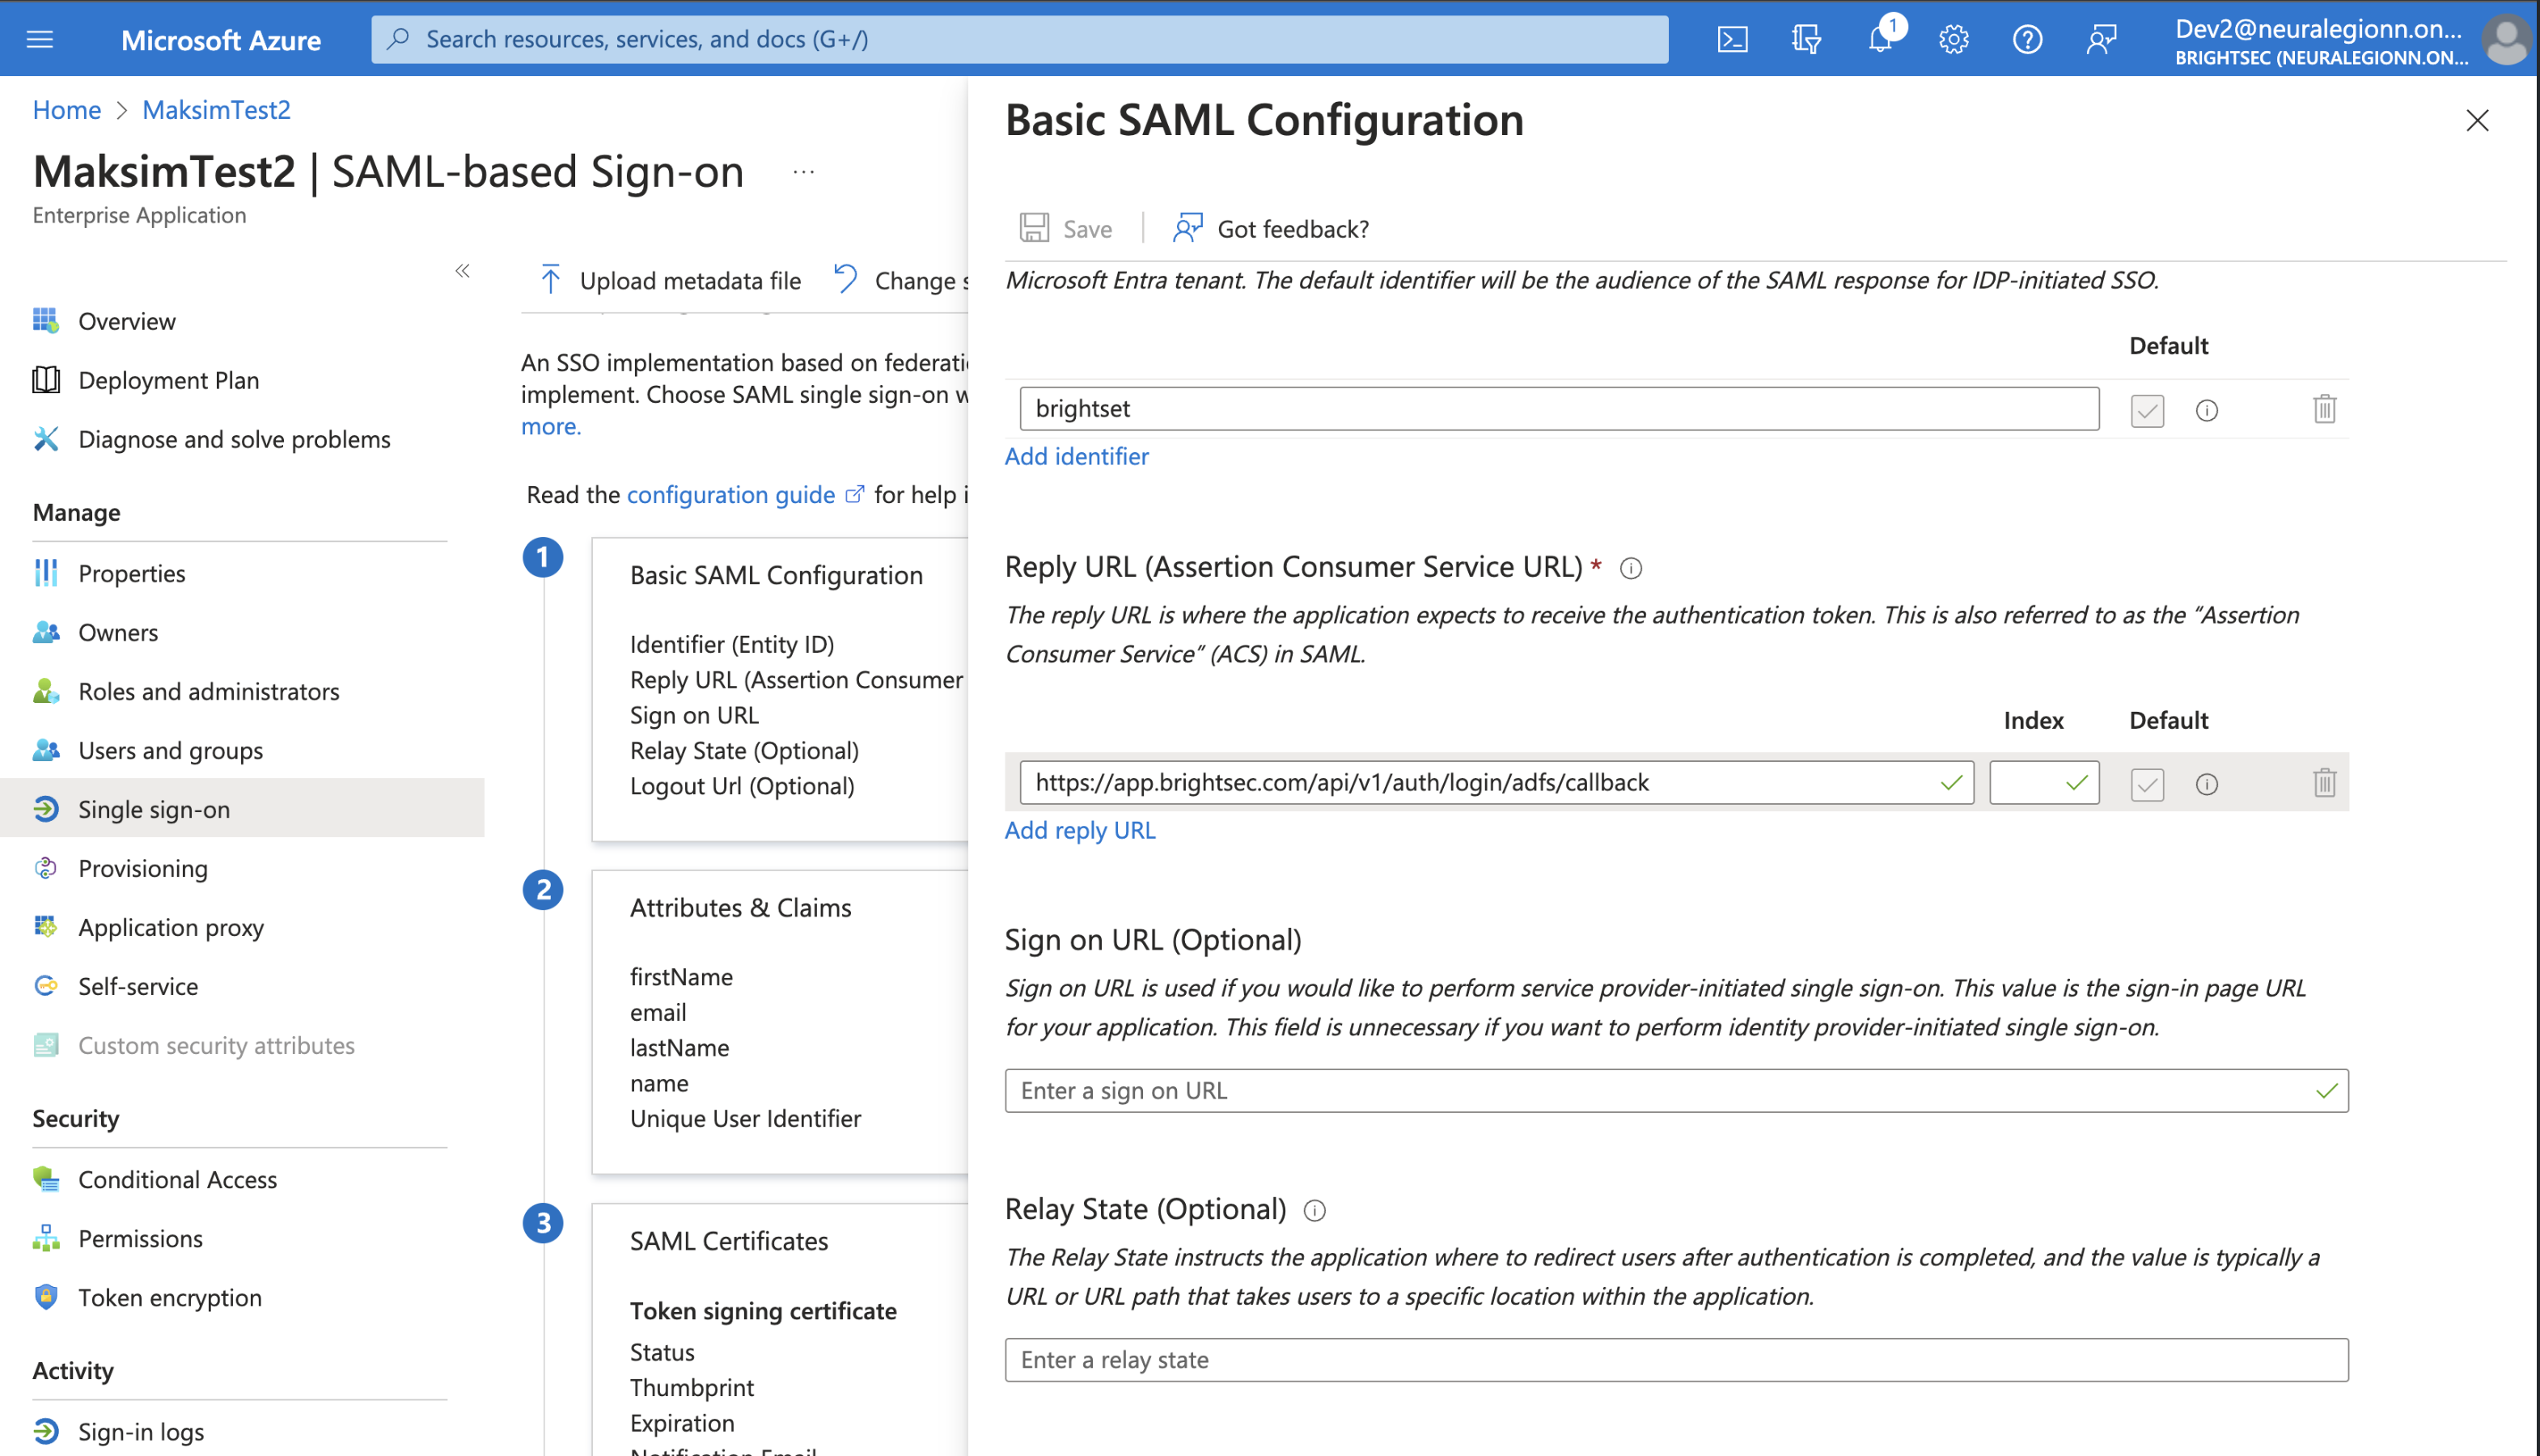
- Fill in the fields in Basic SAML Configuration section:
-
Entity ID - paste the Entity ID value you copied from Bright app on step 5
-
Reply URL - paste the Callback URL value you copied from Bright app on step 5
-
Sign on URL (Optional) - Use it if you want SP-Initiated login only (that means to use SAML sign-in only from Bright web UI, not from Microsoft My Apps), fill in this field with the value https://app.brightsec.com/sso, https://eu.brightsec.com/sso or https://your-cluster-name.brightsec.com/sso. Leave this field empty you if you want both IDP-Initiated and SP-Iniaited to work.
-
Attributes and Claims (Azure)
Open Attributes & Claims→ Additional Claims and provide the following data to each Claim name in the list to make your application compatible with Bright:
| Claim name | Type | Value |
|---|---|---|
| SAML | user.mail | |
| firstName | SAML | user.givenname |
| lastName | SAML | user.surname |
| name | SAML | user.principalname |
Here is an example of correctly provided data of one claim:
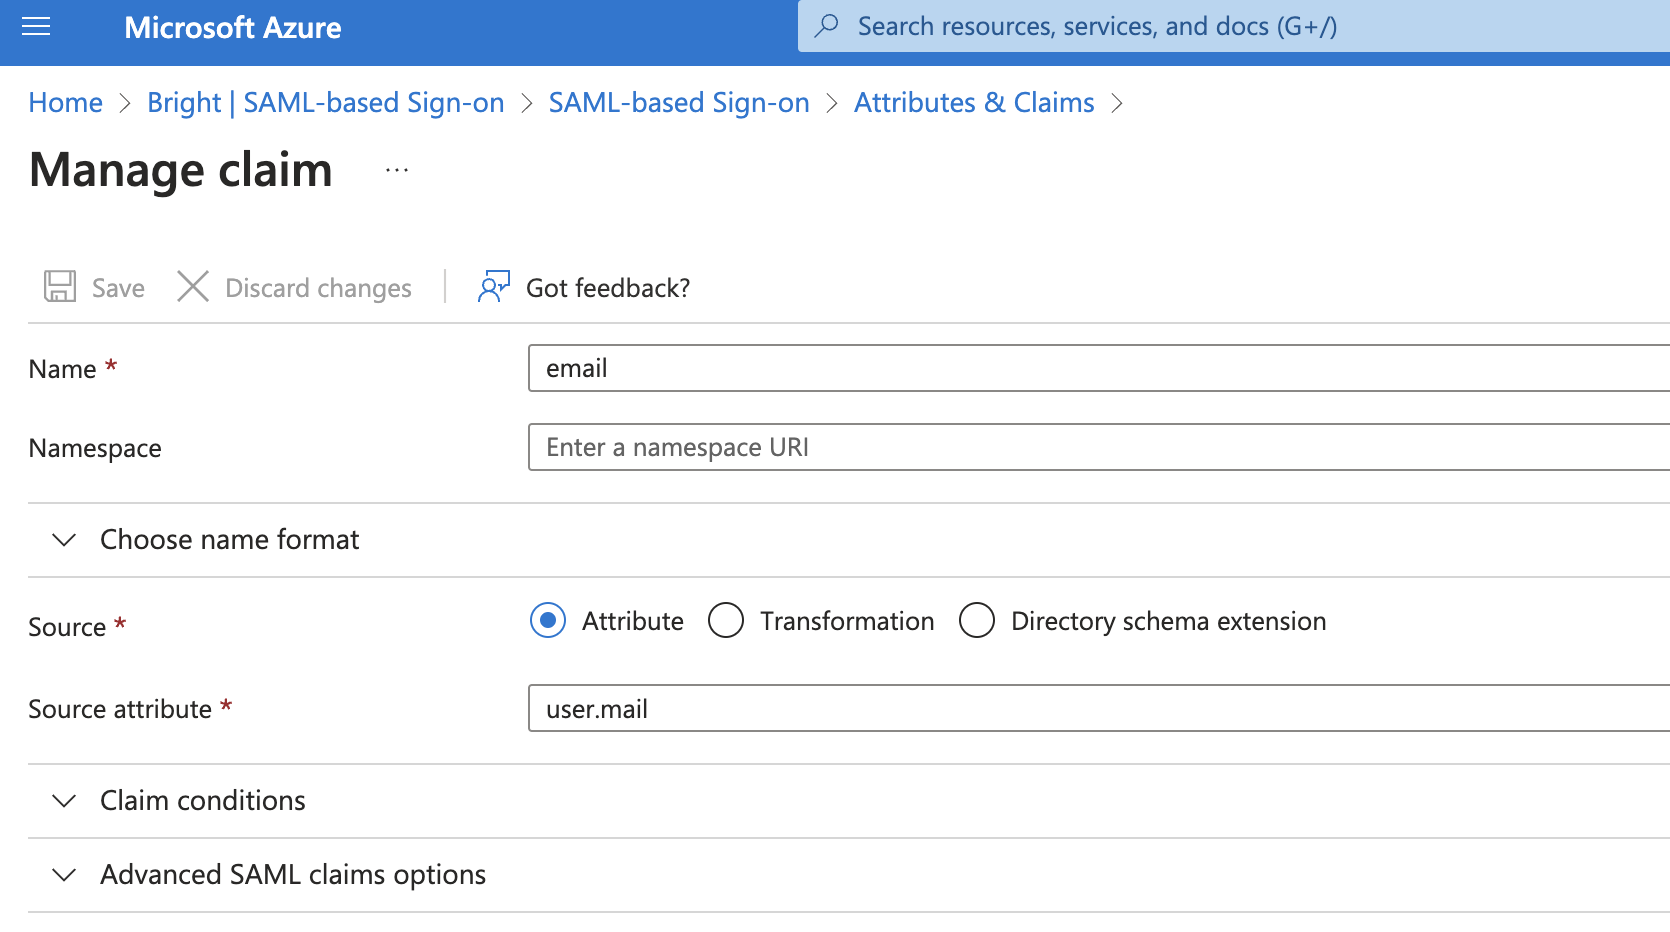
The "Namespace" field must be blanked to successfully complete the integration
Final steps
- Open Azure AD, go to Enterprise Application → Your application → Single sign-on → SAML → SAML Certificates, copy App Federation Metadata Url
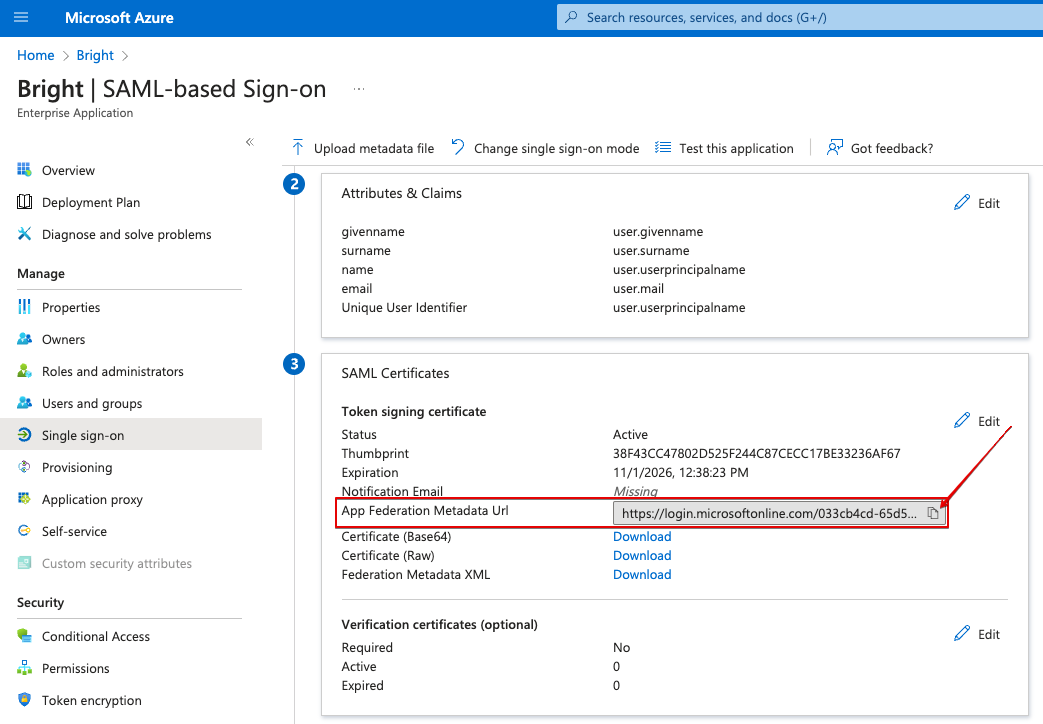
- Go back to the SSO settings in Bright and paste the value you copied from Azure AD to Metadata URL field.
- Click Continue to complete the integration.
Integration usage
After the integration process finishes, all settings can be managed from the Settings page, at the ORGANIZATION SETTINGS section:
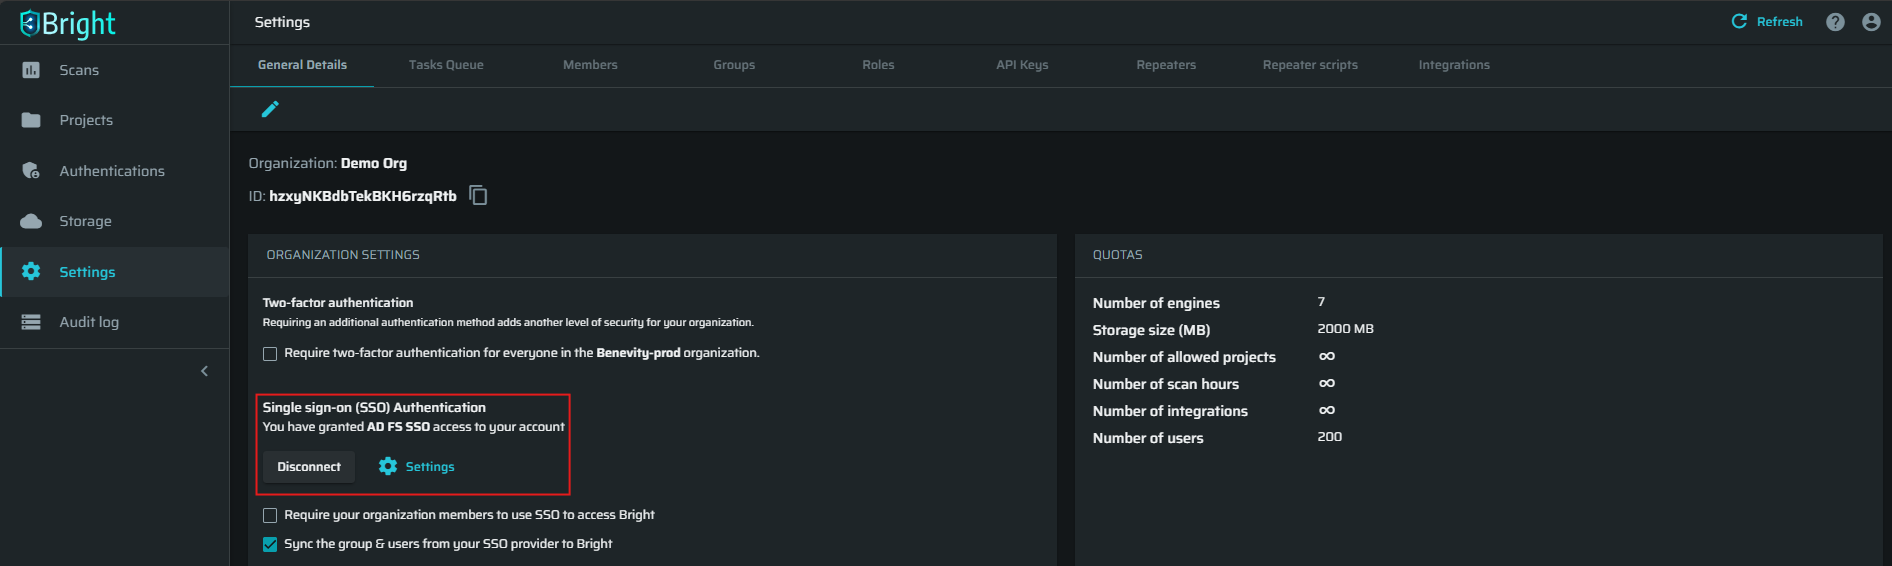
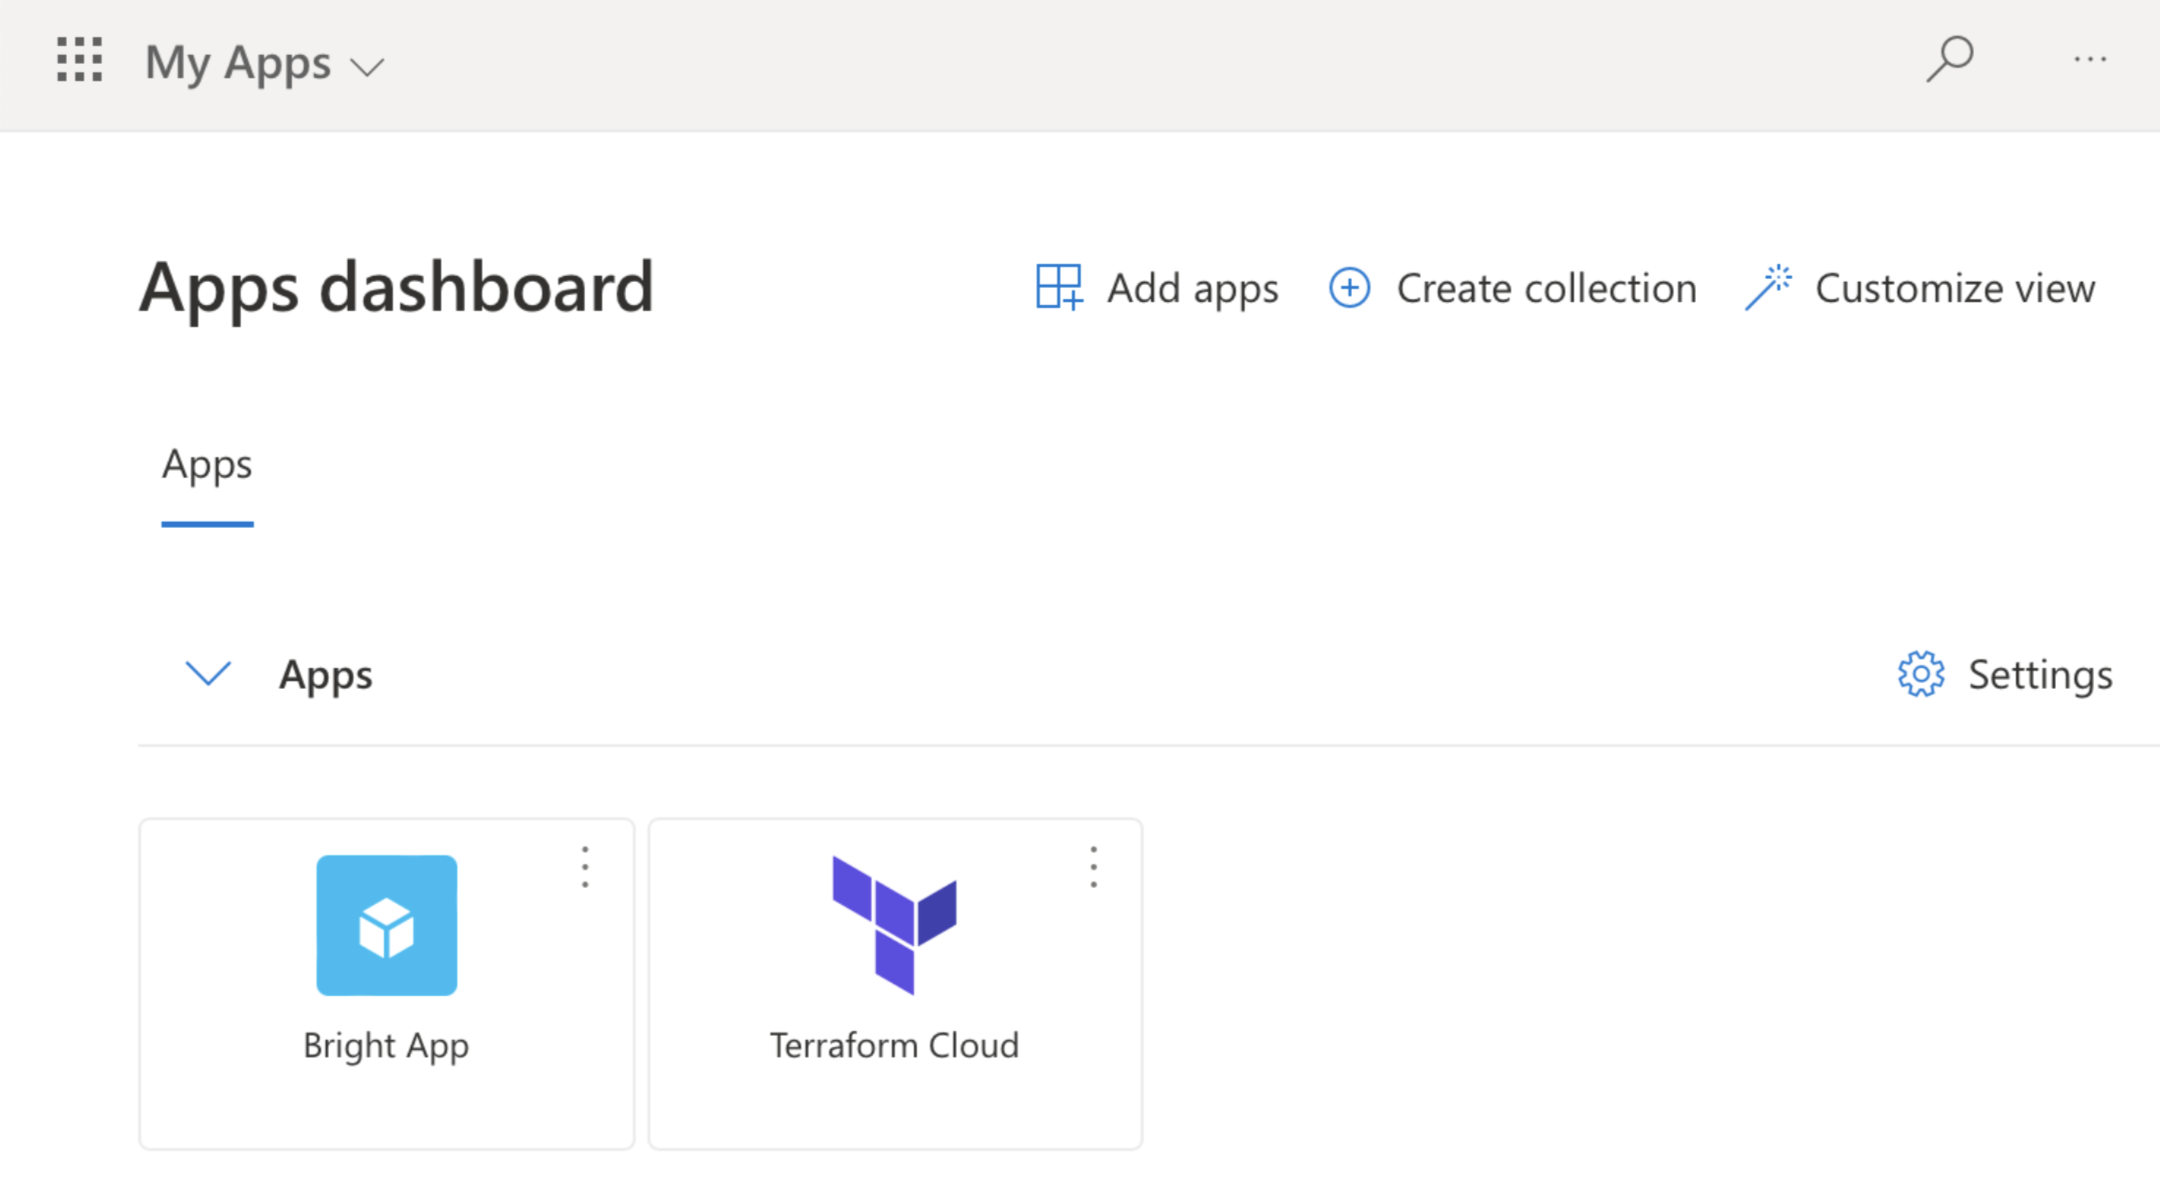
It is also possible to log in to the Bright app from the list of applications in Azure. To do that, open the Apps dashboard and click the Bright App icon.
Updated 12 months ago