Retesting a Scan
Retesting at issue creates a separate scan entity that is a duplicate of the selected scan. Initially, the settings are identical, but you can modify them without affecting the original scan settings. A separate scan history is maintained for each retested scan.
Step-by-step guide
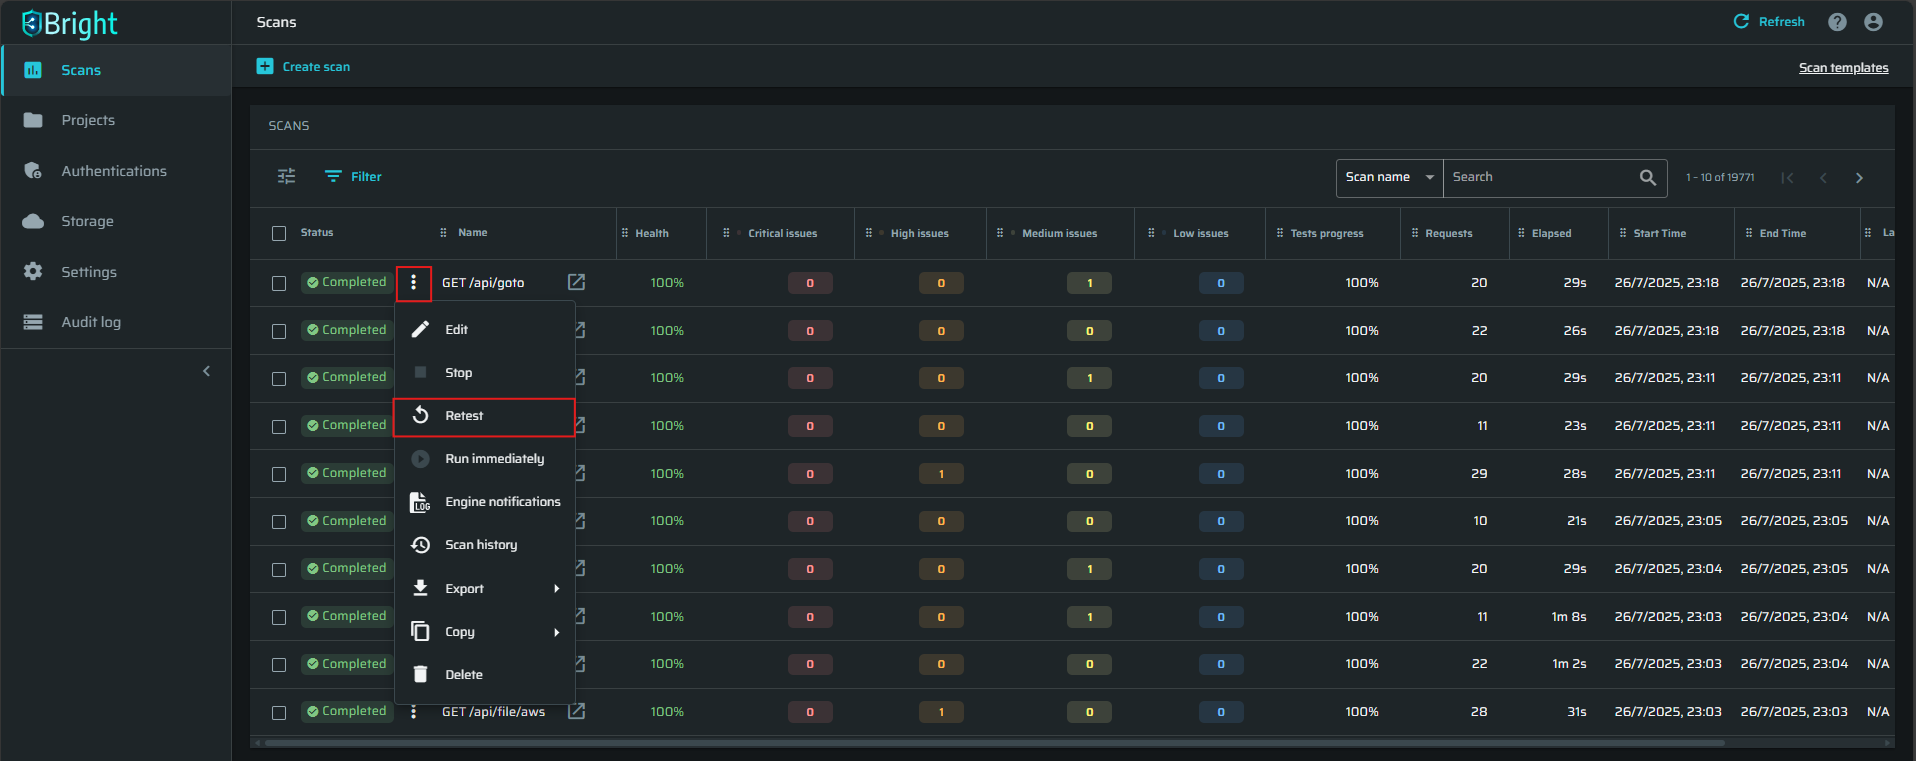
- In the left pane, select the Scans option to display the scans List.
- Click
 next to the scan to be retested.
 - From the dropdown list, select Retest.
- In the Retest scan dialog box, check and, if necessary, modify the scan settings, and then click Retest scan.
Depending on the settings and your quotas, the scan will either be run immediately, scheduled for later, or queued if resources are limited.
Updated 12 months ago
Did this page help you?