Managing Bright File Storage
Bright enables you to upload API schemas and .HAR files to the storage and select them as a target when setting a new discovery. Uploaded files can be shared within the organization members with appropriate permissions. The following section describes how to manage the storage of these files.
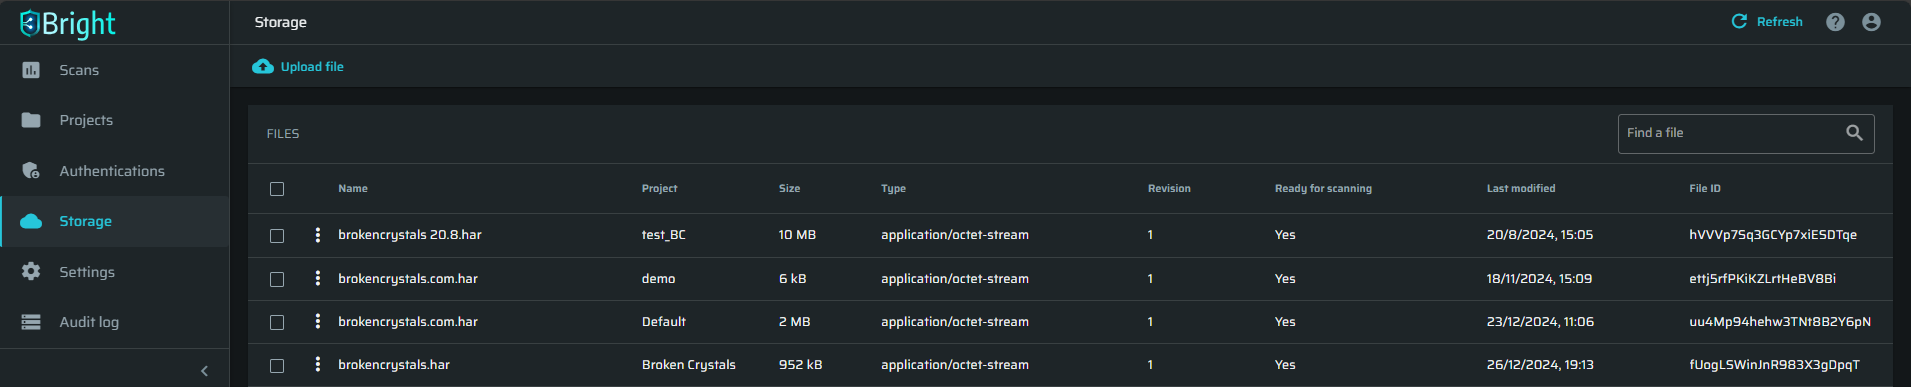
Viewing the list of files
The Storage page has a table with the following columns:
- Name - The filename.
- Project - The project the file is associated with.
- Size - The file size.
- Type - The file type.
- Revision - How many revisions the file had.
- Ready for scanning - Whatever the file can be used as a source for discovery. Applicable only to schema files.
- Last modified - The timestamp of the last modification of the file.
- File ID - The file ID.
Uploading a file
To upload a file to the storage, do the following:
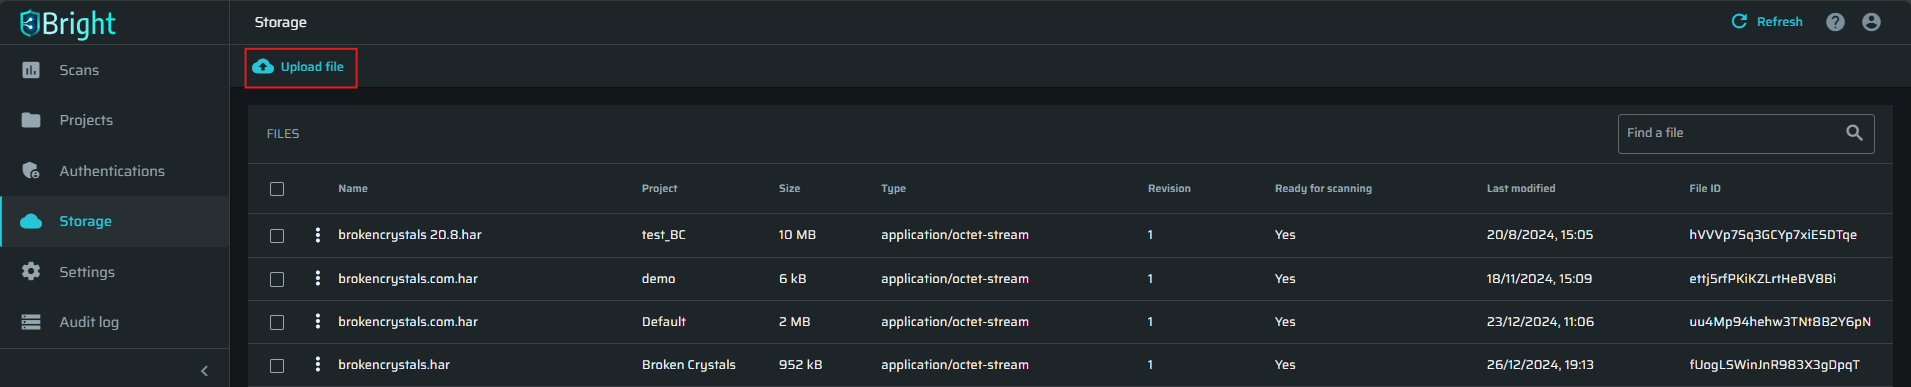
-
In the left pane, select Storage, and then click Upload.
-
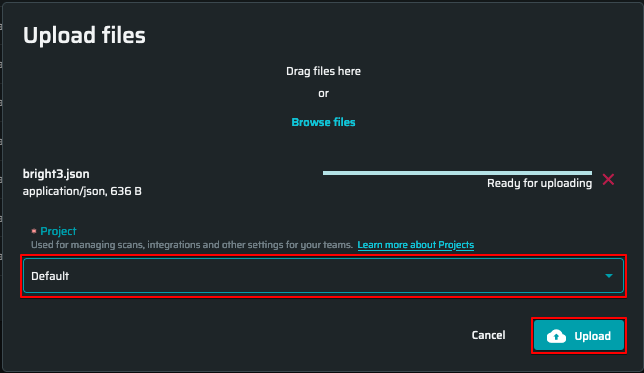
On the popup, drag-and-drop or select a file from your local storage.
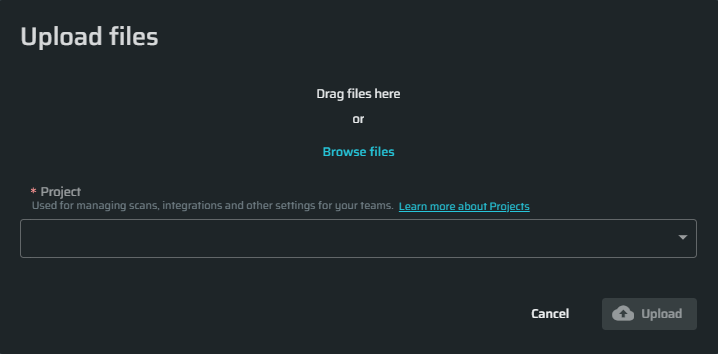
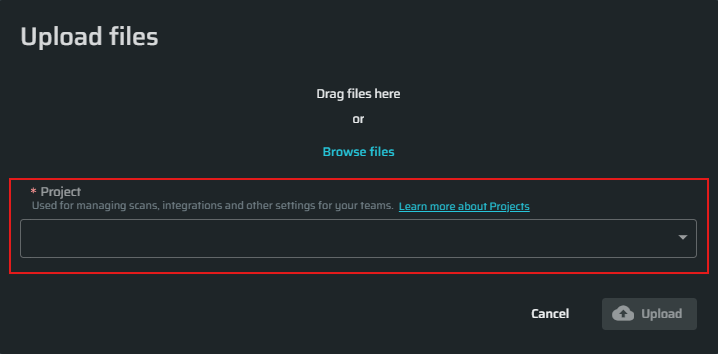
-
Select a project to attach a new file.
-
Click Upload.
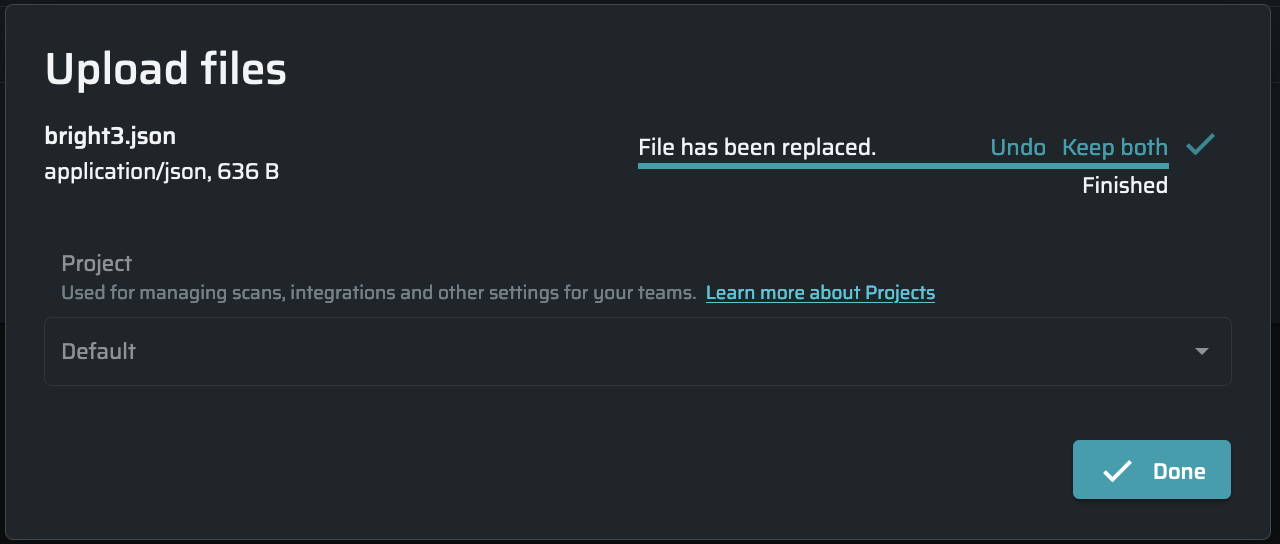
- Click Done to finish the uploading process.
- Uploaded files will appear on the STORAGE tab and on the Project page.
Cloning a file
To clone a file, do the following:
-
In the FILES table, click the
 button and click Clone.
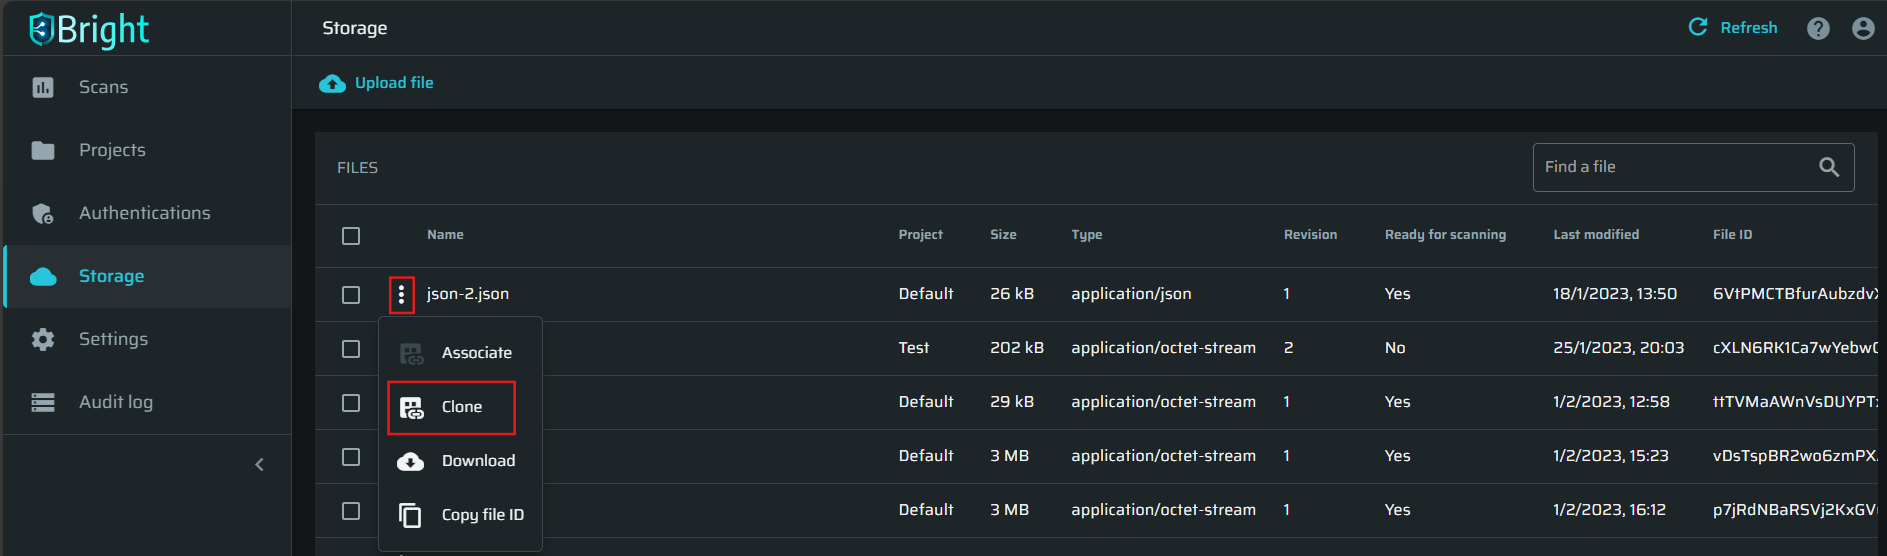
-
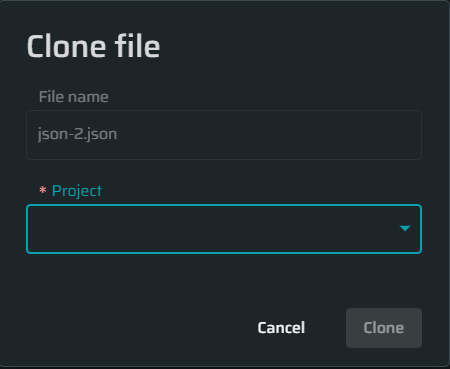
Select the Project to clone this file to.
-
Click Clone.
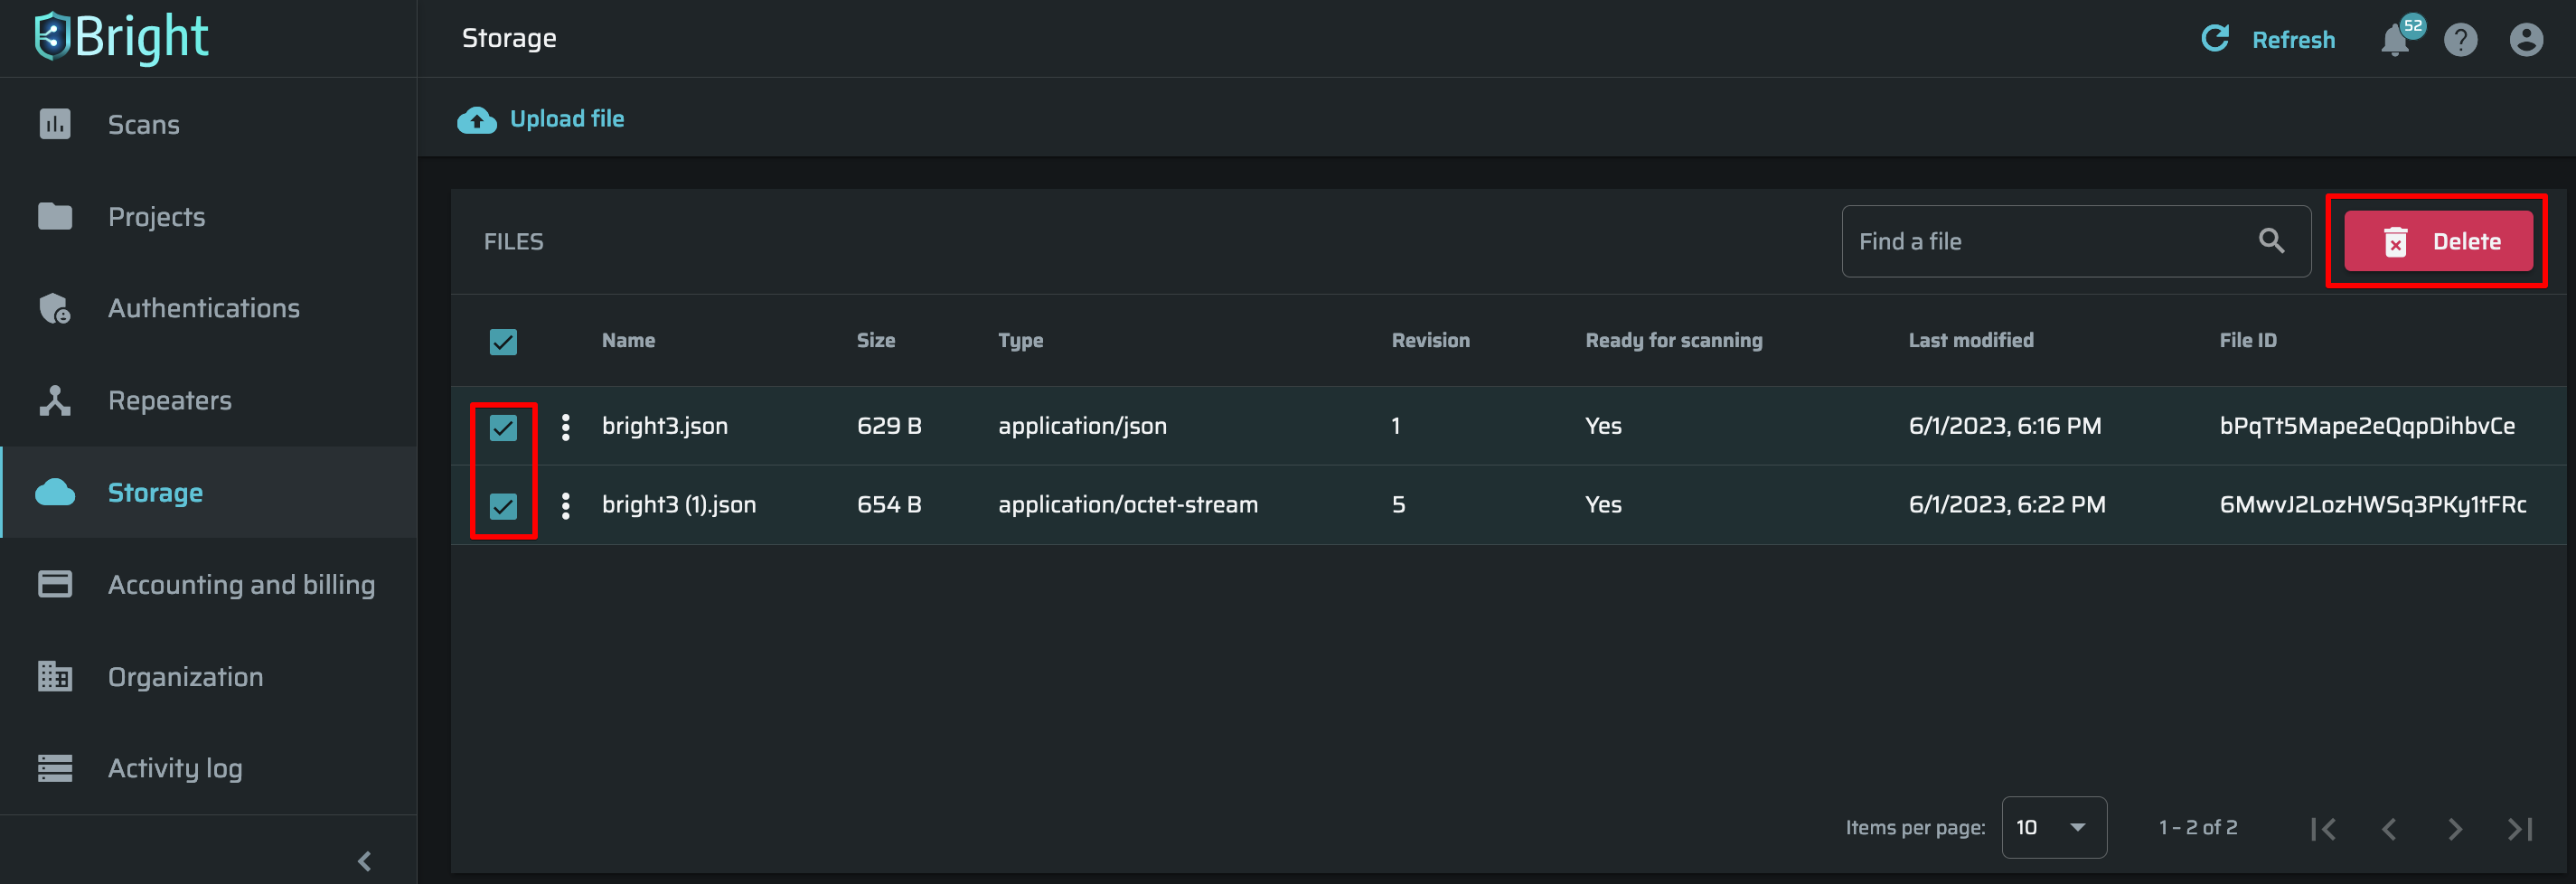
Deleting a file
To delete a file, do the following:
- In the FILES section, select the checkbox to the left of the file you want to delete and click Delete.
- On the popup, click YES to confirm the deletion.
Updated 12 months ago