Managing Organization Groups
Creating a new group
To create a new group, follow these steps:
-
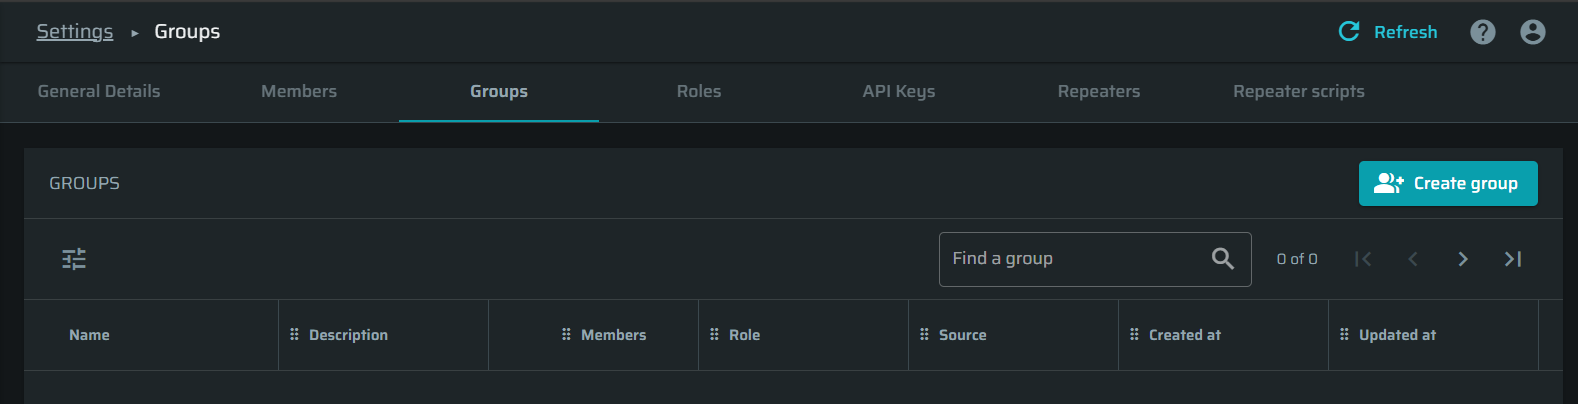
Navigate to the Groups tab, click Create group.
-
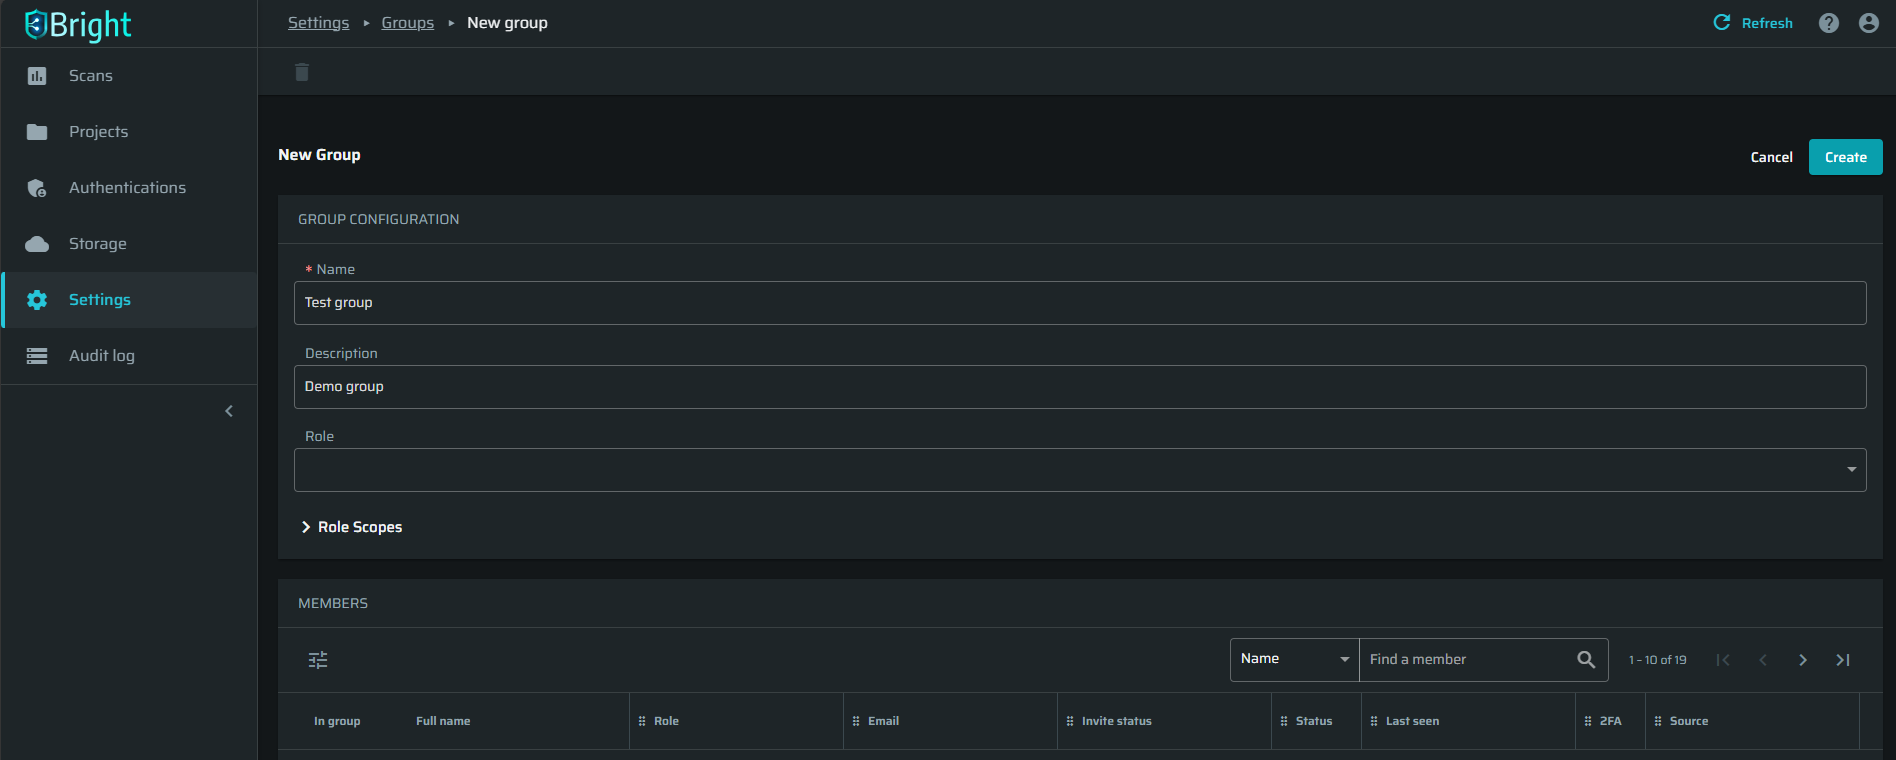
In the Name field, enter a name for the group.
-
(Optional). In the Description field, enter a short description of the group.
-
(For owners and admins). Assign a role to the group.
The assigned role defines the access scopes the group will be granted. You can either select a default or a custom role. To learn how to create a custom role, see Manage Custom Roles. -
In the MEMBERS section, select the users to be added to the group.
-
In the upper-right corner, click Create.
Note:If a member has a lower role than the group role, the member will get the rights corresponding to the group role. Otherwise, if the member has higher role than the group role, the member rights do not change.
Changing group configuration
You can change the name, description, and role of any custom group. This option is not available for the Everyone group, which is a default non-configurable group.
To change the group configuration, follow these steps:
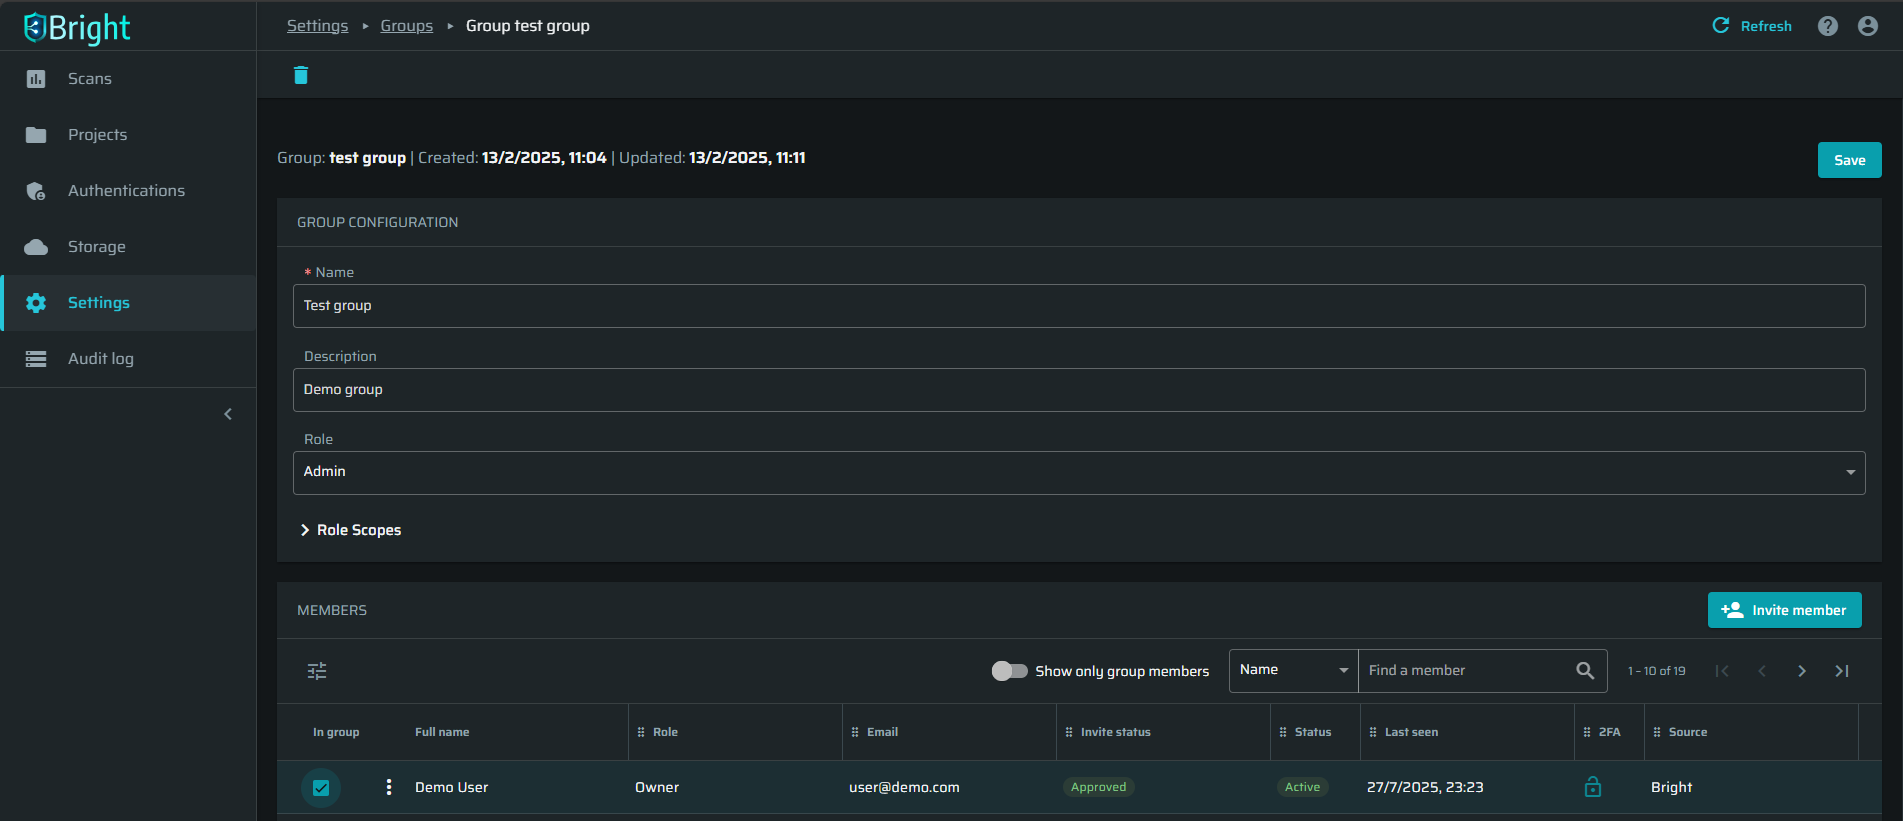
- In the Groups tab, click the group the configuration of which you want to change.
- In the GROUP CONFIGURATION section, make the required changes.
- In the upper-right corner, click Save.
Managing group members
You can add or remove users to/from a custom group. The Everyone group is a default group that includes everyone in the entire organization and cannot be changed.
To add or remove a user to/from a group, follow these steps:
-
In the GROUPS section, select the group for which you want to define the members list.
-
In the MEMBERS section, do the following:
- Select the checkboxes next to the users that should be included into the group.
- Clear the checkboxes next to the users that should be removed from the group.
-
In the upper-right corner, click Save.
How adding a member to a group affects its rights?
If a member has a lower role than the group role, the member will get the rights corresponding to the group role. Otherwise, if the member has higher role than the group role, the member rights do not change.
Note:Projects have no roles, only access groups. When creating a new project, we must specify which groups will have access to the project.
When a member is added to a group (or multiple groups), their access to resources in the system is determined by the group role and their personal role. In Bright, roles have a hierarchy, and a member's effective role is determined by the highest role they have been assigned:
- Member should have the sum of permissions granted to the group role (or multiple groups) and the personal role.
- If group role scopes of at least one group, where the member was added, provide access to all projects/groups/members, these permissions should be effective for all projects/groups/members of the organization no matter which other groups this member is added to and no matter which their project associations are.
Updated 12 months ago