Azure Pipelines
|
|
| If you are using Azure DevOps for development automation, you can integrate Bright with your Azure CI pipeline using the Bright DevOps Integration extension. The integration allows you to automate the security testing flow by running the Bright scans on every new build within your development environment. | |
Prerequisites |
- You have the Nexploit DevOps Integration extension installed on your Azure DevOps Server.
- The target of the scan is accessible from the Internet.
- You have a valid User Key, Project Key or Organization Key with the following scopes:
scans:readscans:runscans:stop
Step-by-step guide
Opening the integration extension in your pipeline
- Log in to Azure Pipelines using the GitHub account.
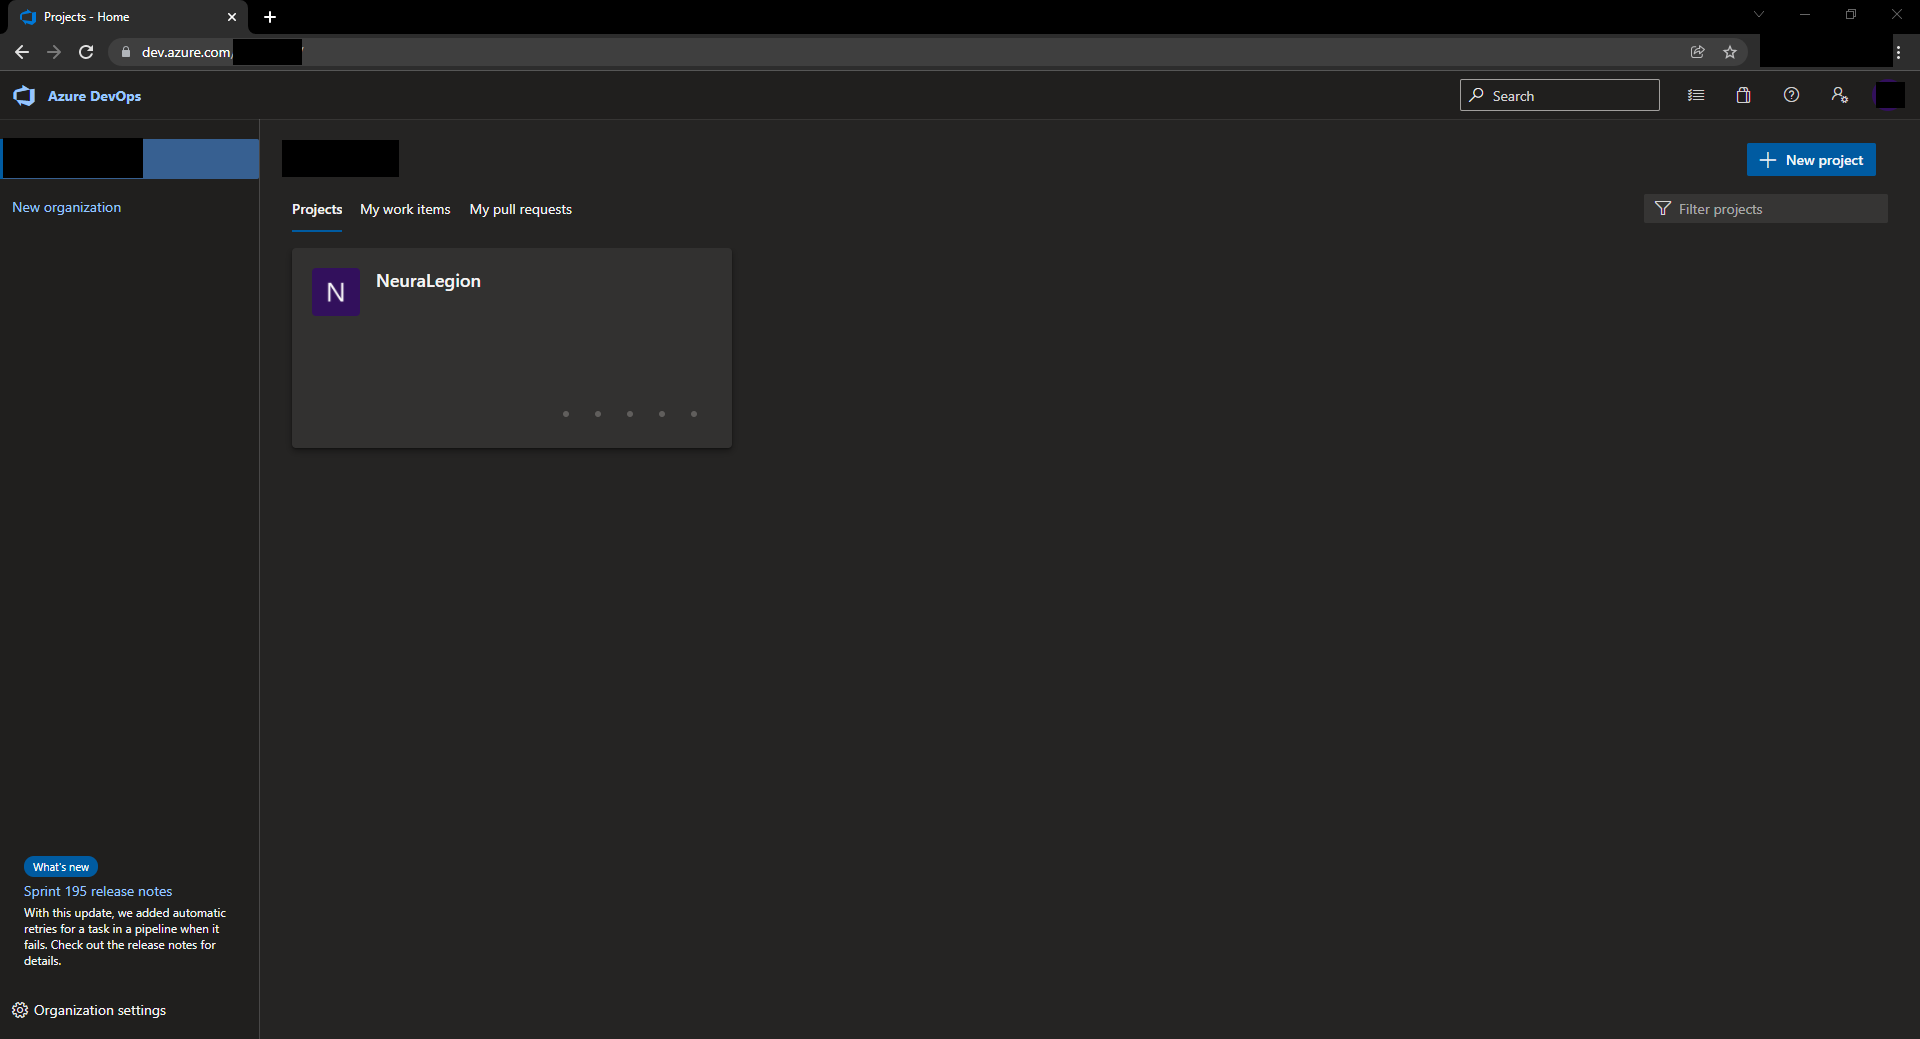
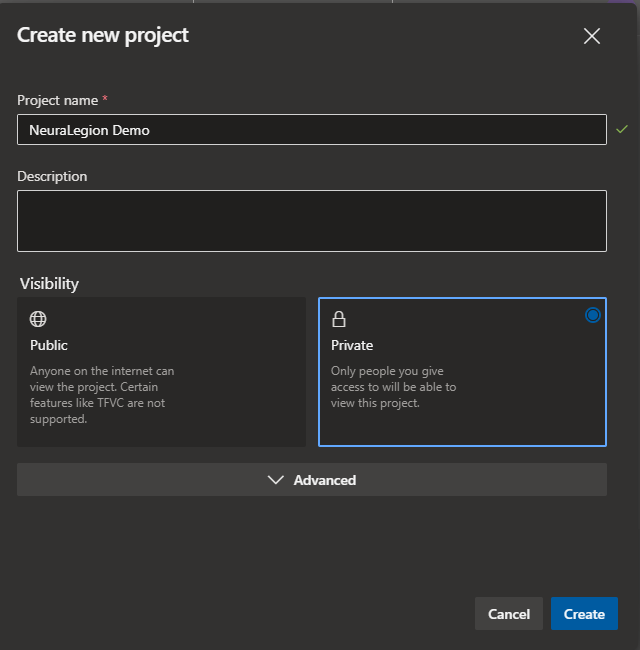
- Create a new project. Click on + New Project and create it with according Project name and Visibility.
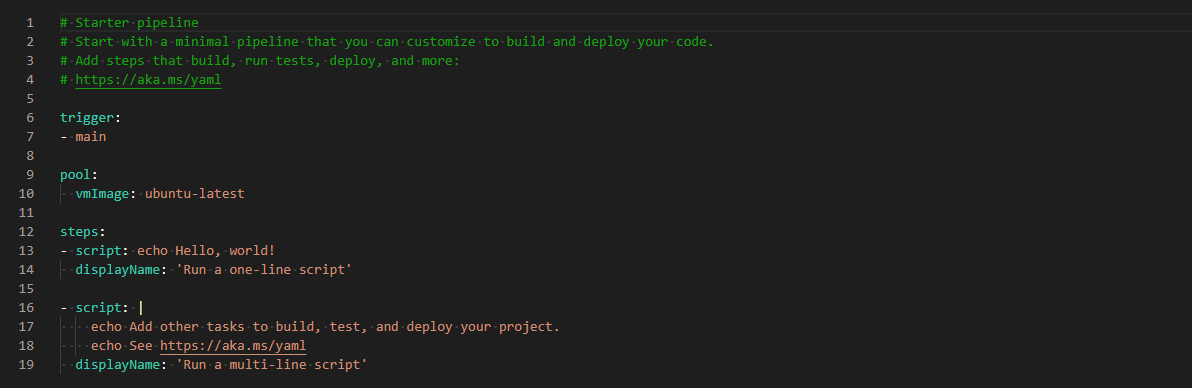
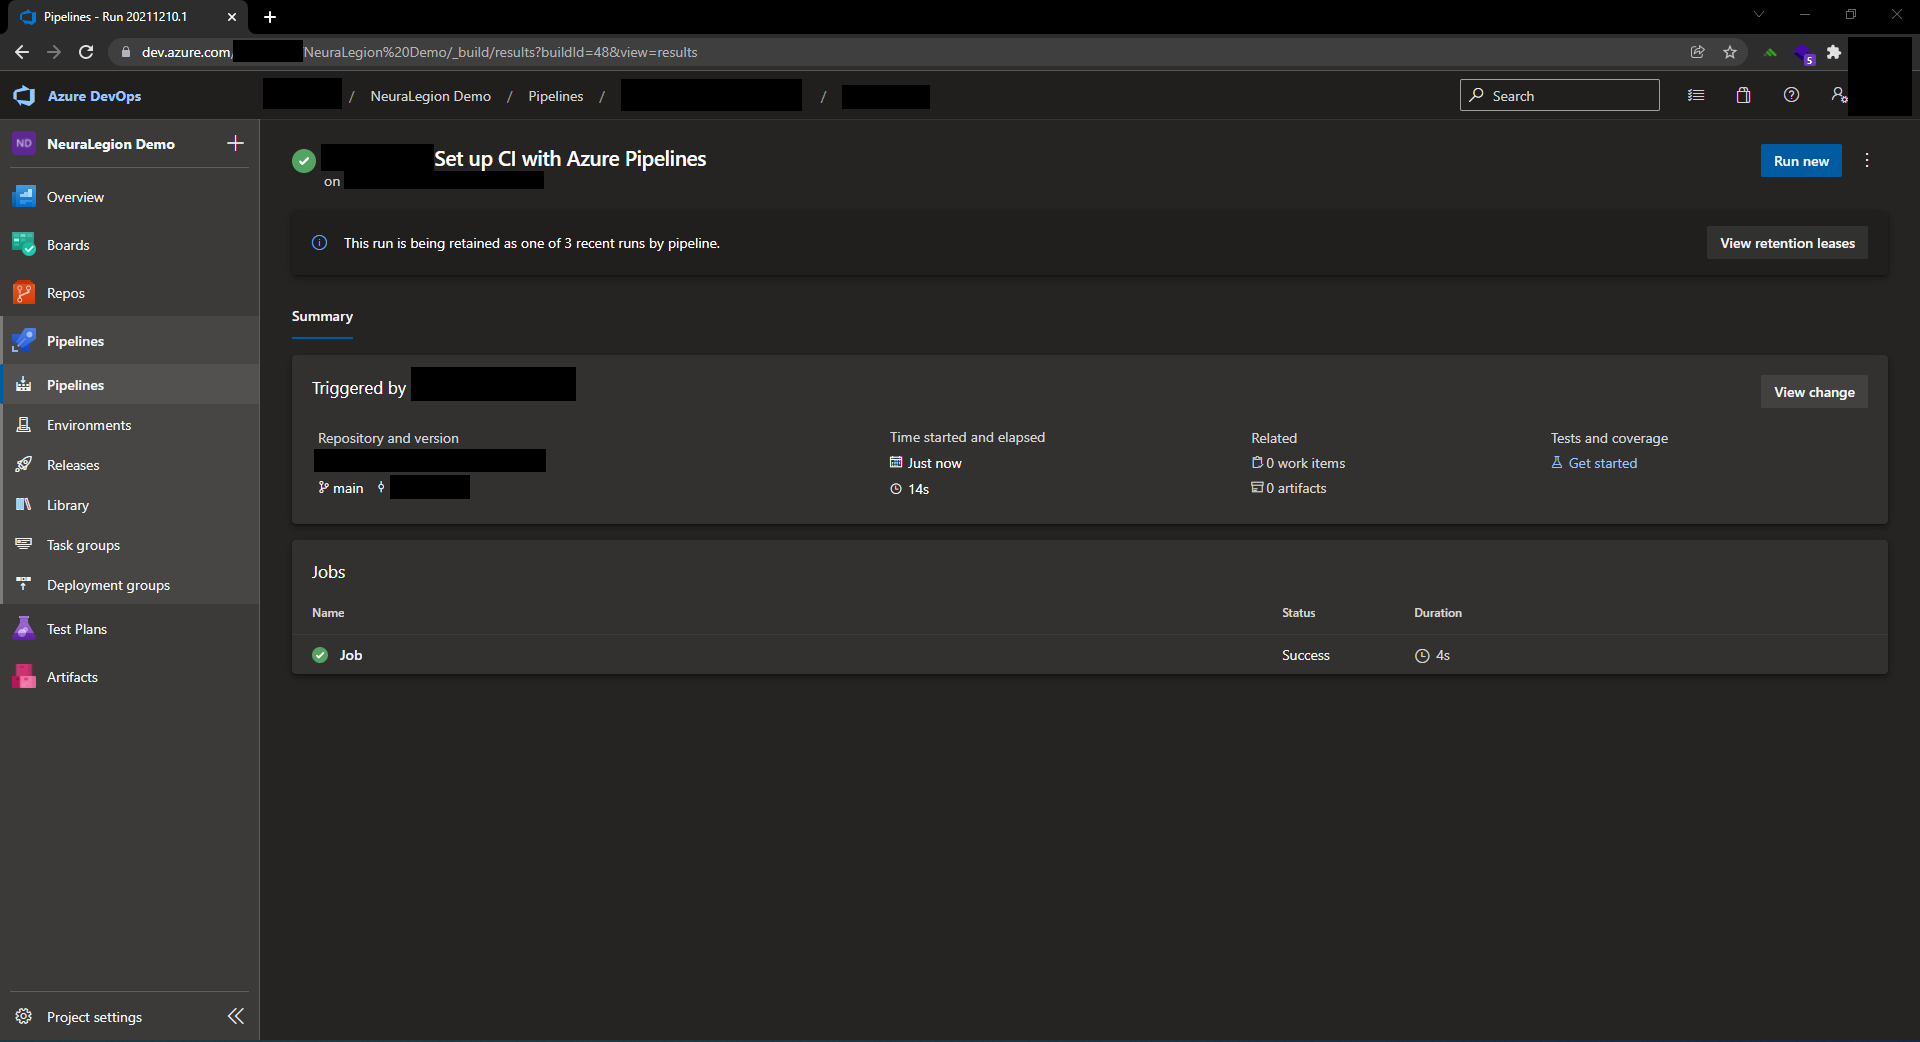
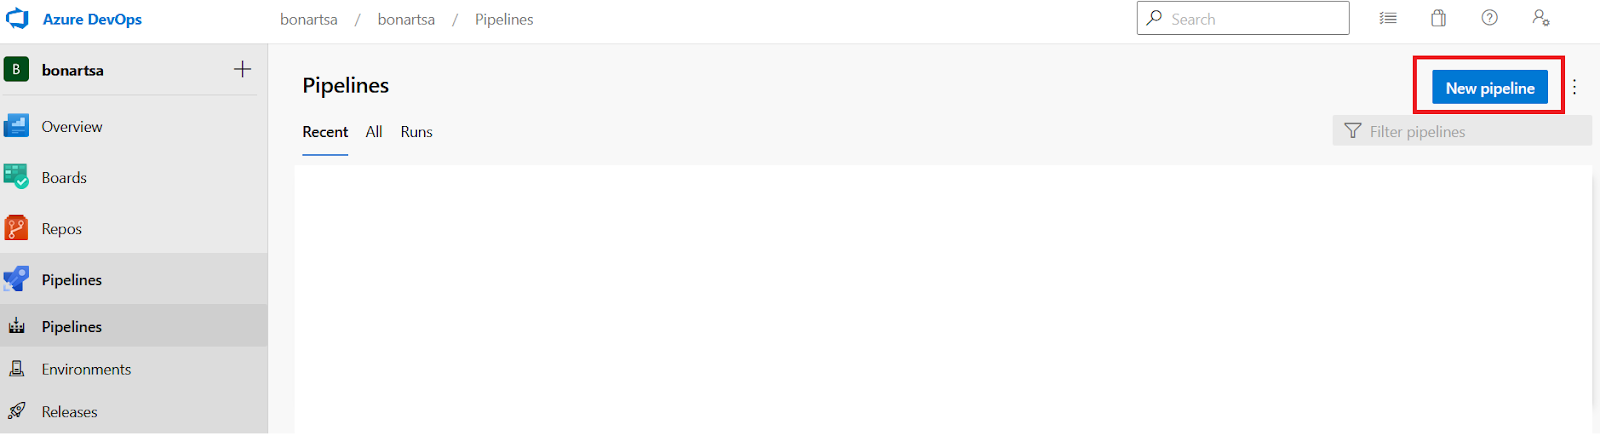
- Make a new pipeline with starter pipeline settings. On the left pane go to Pipelines, then click on the New Pipeline. You can create an empty repositorie on GitHub, then select it in the creating new pipeline. On the Configure your pipeline stage, select Starter pipeline, and it should output code as in the picture.
- Run the pipeline. After you run the pipeline for the first time, you would experience next error that you need to purchase parallelism in Azure DevOps. You can be granted one if you fill out the form in the error attached.
- Using the Nextploit DevOps integration extension configure a scan. After you have successfully made the pipeline, click on it and then click Edit. On the right pane, there are tasks. If you downloaded NexPloit DevOps Integration successfully from marketplace, in the Search Tasks area, typing in NexPloit should output these two Tasks.
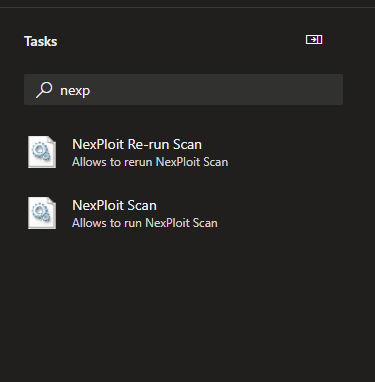
- Do one of the following:
- To start a new scan, select the Nexploit Scan file.
- To re-run an existing scan, select the Nexploit Re-run Scan file.
Starting a new scan in your pipeline
To initialize a new scan in your pipeline, follow these steps:
- In the Nexploit Scan section, enter the scan details in the relevant fields and select the settings that you want to apply.
For a scan with uploaded .HAR file, additionally enter the response id in the File ID field.

Once you complete the setup, the scan is started automatically.
- To manage the scanning process and view the results, go to your Bright app account.
Re-Running an existing scan in your pipeline
You can restart a scan that you have already set up and run using the Bright app. To do that, follow these steps:
- In the Nexploit Re-run Scan section, enter the scan details in the relevant fields.
- Copy the ID of your scan in the address bar or the scan report window and paste it in the Scan ID field.
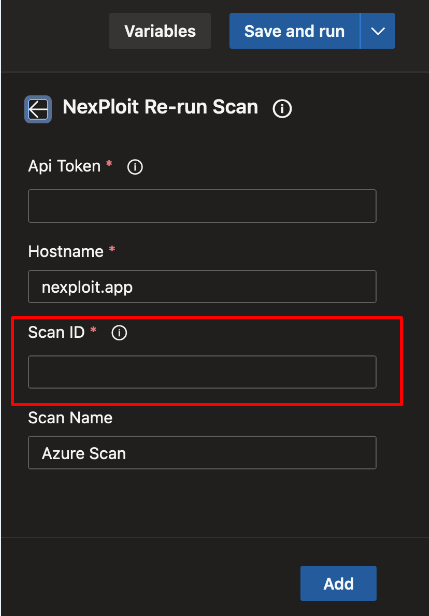
Once you complete the setup, the scan is restarted automatically.
- To manage the scanning process and view the results, go to your Bright app account.
Starting a scan with the repeater
- Create a new repository on your Azure account.
-
Create a new branch on the repository which we used for a scan without the repeater and upload an empty YAML file to the created branch.
-
Log in to your Azure DevOps account.
-
Select Pipelines on the left menu and create a New pipeline.
- Under New pipelines select GitHub and we will use our repository that we have previously used for a scan without the repeater. It will prompt us to authorize Azure DevOps with our GitHub account.

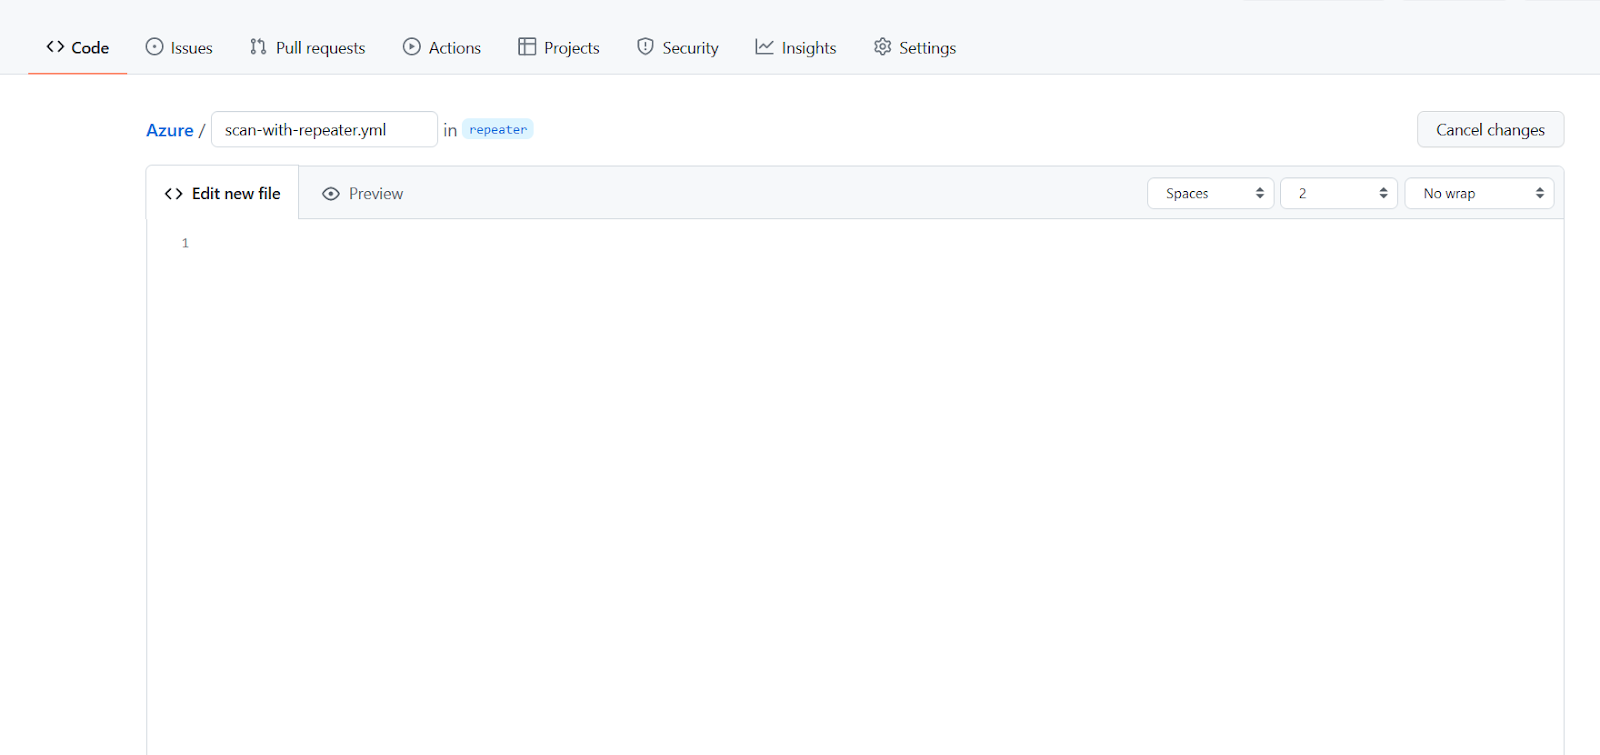
- When prompted to Configure your pipeline, we will select Existing Azure Pipelines YAML file and select your corresponding branch and correct path to the YAML file.

- After we have selected the correct YAML file we will be prompted to edit the preconfigured YAML file. Please note, we need to change the following parameters with our own:
- repeater (repeater ID)
- token (your Bright token)

-
Click on Save and run.
-
Monitor the scan progress and check the results.


Updated 12 months ago
Did this page help you?