TeamCity
|
|
| You can configure your TeamCity CI/CD pipeline to automatically run a Bright scan with every new build. Once a build is made to the pipeline, Bright initiates security tests and provides all the information that developers need to fix the detected vulnerabilities, without having to leave their development environment. | |
| Although it is possible to configure a CI/CD pipeline with the Bright REST API, it is recommended to use the Bright CLI for an easier, more robust configuration of your pipeline. |
Prerequisites
- You have a valid User Key, Project Key or Organization Key with the following scopes:
botscans:readscans:runscans:stop
- Register the Repeater in the Bright app and copy the generated
REPEATER_ID. See Managing Repeaters for more information. - Install and configure the TeamCity CI/CD server and agent.
NoteThe Linux Docker deployment of TeamCity is currently not supported — https://youtrack.jetbrains.com/issue/TW-74746.
Step-by-step guide
- Open the TeamCity Administration panel.
- From the left menu, select Projects, and then click + Create project.
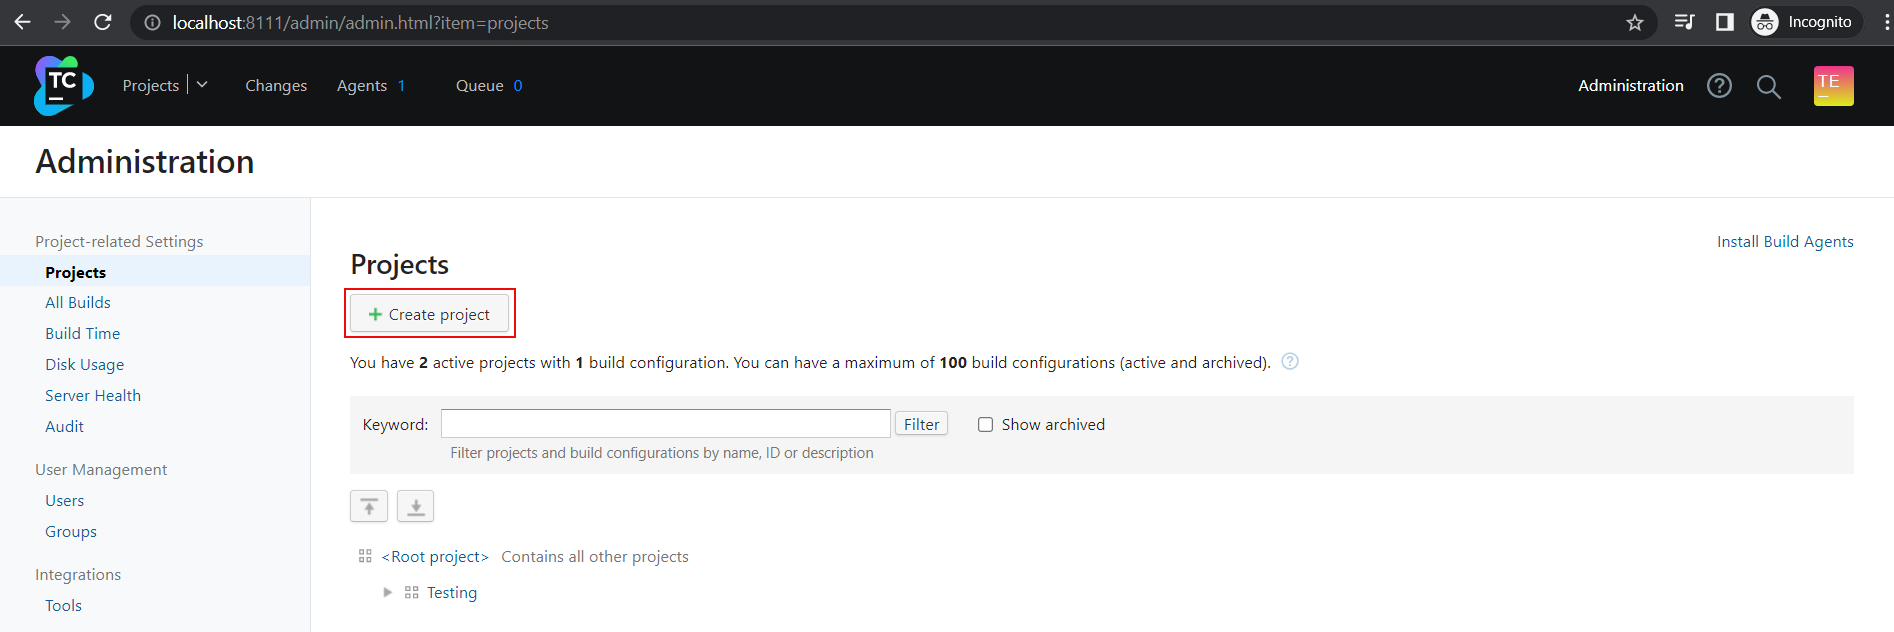
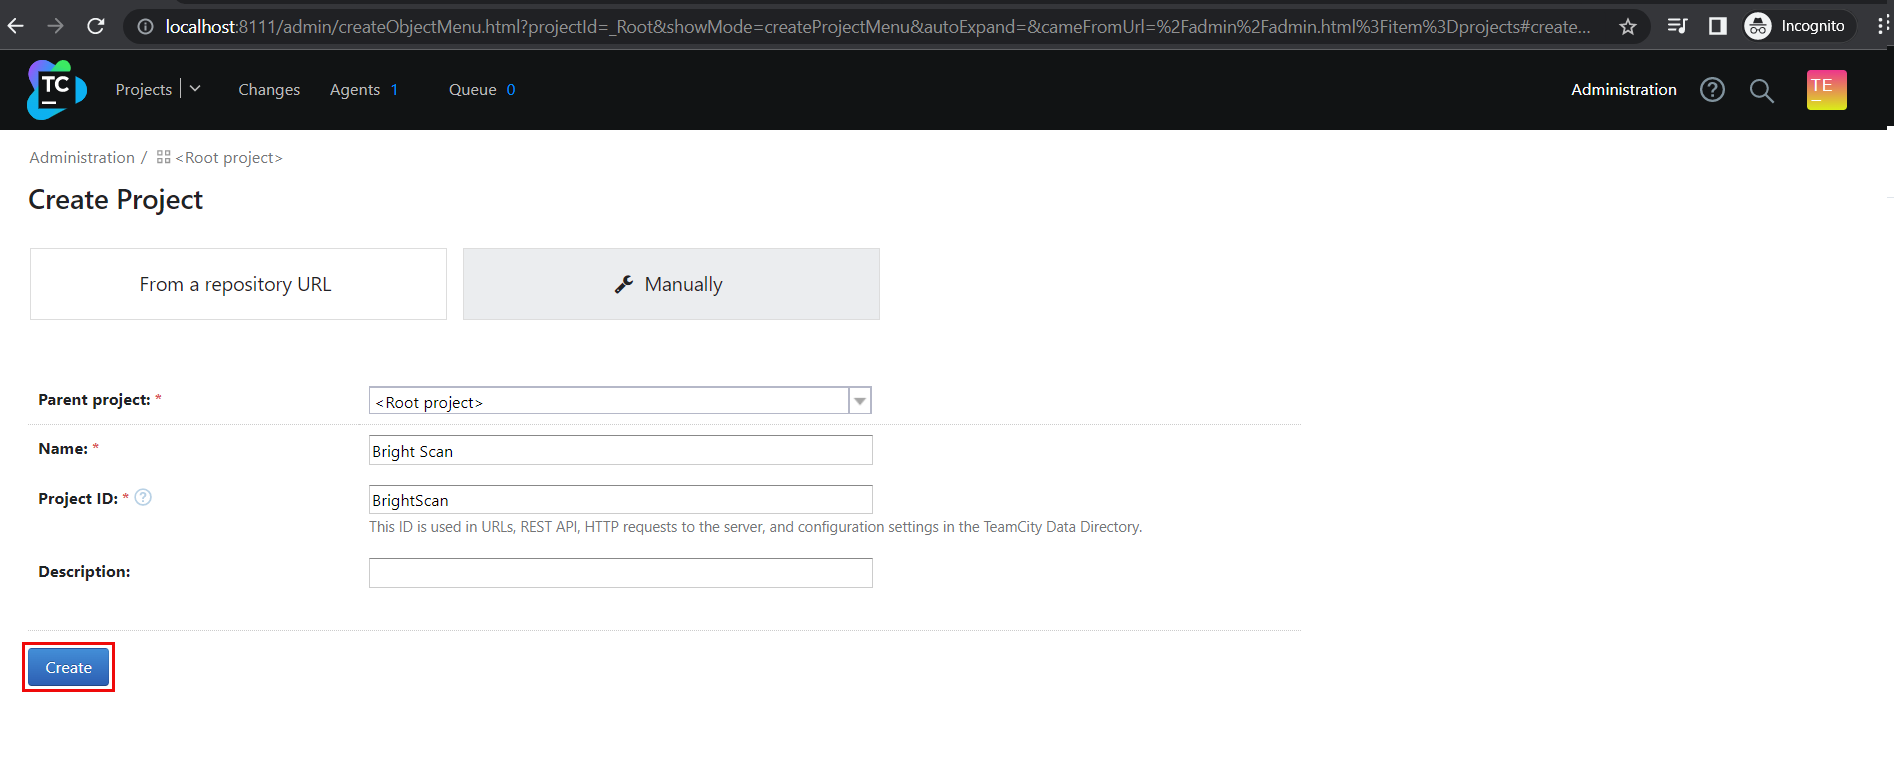
- In the Name field, enter a name for your project (for example, "Bright Scan"), and then click Create.
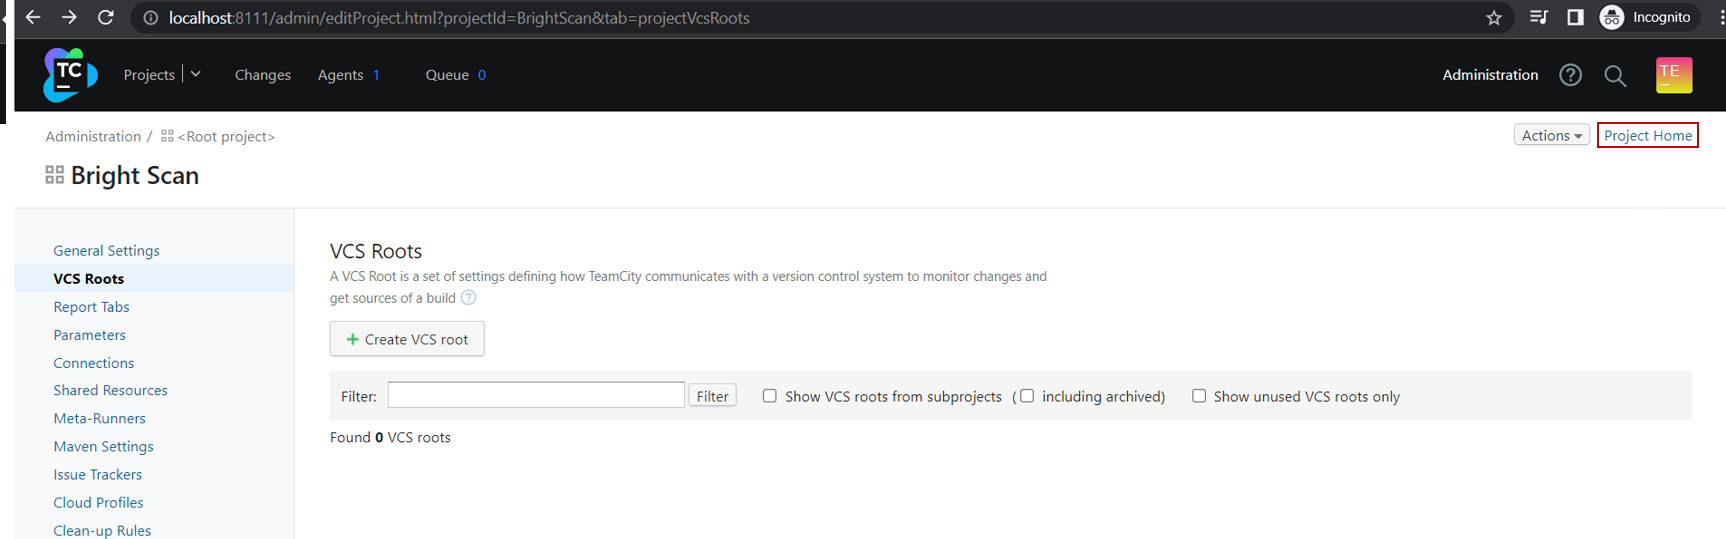
- In the upper-right corner of the created project page, click Project Home.
- Click Create Build Configuration, and then select Manually.
- In the Name field, enter a name for your build configuration (for example, BrightBuild), and then click Create.
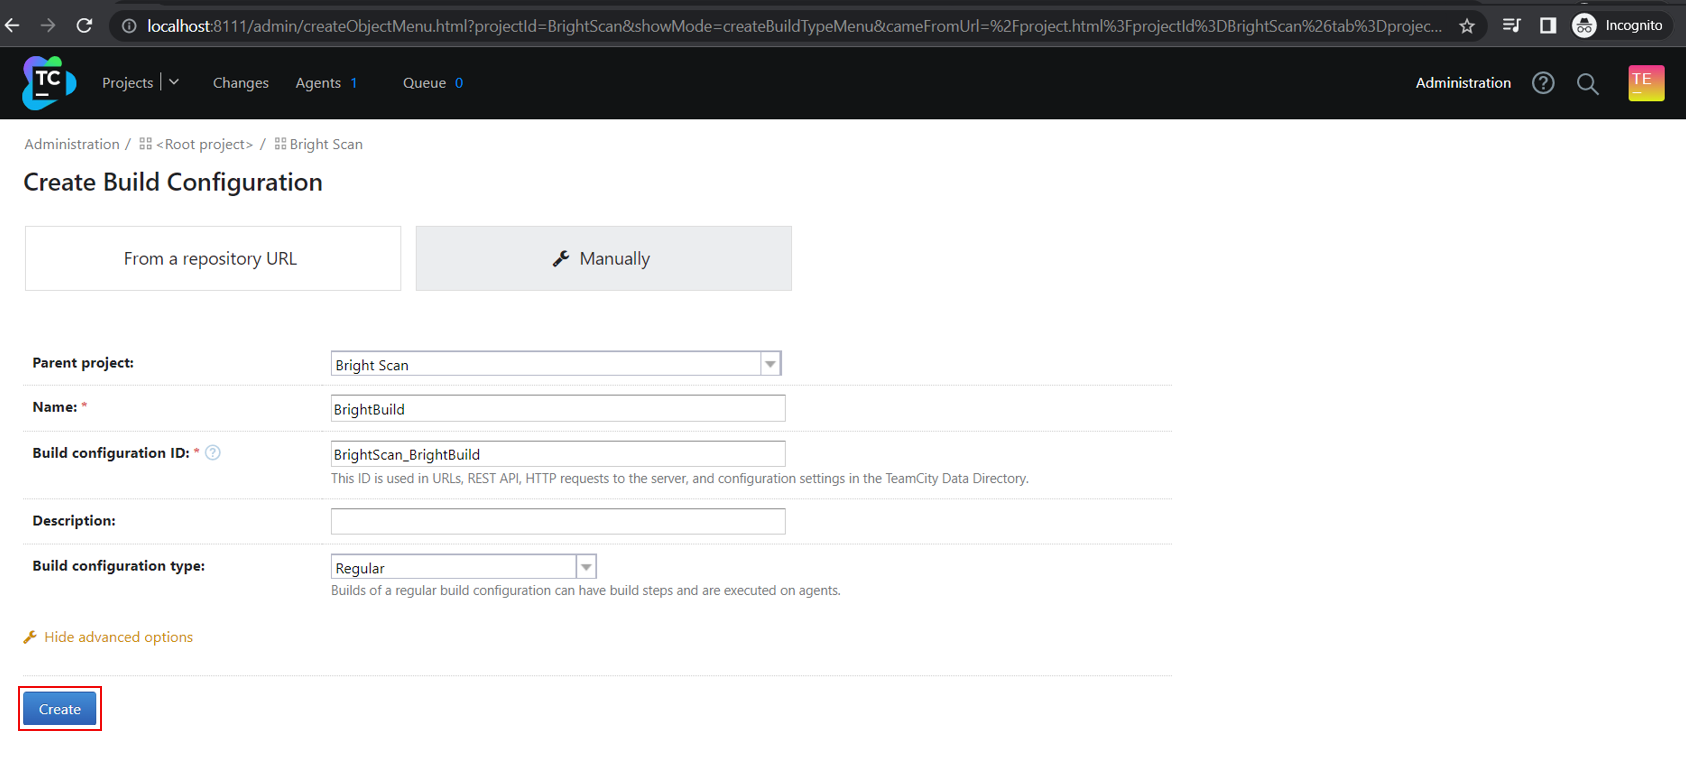
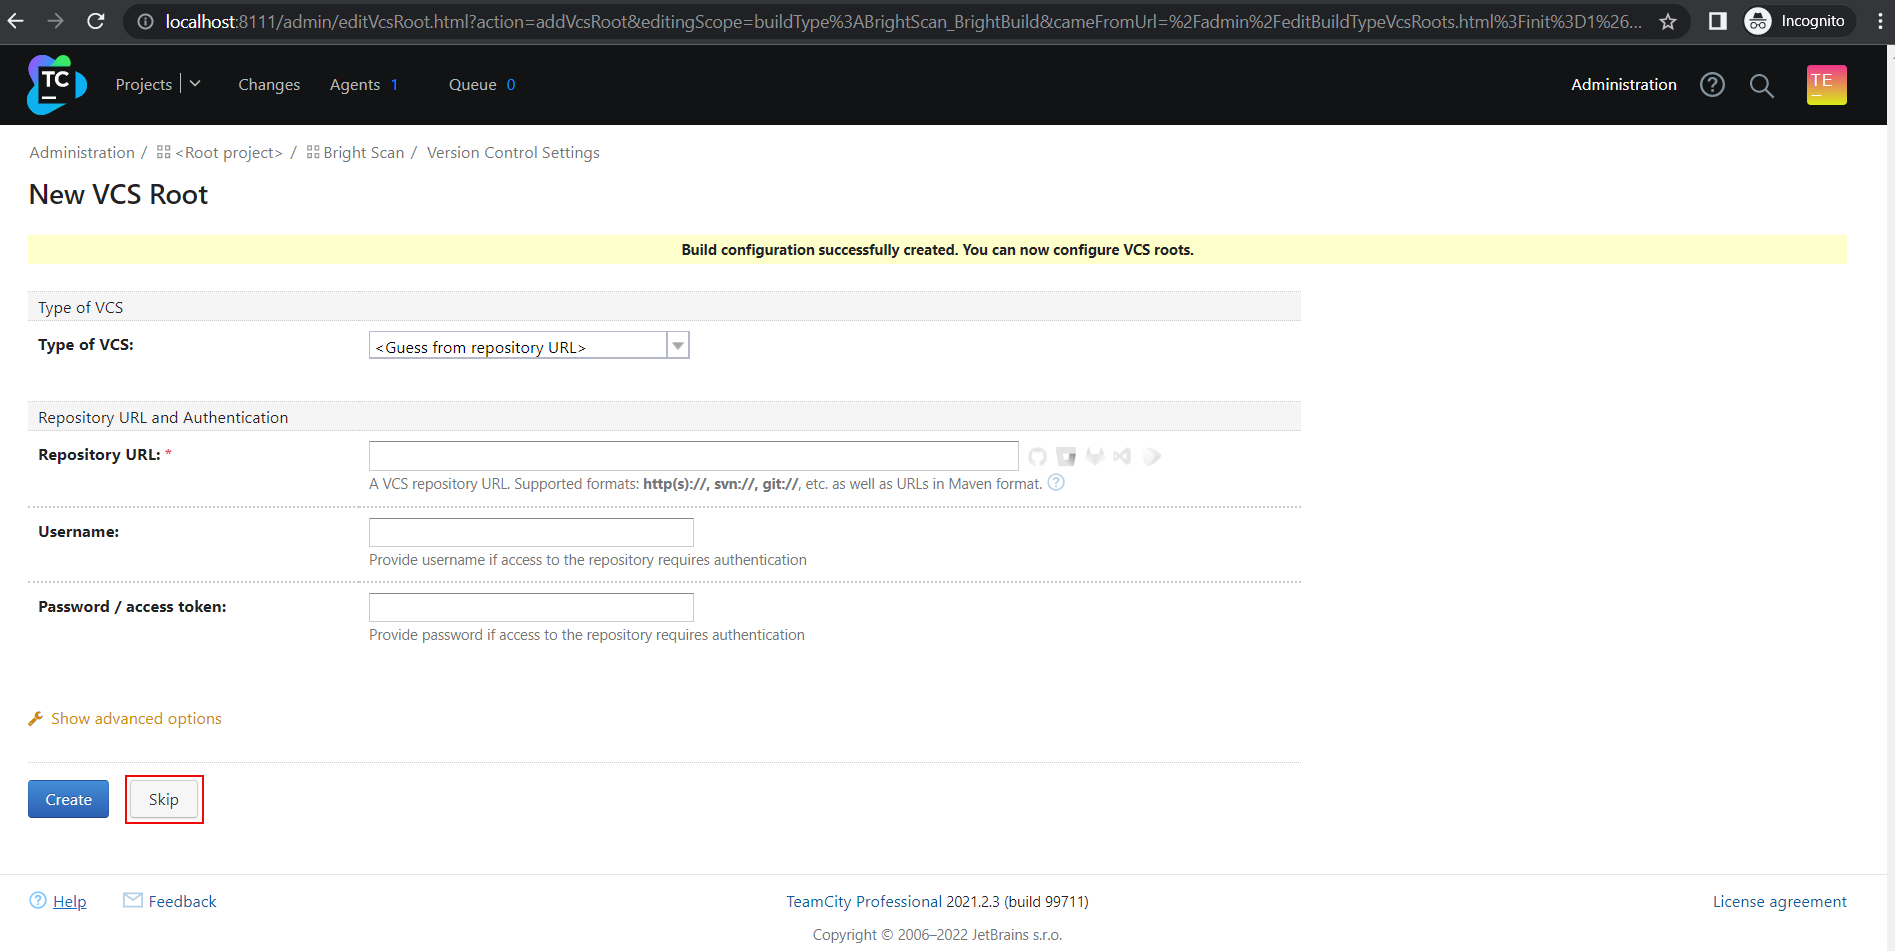
- The New VCS Root form opens. Click Skip to proceed to the next step.
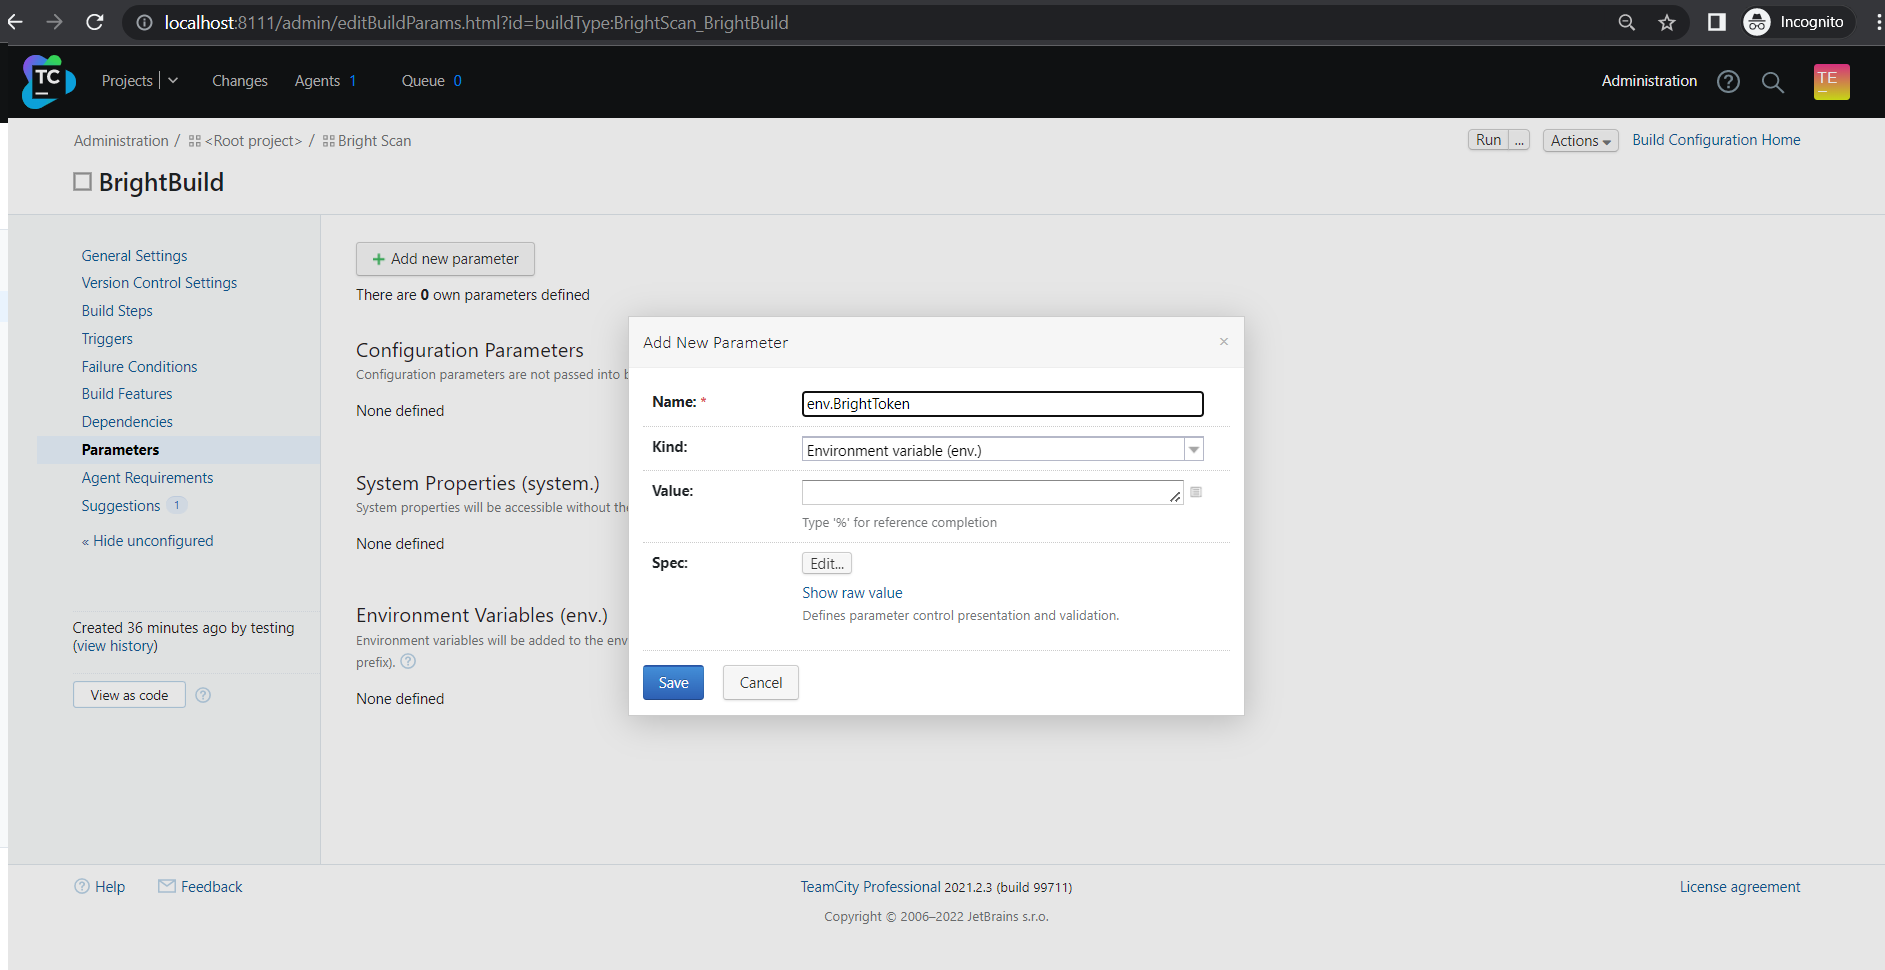
- From the left menu, select Parameters, and then click + Add new parameter.
- Create the
endBrightToken(API key) environment variable:- In the Name field, enter
endBrightToken. - In the Value filed, enter the value of the token (API key) you have created in the Bright app (see Prerequisites).
- Click Save.
- In the Name field, enter
- Create the
REPEATER_IDenvironment variable:- In the Name field, enter
REPEATER_ID. - In the Value filed, enter the ID of the Repeater you have created in the Bright app (see Prerequisites).
- Click Save.
- In the Name field, enter
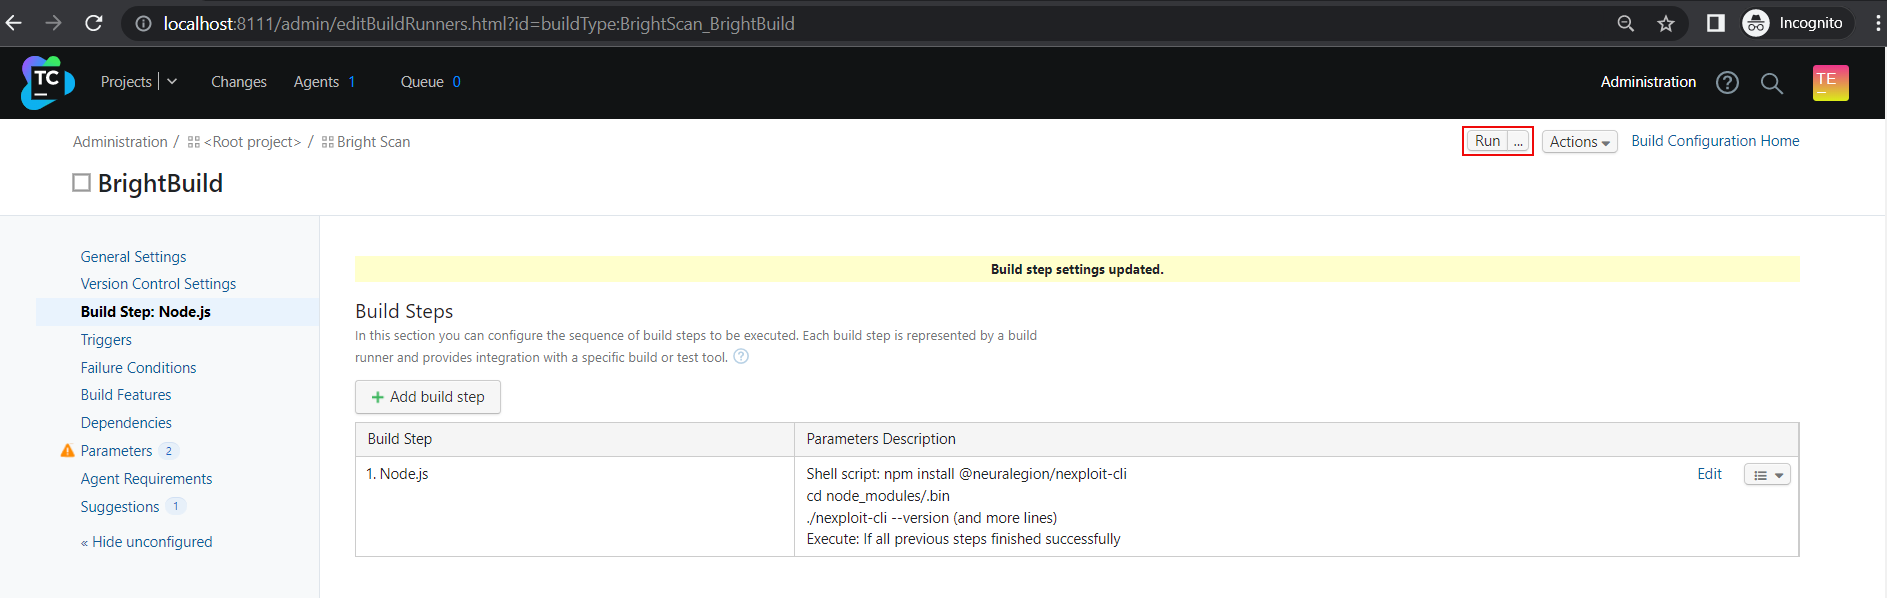
- From the left menu, select Build Steps.
- On the New Build Step page, do the following:
- Set Runner Type to
Node.js. - Set Run step within Docker container to
node: 14.17.1. - Set Shell script to the following:
- Set Runner Type to
npm install @brightsec/cli
cd node_modules/.bin
./bright-cli --version
echo "Starting Repeater"
./bright-cli repeater --id %env.REPEATER_ID% --token %env.BrightToken% &
sleep 10
echo "Starting Brightsec Scan"
SCAN_ID=$(./bright-cli scan:run --token %env.BrightToken% --repeater %env.REPEATER_ID% --name "new scan" --crawler Broken Crystals  --smart)
echo "Scan was started with ID Brightsec
sleep 10
echo "Waiting for issues..."
./bright-cli scan:polling --interval 30s --timeout 30m --breakpoint any --token %env.BrightToken% $SCAN_ID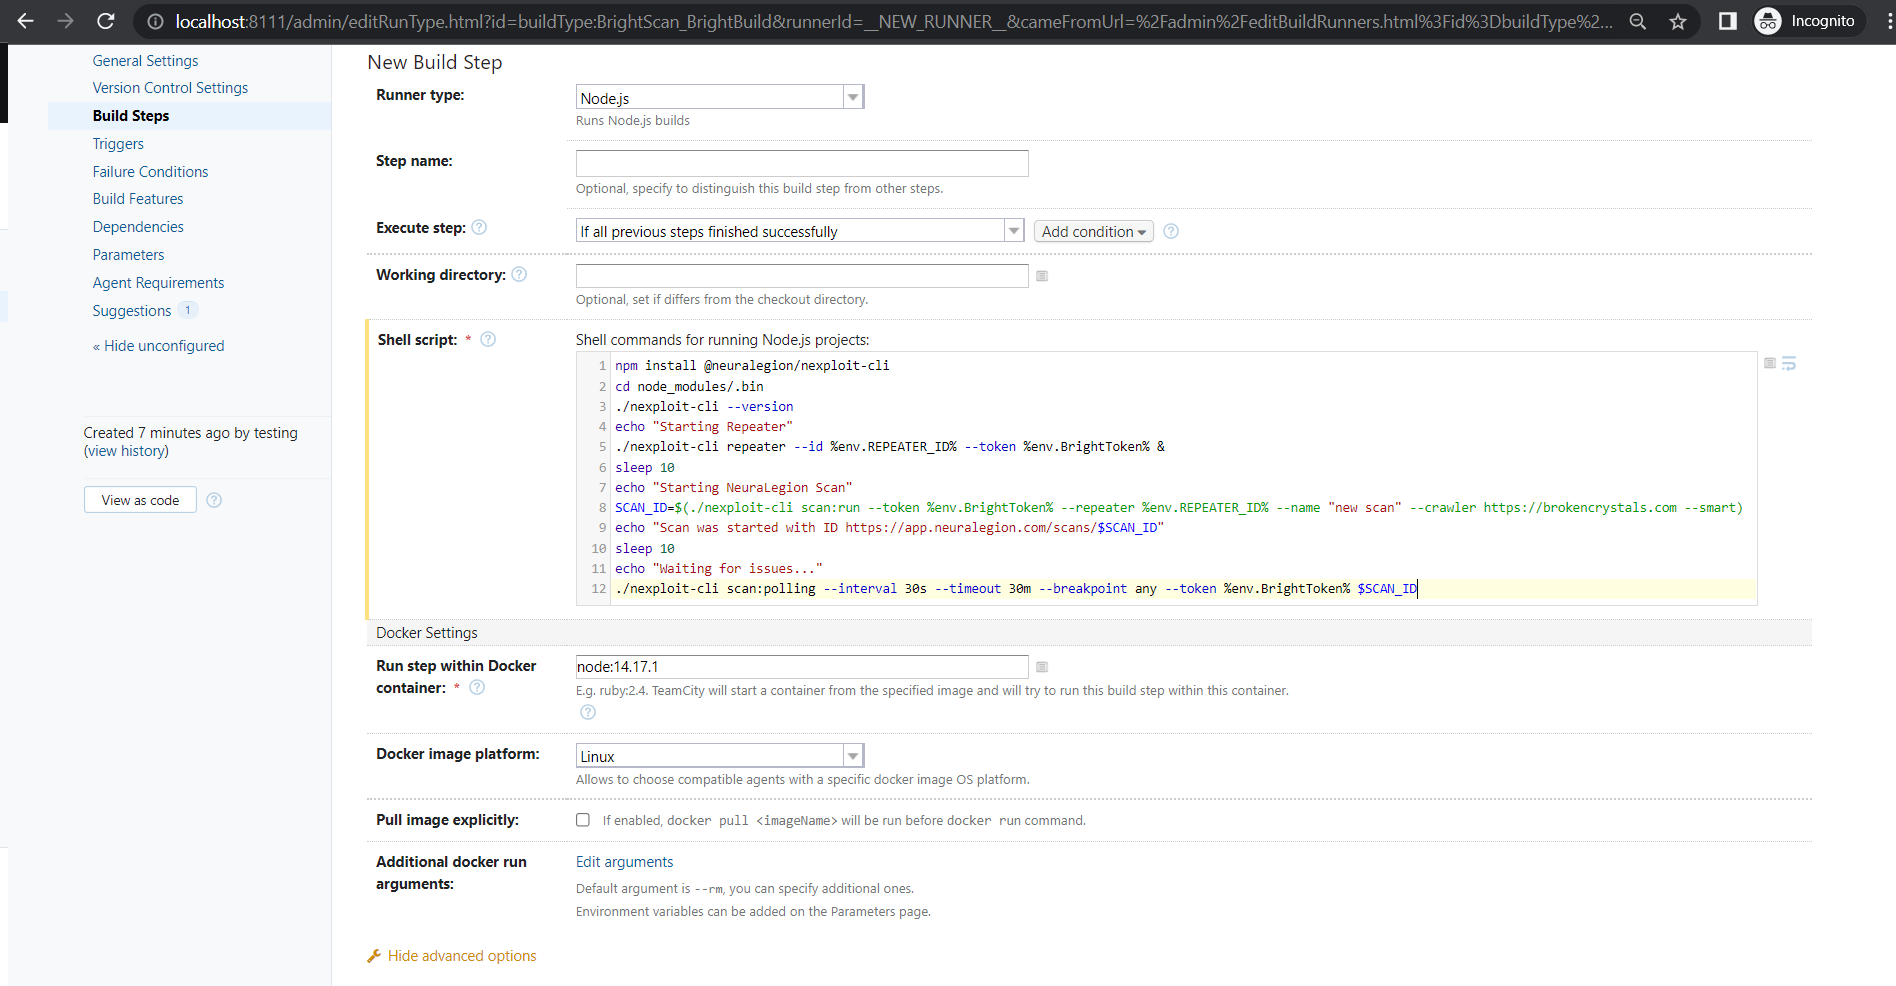
- Click Save.
- On the top right, click Run to run the build.
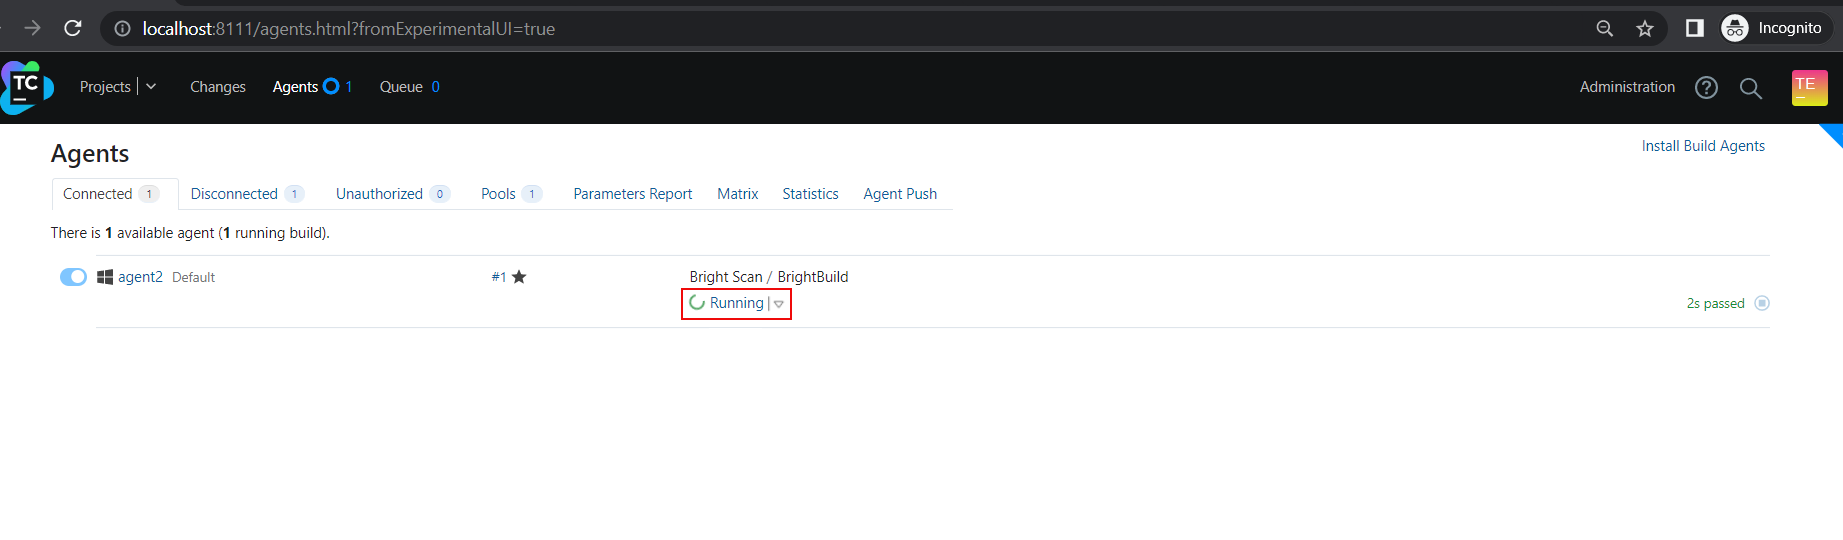
- To check that your build has started, click Agents, and then click Running.
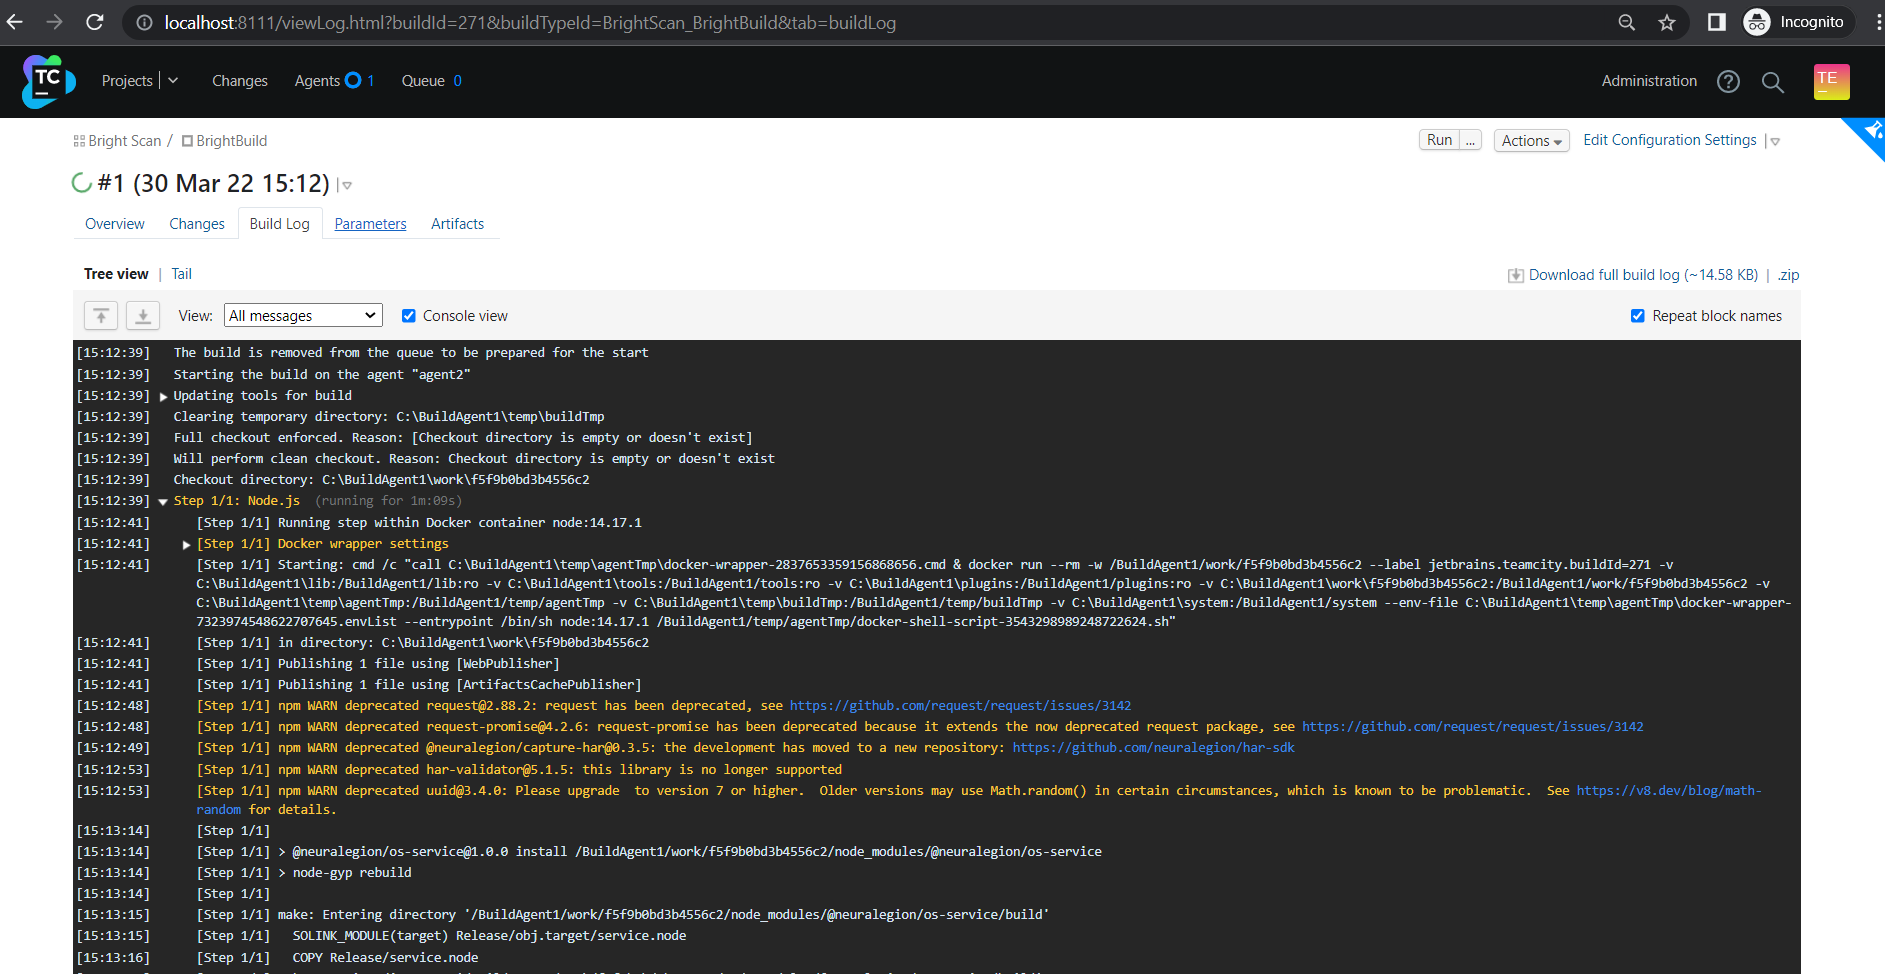
- To check the build logs, open the Build Log tab.
You can see that the Repeater and scan have started, the polling state is also active. You can also monitor the scan progress in the Bright app.
Updated 12 months ago
Did this page help you?