Entrypoints

Bright provides a user-friendly feature that simplifies the editing of Baseline values. This functionality replaces parsed values with placeholders, making it quick and convenient to modify them. It applies to both dedicated Discovery and the Legacy scan. The Crawler uses the Engine's information to match the Baseline values.

This approach offers the following benefits:

  • Comprehensive visibility of the current baseline values and any connectivity issues for each Entrypoint.
  • The ability to edit and test Baseline values before initiating scans, ensuring accuracy and efficiency.
  • Preservation of optimal baseline values between scans, allowing for consistent and reliable results.

Users have the flexibility to edit these values themselves through the Parameter view. Auto-matched values are labeled as Auto-filled, prompting users to consider modifying the suggested values if needed. When an entrypoint as created manually, all baseline values are automatically categorized as manually added without additional highlighting.

Adding a single entrypoint

Using this tool you can easily add, edit or fix single entrypoints. If you need to bulk upload, see Creating a New Discovery article.

Adding single entrypoints allows you to fine-tune the scan scope to get optimal coverage. Single entrypoints can be added after a bulk addition to shape a scan coverage.

Learn more about fixing connectivity problems here: Fixing The Entrypoint.

To add a new entrypoint, do the following:

  1. Open Projects Add entrypointsCreate a single entrypoint.
  2. Select the authentication object, if available. To learn how to create it, see the article.
  3. Select a repeater, if needed. To learn how to manage repeaters, see the Repeater (Scan Proxy) article.
  4. Add the data of the request: Method, URL, Headers, Body.
  5. Click Execute request to test the entrypoint. Results will appear in the Entrypoint status widget.
  6. Once the connectivity status is OK, click Create to save changes.

📘

Note:

Single entrypoint creation does not create a discovery page

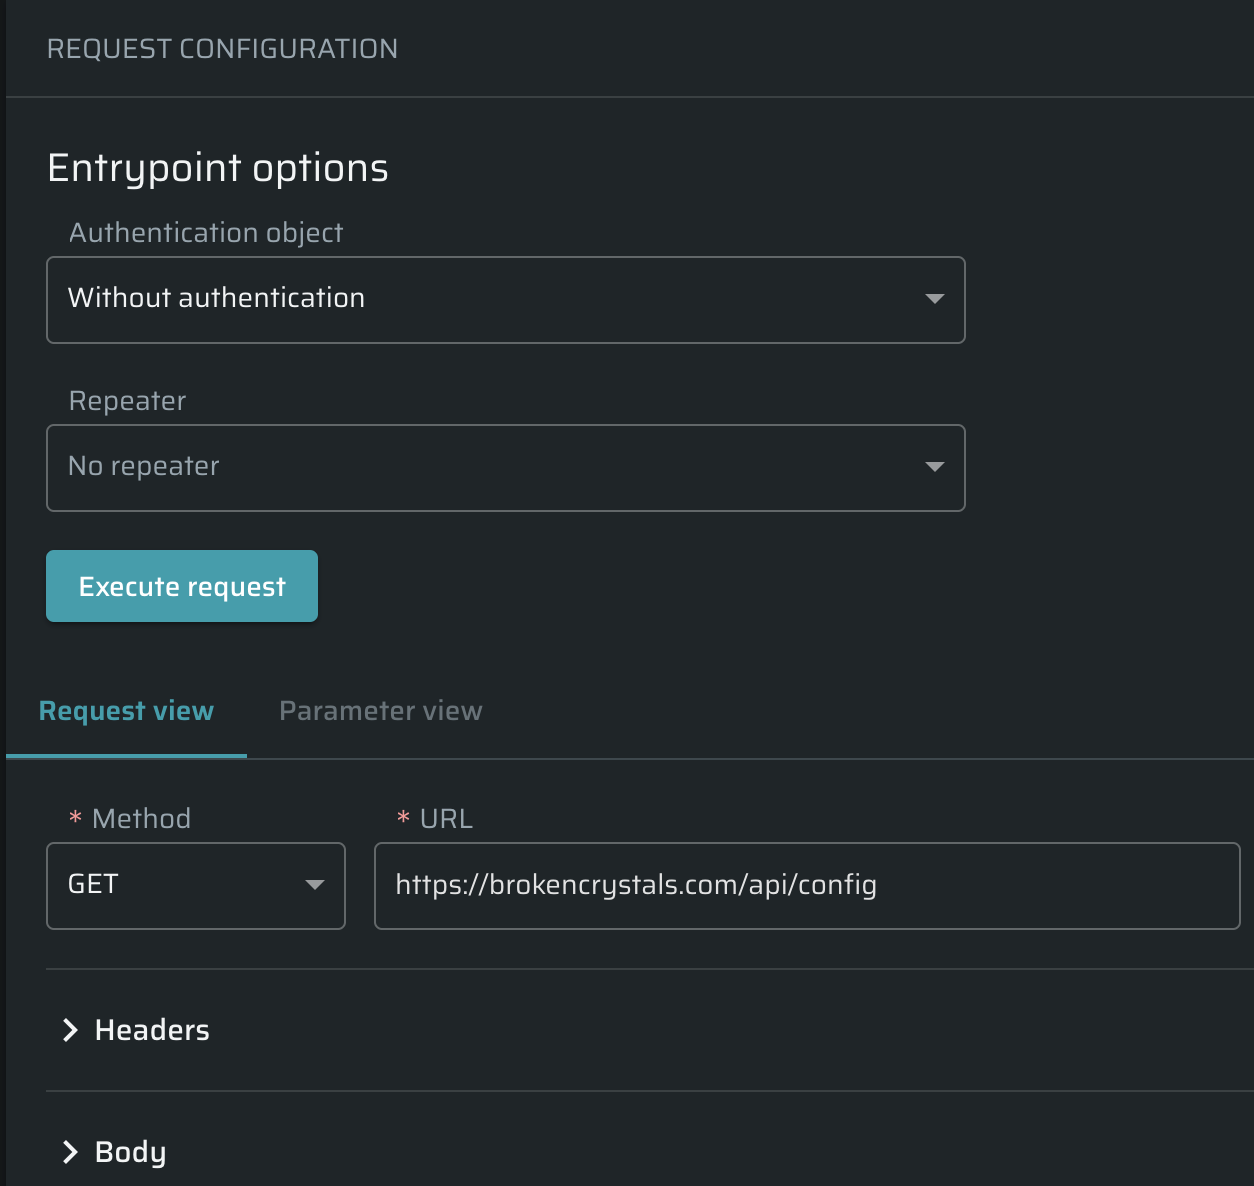
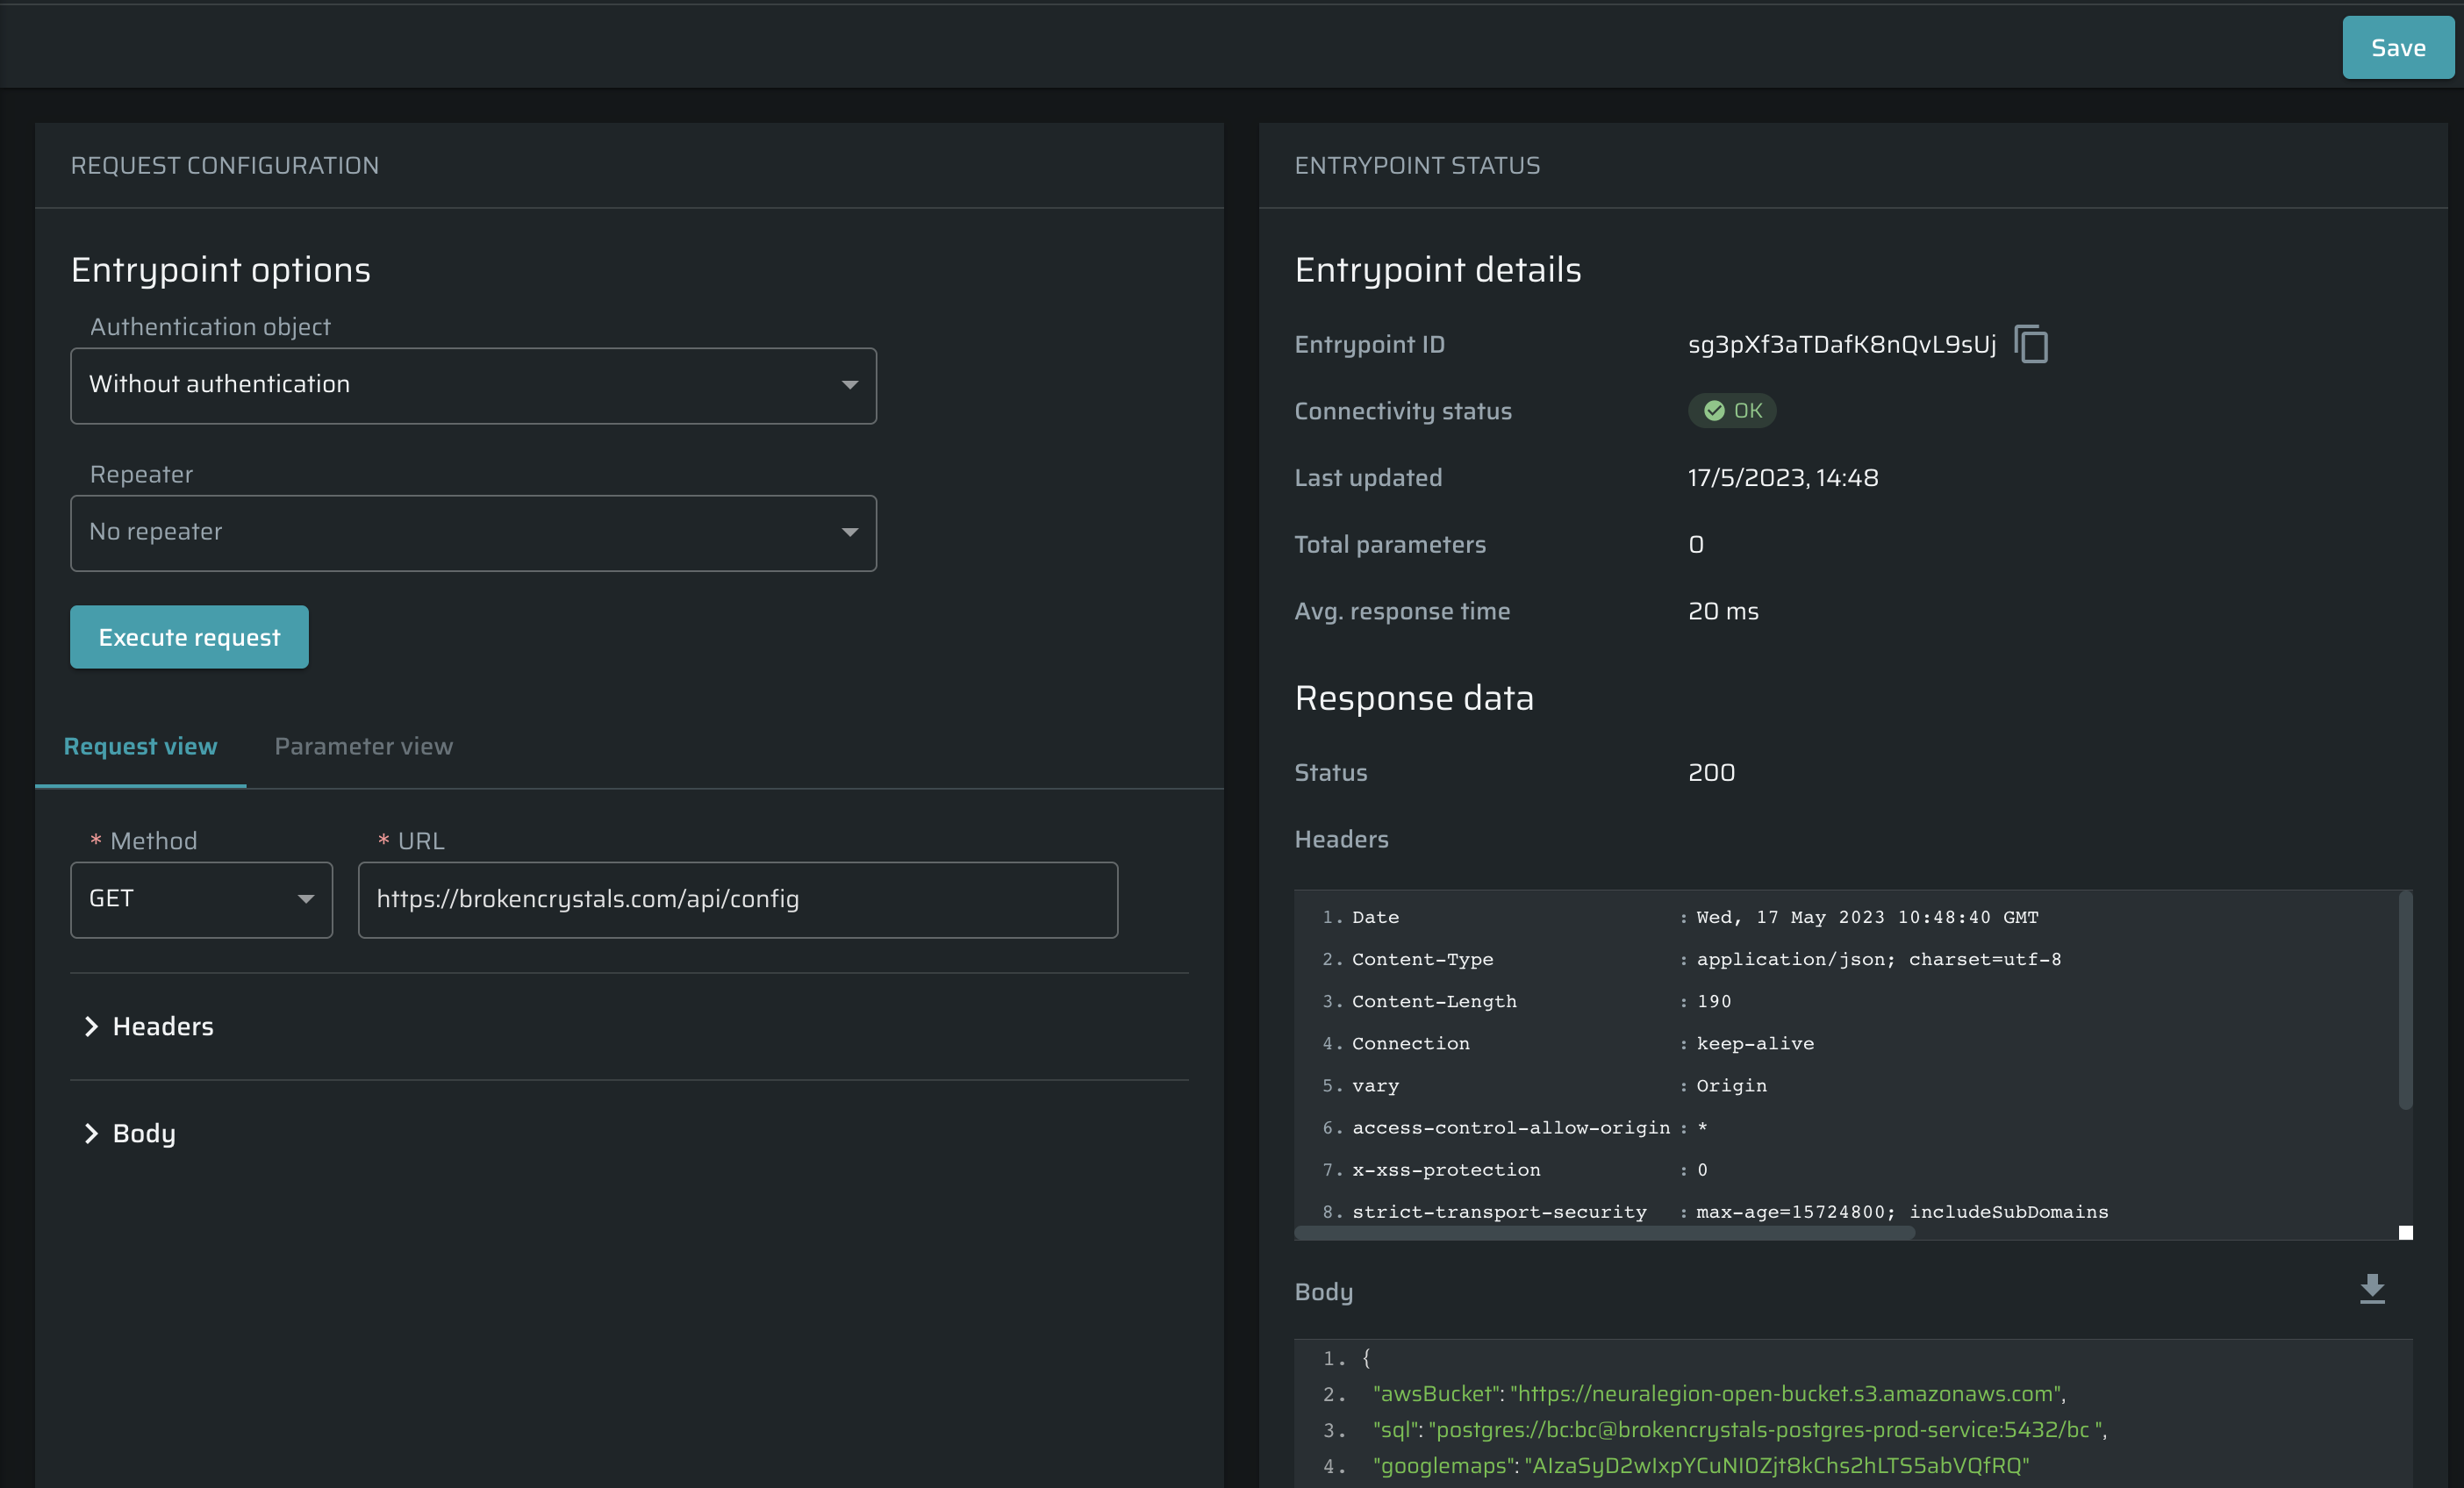
Fixing the entrypoint

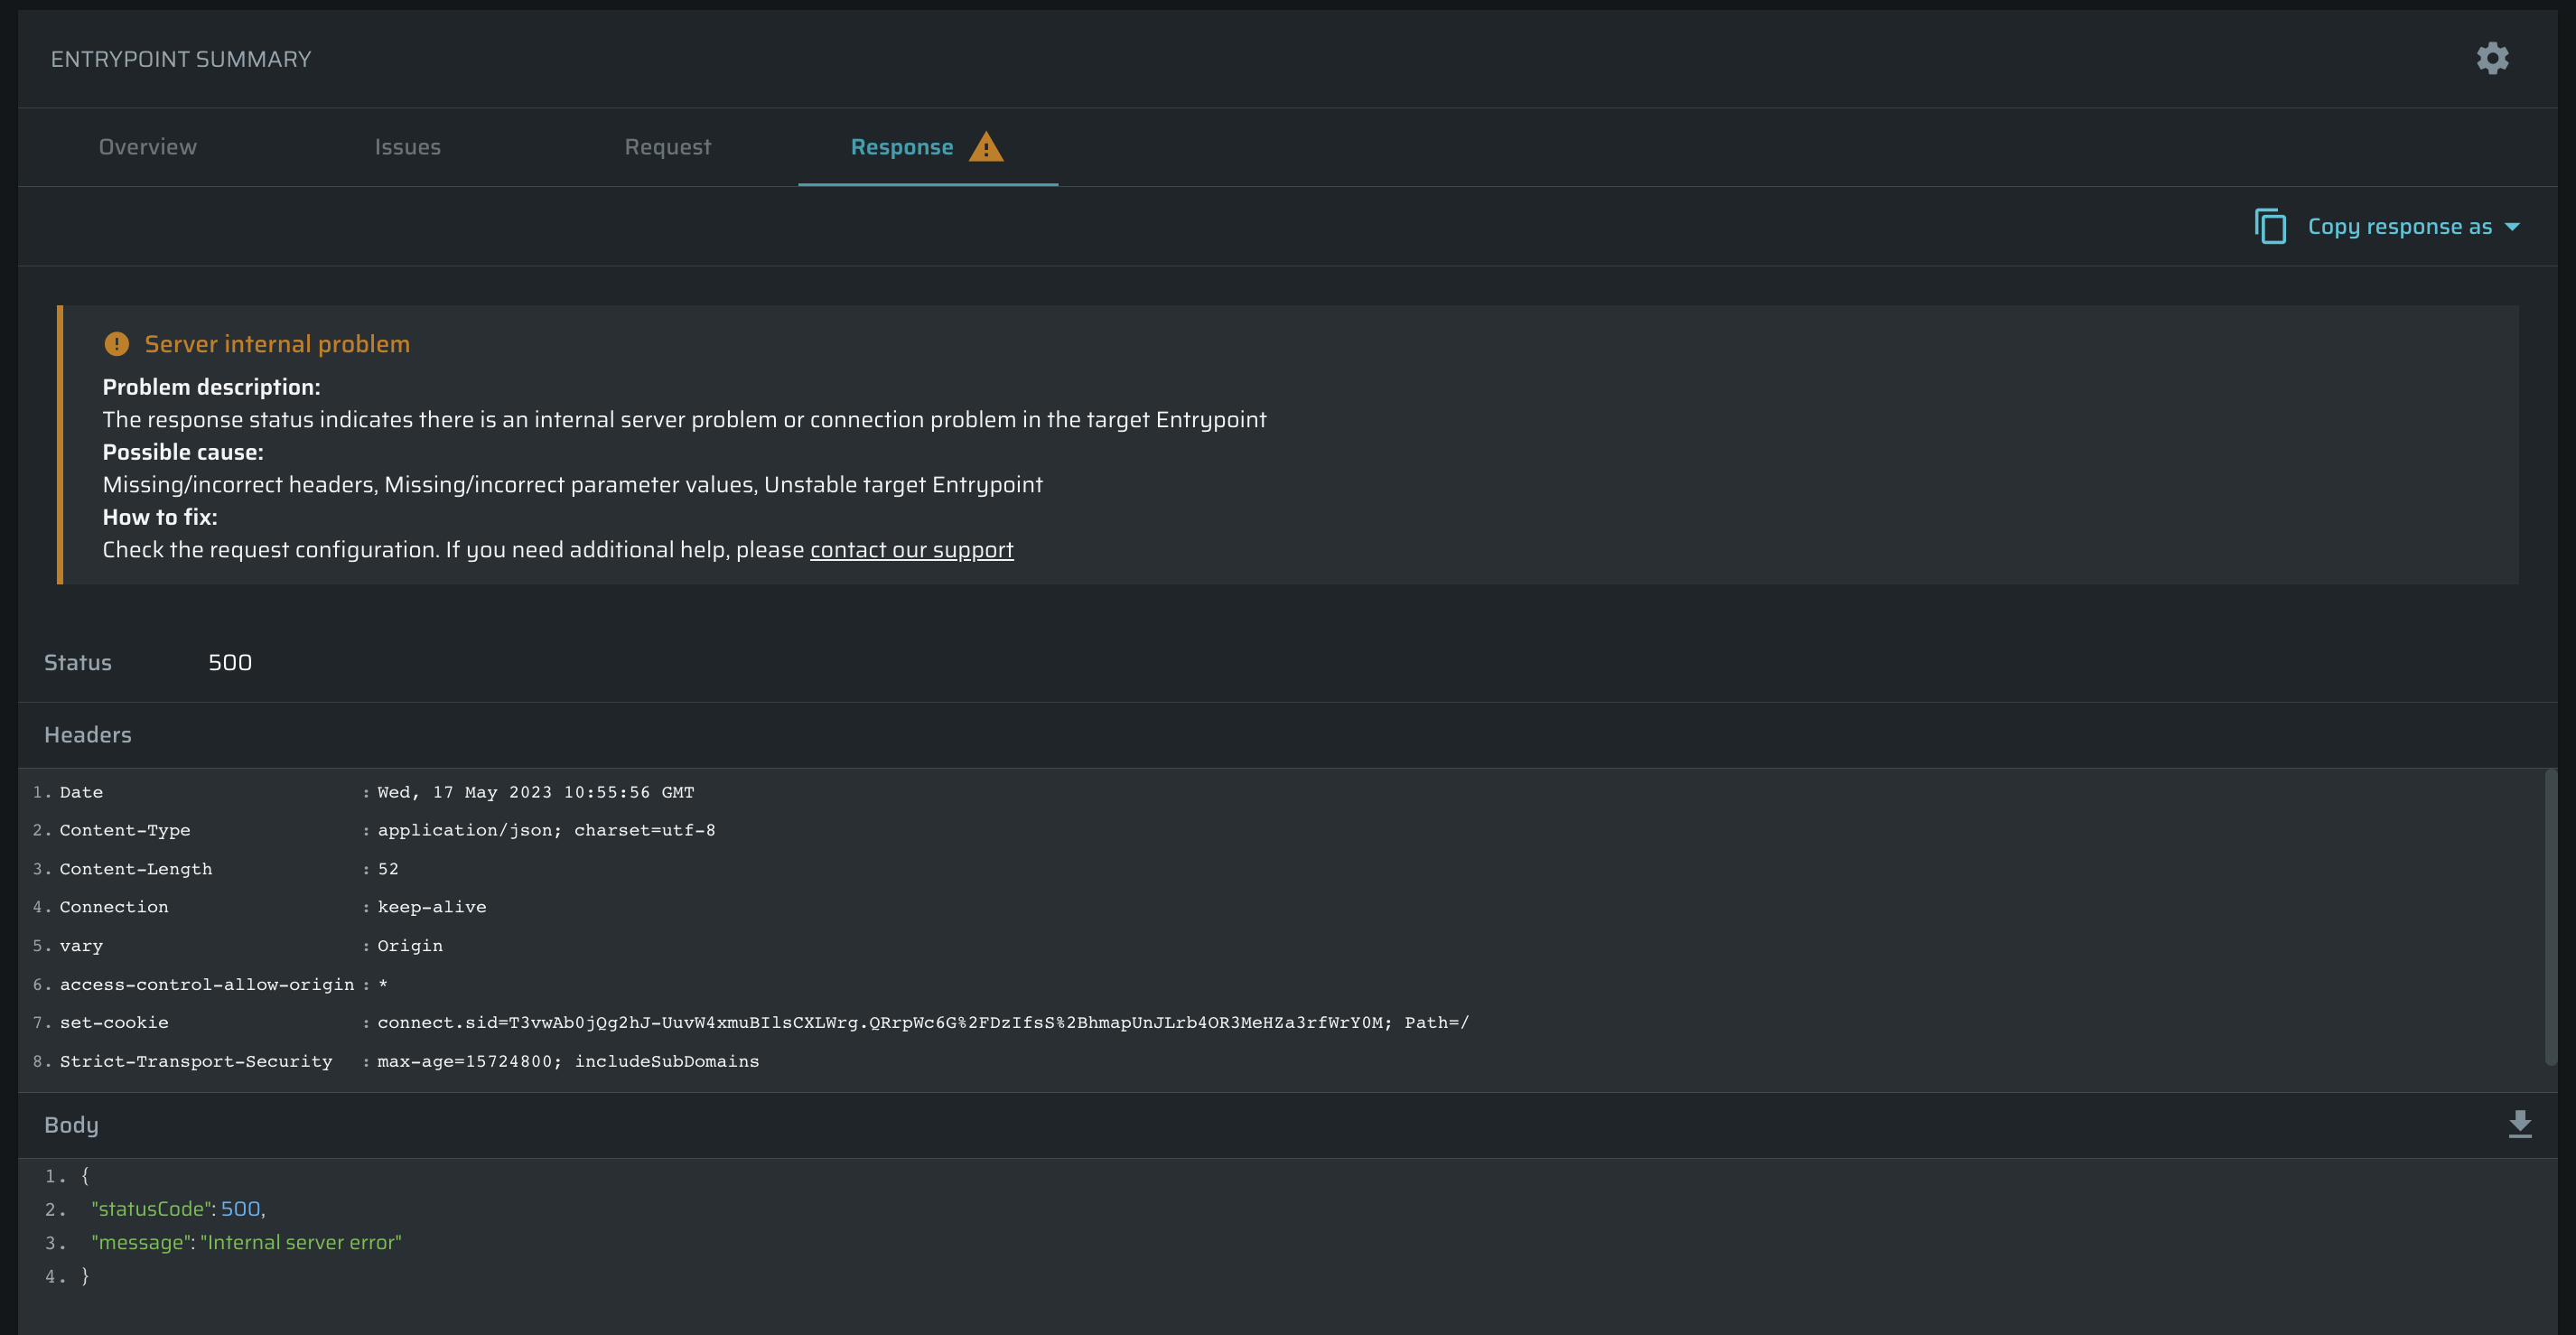
Using this tool, it's possible to fix the connectivity status of the entrypoint. To do that, find the entrypoint with a connectivity issue, and then click Edit.

Now you can use the Parameter view tab to change baseline values to locate a problem and fix it.

Once a request is executed, baseline values are extracted and then replaced with placeholders in the raw request. The Parameters tab allows users to manage values without changing the configuration of the request.

Click Execute request to test the entrypoint. Results will appear in the Entrypoint status table.
Once the connectivity status is OK, click Save to apply changes.

Editing existing entrypoint

To edit an existing entrypoint, do the following:

  1. Open ProjectsEntrypointsEdit entrypoint
  2. Change the data in the Request configuration tab
  3. Click Execute request to test the entrypoint.
  4. Click Save to finish editing

📘

Note:

Re-discovery can override the parameters changes made before.

Overview Entrypoints

This page contains detailed information about each entrypoint. It's divided into the following tabs:

  • Overview - information about entrypoint and security state
  • Issues - detailed information about issues related to the entrypoint
  • Request - contains the entry-point method, the URL, and the headers
  • Response - contains the entry-point status, its headers, and the body

Also, you can edit the entrypoint or delete it, using the buttons on the top of the page.
The Entrypoint can be deleted only on the Entrypoint summary page entered from the Project, not from the Scan or Discovery pages.

📘

Note:

If you delete an entrypoint, it will still be available in the scan, providing only the entrypoint ID. This information will be available as long as the scan exists.

Overview tab

This tab contains basic information about the entrypoint.

Entrypoint details

  • Request - method and URL
  • Connectivity - an indicator of whether the request was sent, and what the status of the response was received. . Connectivity statuses: OK, Problem, Skipped, Unauthorized, Unreachable
  • Last updated - when was the entrypoint data last updated
  • Total parameters - discovered parameters available for testing
  • Avg. response time - average response time, ms
  • Authentication object - the authentication object of this particular entrypoint in order to perform a correct test
  • Entrypoint ID - unique entrypoint ID
  • Project - a project to which this entrypoint belongs to

Security state

  • Status - security status of the entrypoint: New, Changed, Tested, Vulnerable
  • Last scan - a timestamp of the last scan, and a link to it
  • Open issues - issues opened using the entrypoint
  • Closed issues - a number of closed issues related to the entrypoint

Issues tab

This tab contains all found issues using a particular entrypoint. This tab is used for managing the issues and contains the following information: Issue type, Severity, Status, Last reported, Times reported, and Labels.

Click on the issue to open the issue summary page. To learn more about it, see the article.

Using the button, users are able to perform the following actions with issues:

  • Resolve - mark the issue as resolved
  • Reopen - reopen the issue
  • Ignore - mark the issue as ignored

Request tab

The tab contains the following information: Method, URL, Headers, Body.

Response tab

The tab contains the following information: Status, Headers, Body. Also, the information about possible connectivity problems will be displayed on this tab.