Snyk Validation Integration
By combining Snyk SAST and Bright DAST, users can more comprehensively validate their Snyk SAST issues. This approach reduces false positives and improves the reliability of vulnerability assessments, providing a more robust and trustworthy experience.
This is how the Snyk integration works:
- Bright continuously reviews all Snyk SAST issues
- The Bright integration identifies a test for each Snyk issue
- A list of tests is collected for each project
- The Bright app runs selected tests and provides a list of validated issues
- Each Bright issue is linked with a corresponding Snyk SAST issue
Prerequisites
- Created a project in Snyk using an Org Admin service account
- Obtained Snyk organization ID and API key (token)
Step-by-step guide
-
Open the Organization page → Integration section
-
Select the Snyk → Settings
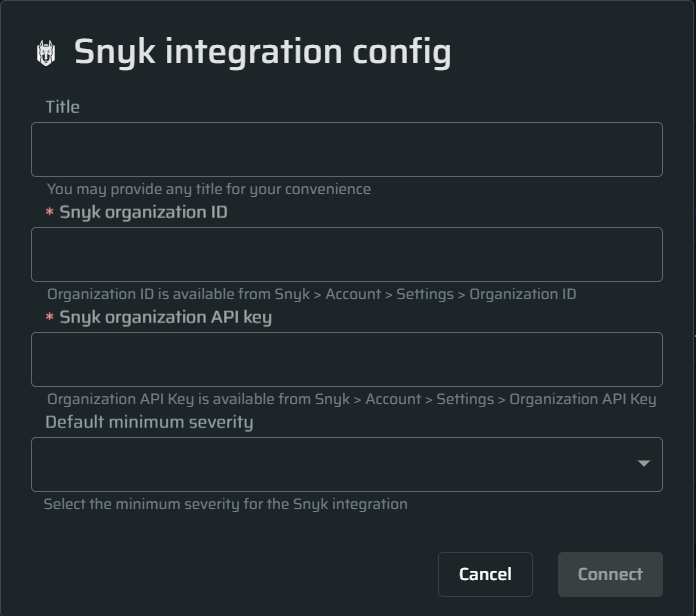
-
Optional: Give the integration a Title representing the name of this Snyk instance.
-
Provide Snyk organization ID ,organization API key.
-
Optional: Choose a minimum default severity.
-
Click Connect
-
Create a project and select permissions: Projects → Create project → Type the project name and select groups that can access this project → click Create
-
Open the Project page → Integration Settings → Add integration
-
Select a Snyk project, associate a Repository and a Branch and click Save
-
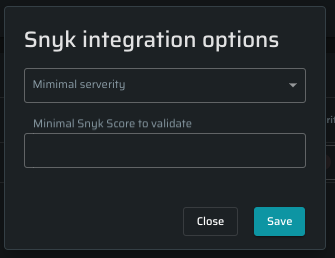
Configure Issue Severity:
- Minimal severity - select from Critical, High, Medium, Low, None options. For example, when choosing High, you will only get Critical and High severity issues.
- Minimal Snyk Score to validate - use this field to filter issues imported to Bright. For example, when selecting 750, you will get only those above this score.
-
Open the Scans page → Create a new scan, select a specific project linked earlier or select All projects to choose all of them and click Start Scan
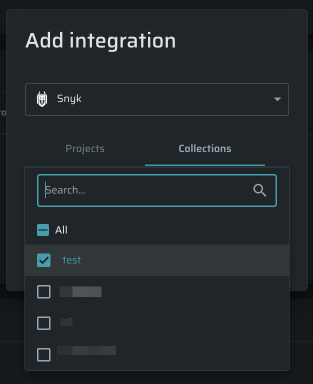
Bright supports multiple Snyk projects and collectionsOnce the integration is set on the Organization level, you can add as many Snyk projects and collections as you need. To do so, do the following:
- Open your Project and go to the Project Settings page
- Scroll down to the INTEGRATION SETTINGS section and click on the +Add Integration
- Select the Snyk option and associate Snyk projects and collections from the lists
- Click Save to continue
The Snyk project contains a list of tests to perform; manual test selection will be unavailable.

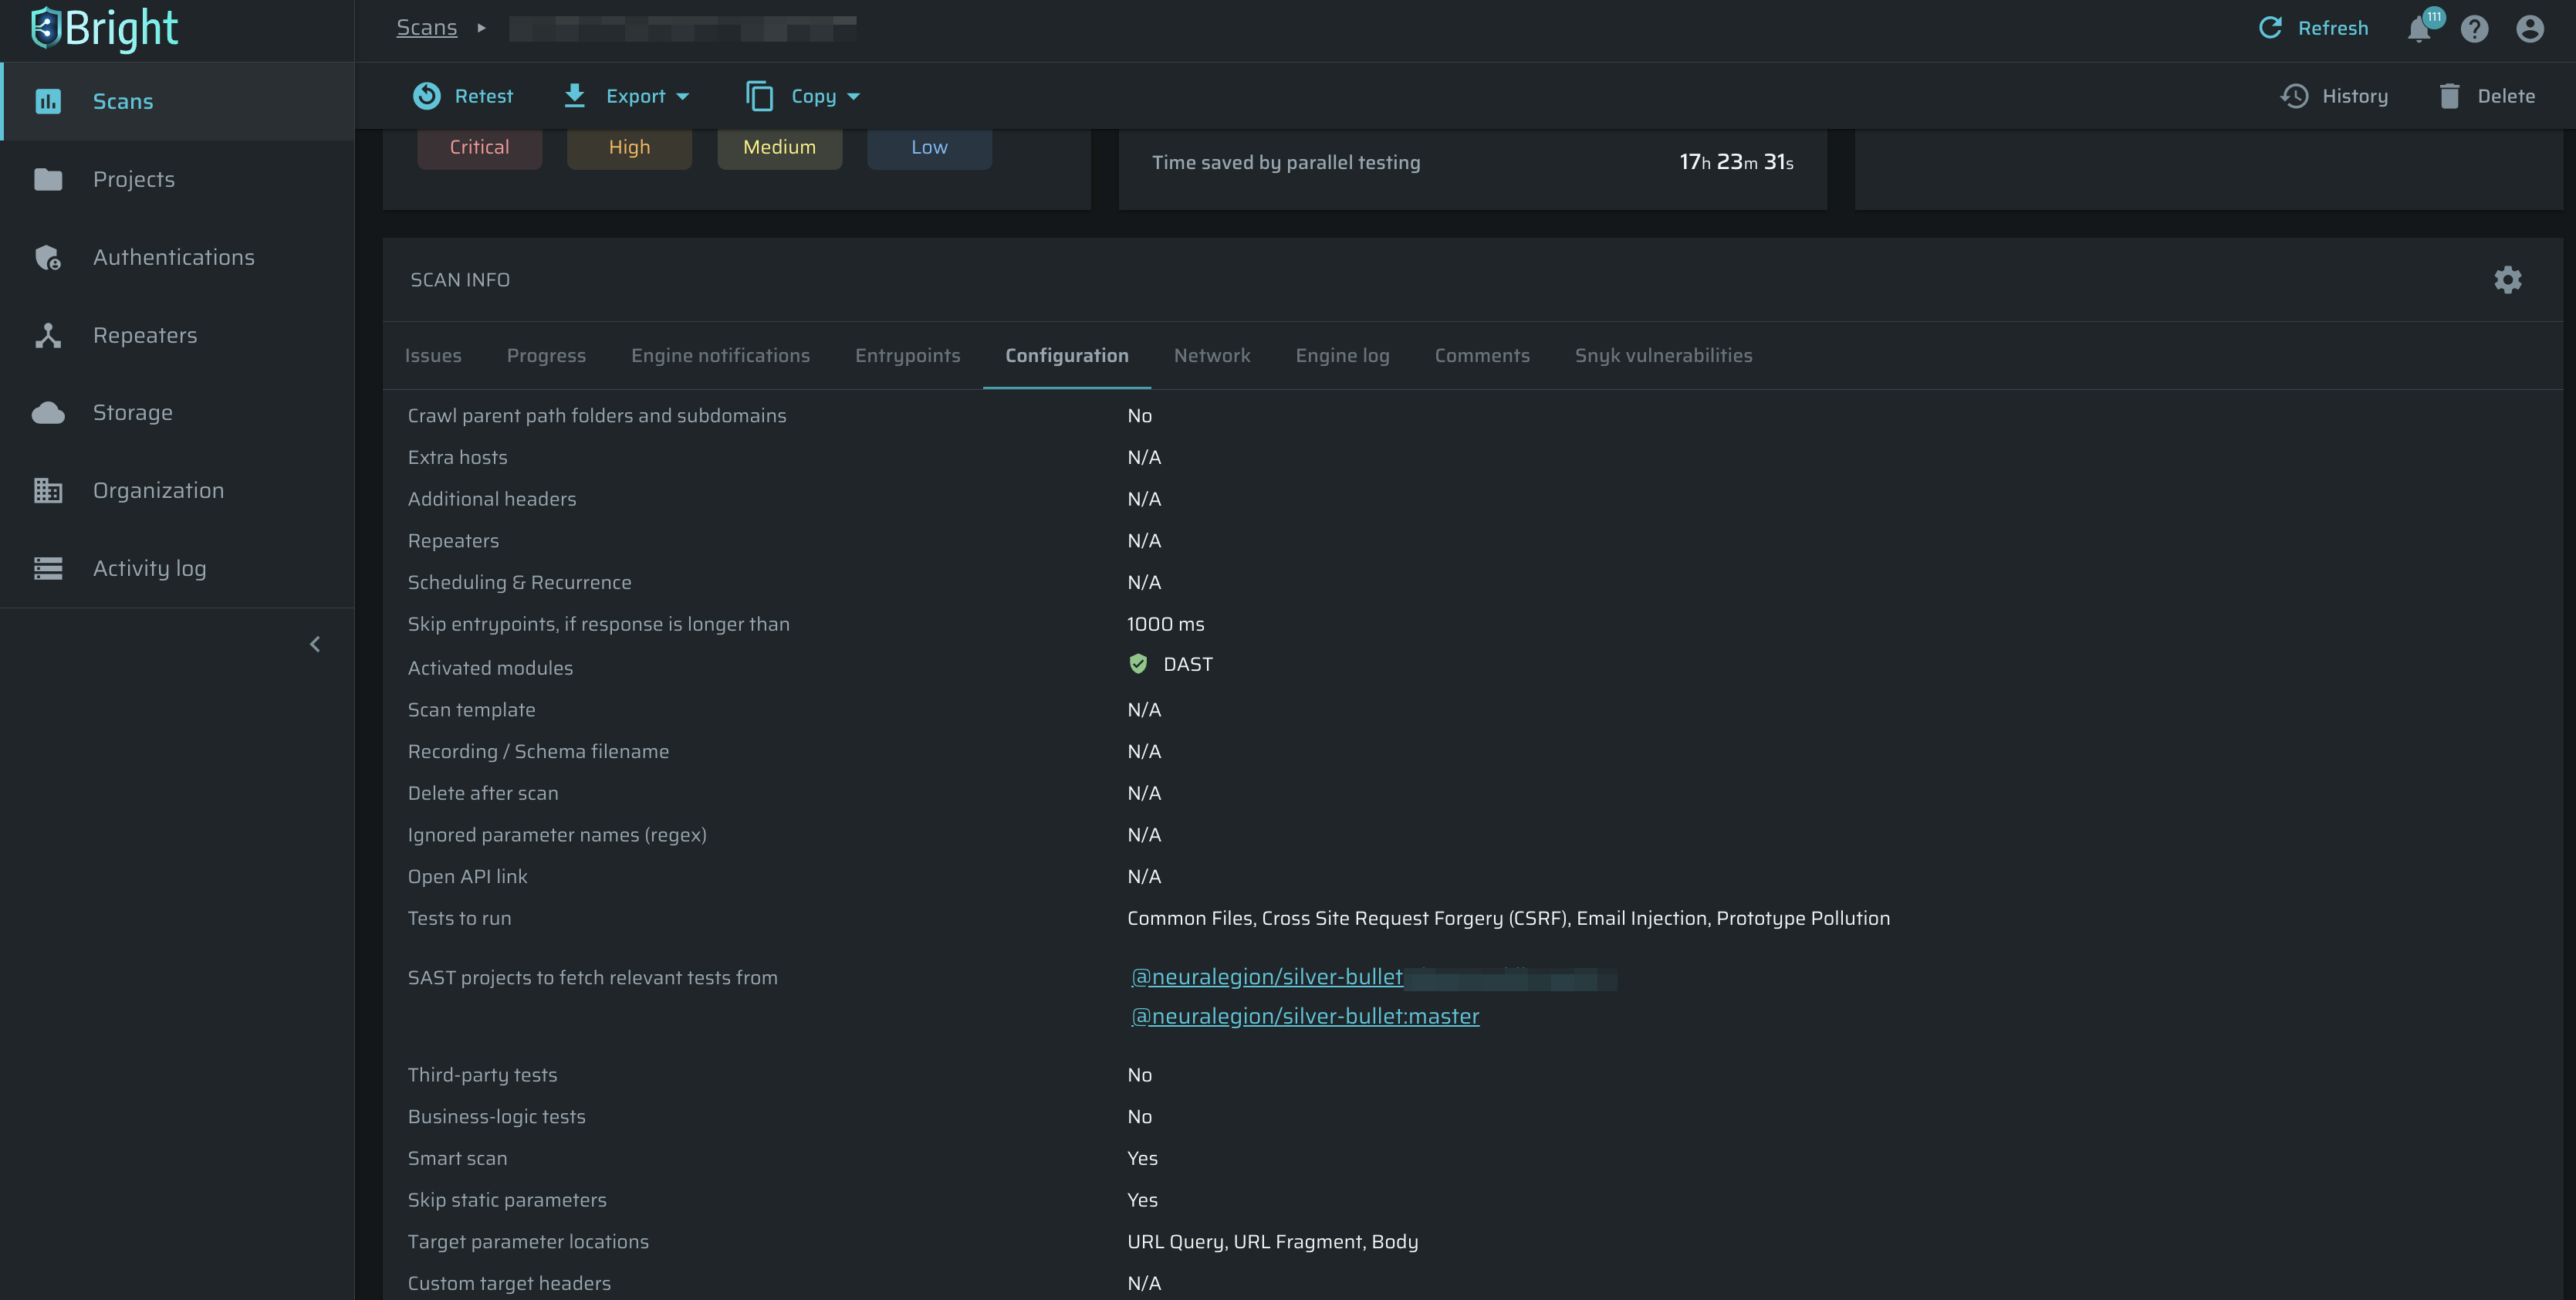
How to review performed tests
To see a list of tests provided by the Snyk project, do the following:
-
Open the Scans page → select a scan
-
click the Configuration tab and scroll down to Tests to run
Bright supports integrating projects with specific Snyk branches, expanding beyond just the main project level. Users can view and select all child branches under a project or choose specific branches as needed.
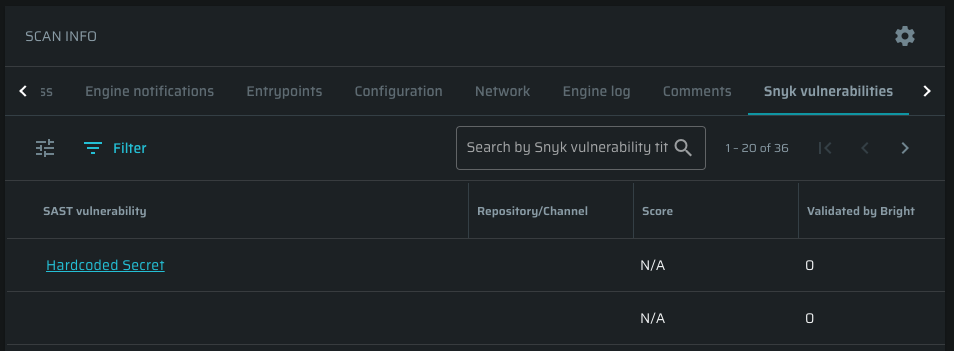
Scan results
After the tests are completed, a scan page will display a list of issues found. To view a brief, point at the i symbol next to the project name:
- SAST vulnerabilities: all vulnerabilities imported from the Snyk SAST project
- Validated by Bright: number of Snyk vulnerabilities tested by the Bright DAST
- Bright finding: Snyk vulnerabilities found by the Bright DAST

To look deeper at the scan results, open the Snyk Vulnerabilities tab. You can filter the results and adjust the table. To open a vulnerability in your Snyk project, click on the title, and a new tab will appear. To open an issue on your Bright project, click on the item in the Bright finding column. Also, note the Repository column, which shows a connected repository on the Snyk side.
Updated about 2 months ago