Managing Personal Account
The user settings enable you to configure your personal account
Accessing your personal account
To access your personal account, click ![]() in the upper-right corner of the screen, and then select User Settings.
in the upper-right corner of the screen, and then select User Settings.

On the User Settings page, you can change your personal settings and preferences.
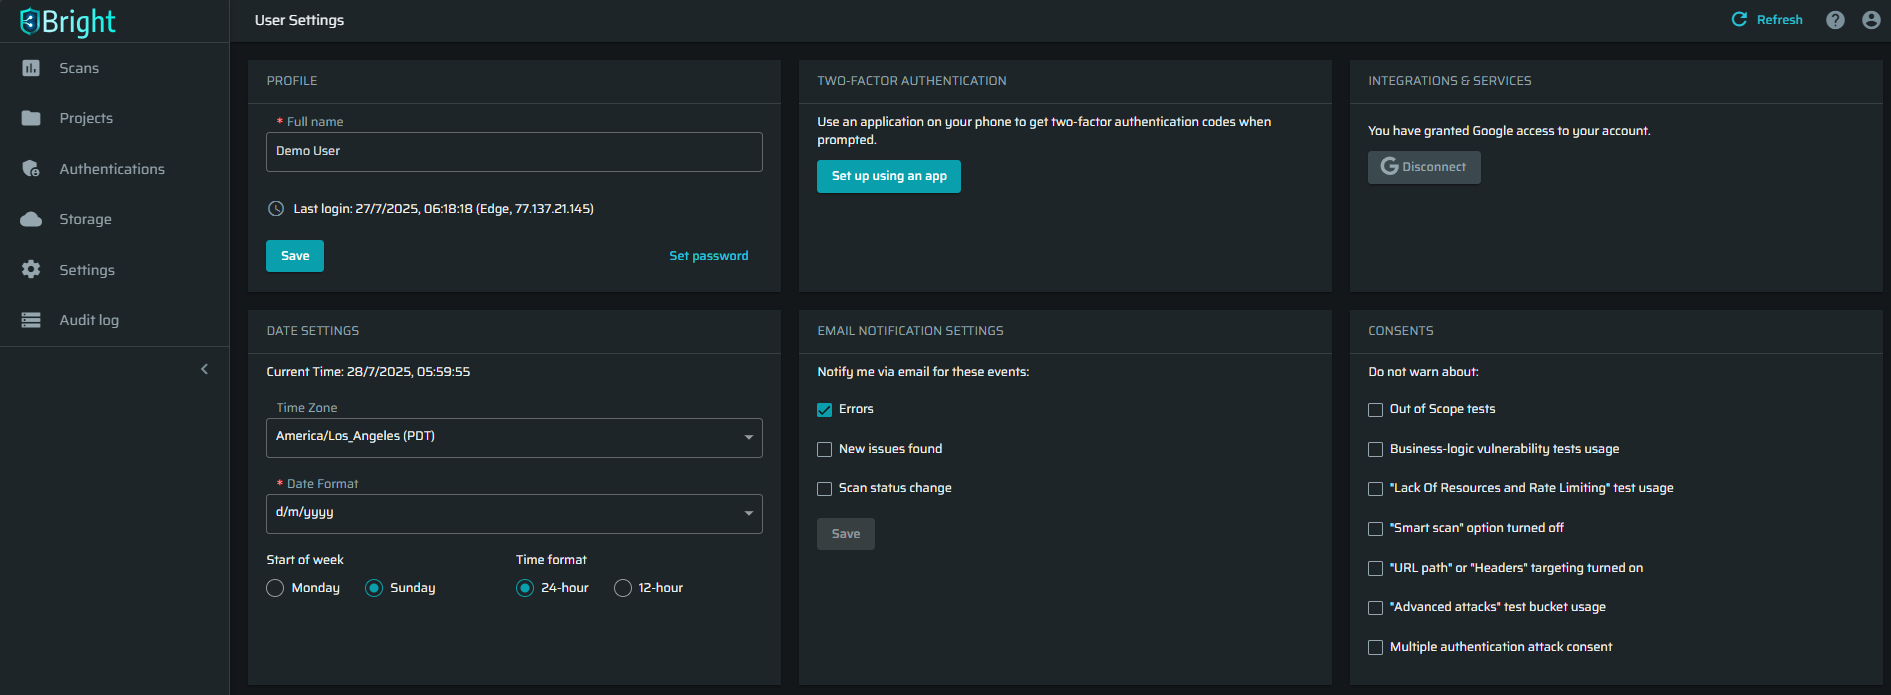
Editing your name
To edit your name, in the PROFILE section, enter your first and last names and click Save.
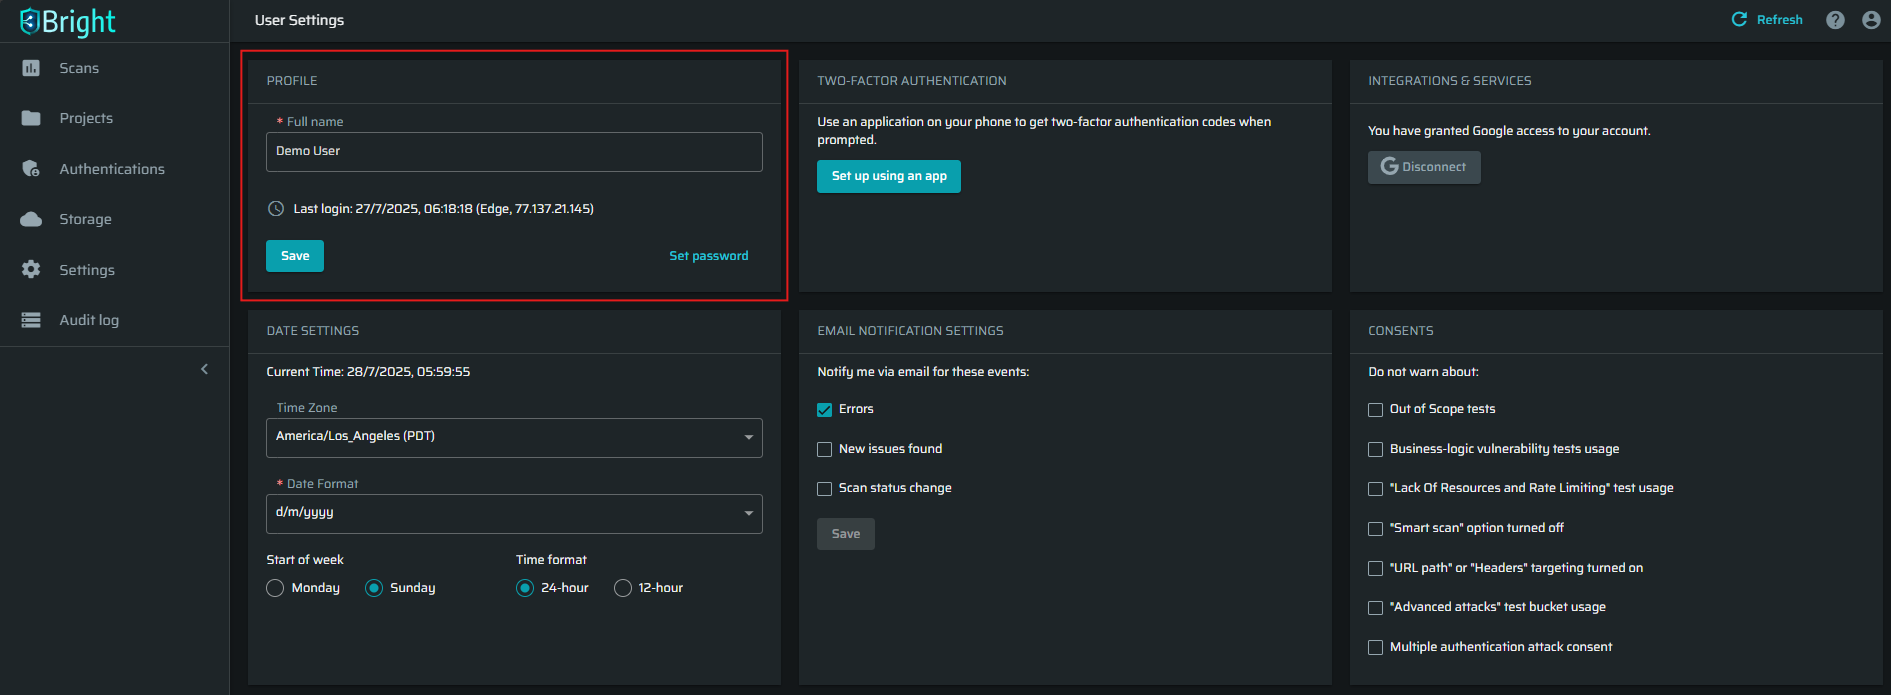
Setting a password
If your account has been created via SSO or Social Login, you can create a password to enable direct login to the Bright App. To set a new password or change the existing one, follow these steps:
-
In the lower-right corner of the PROFILE section, click Set password. You will get an email with further instructions.
-
Follow the instructions provided in the email.
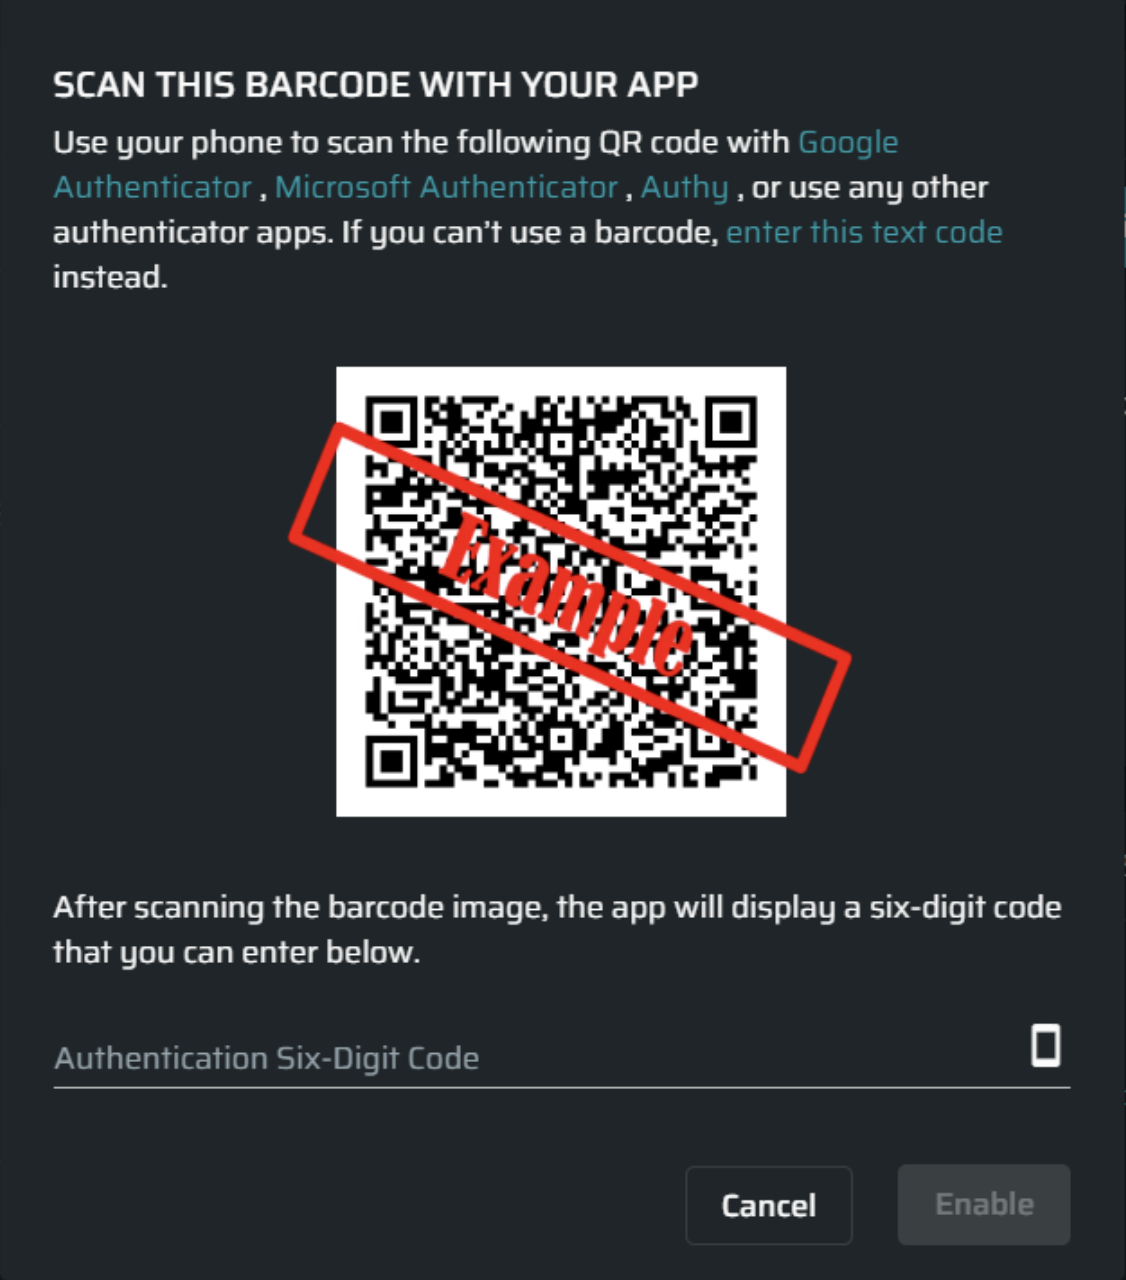
Enabling 2FA for your account
To enable 2FA for your account, follow these steps:
- In the TWO-FACTOR AUTHENTICATION section, click Set up using an app.
- Follow the displayed instructions.
- After you finish, paste the provided authentication code into the text box at the bottom of the dialog box and click Enable.

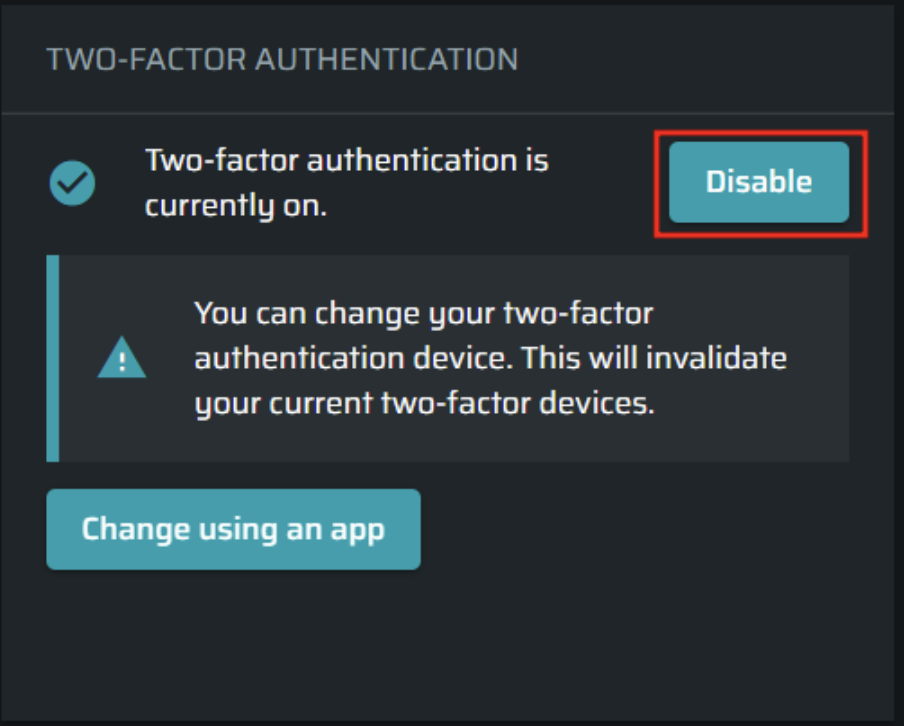
Disabling 2FA
To disable 2FA for your account, in the TWO-FACTOR AUTHENTICATION section, click Disable.
NoteA user cannot disable their own 2FA if an organization-wide 2FA policy is set.
Changing 2FA device
To change the 2FA device, follow these steps:
- In the TWO-FACTOR AUTHENTICATION section, click Change using an app.
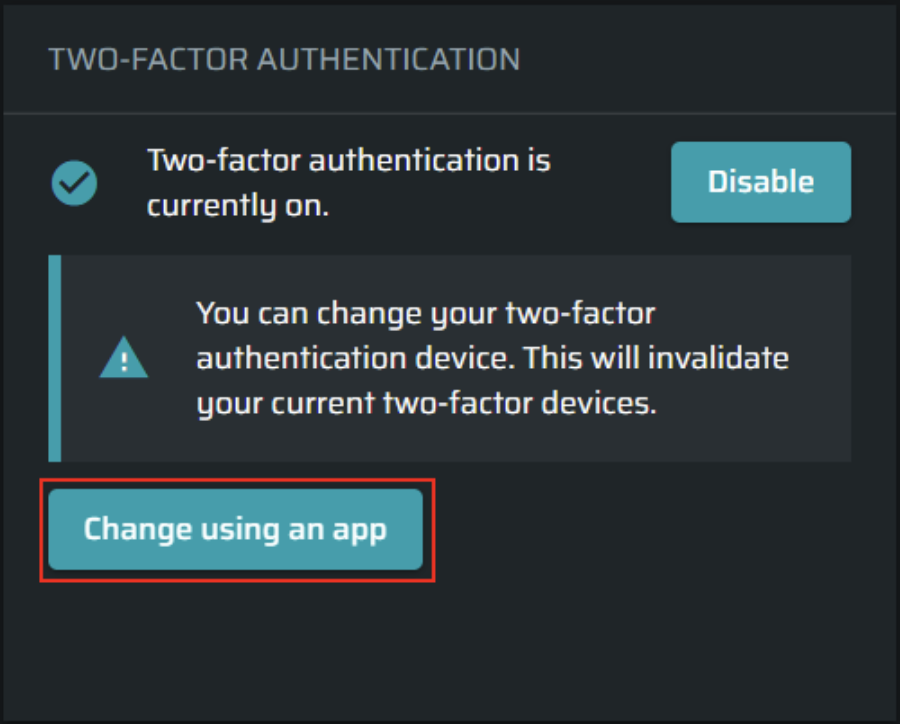
- Follow the displayed instructions.
- After you finish, paste your authentication code into the text box at the bottom of the dialog box and click Enable.
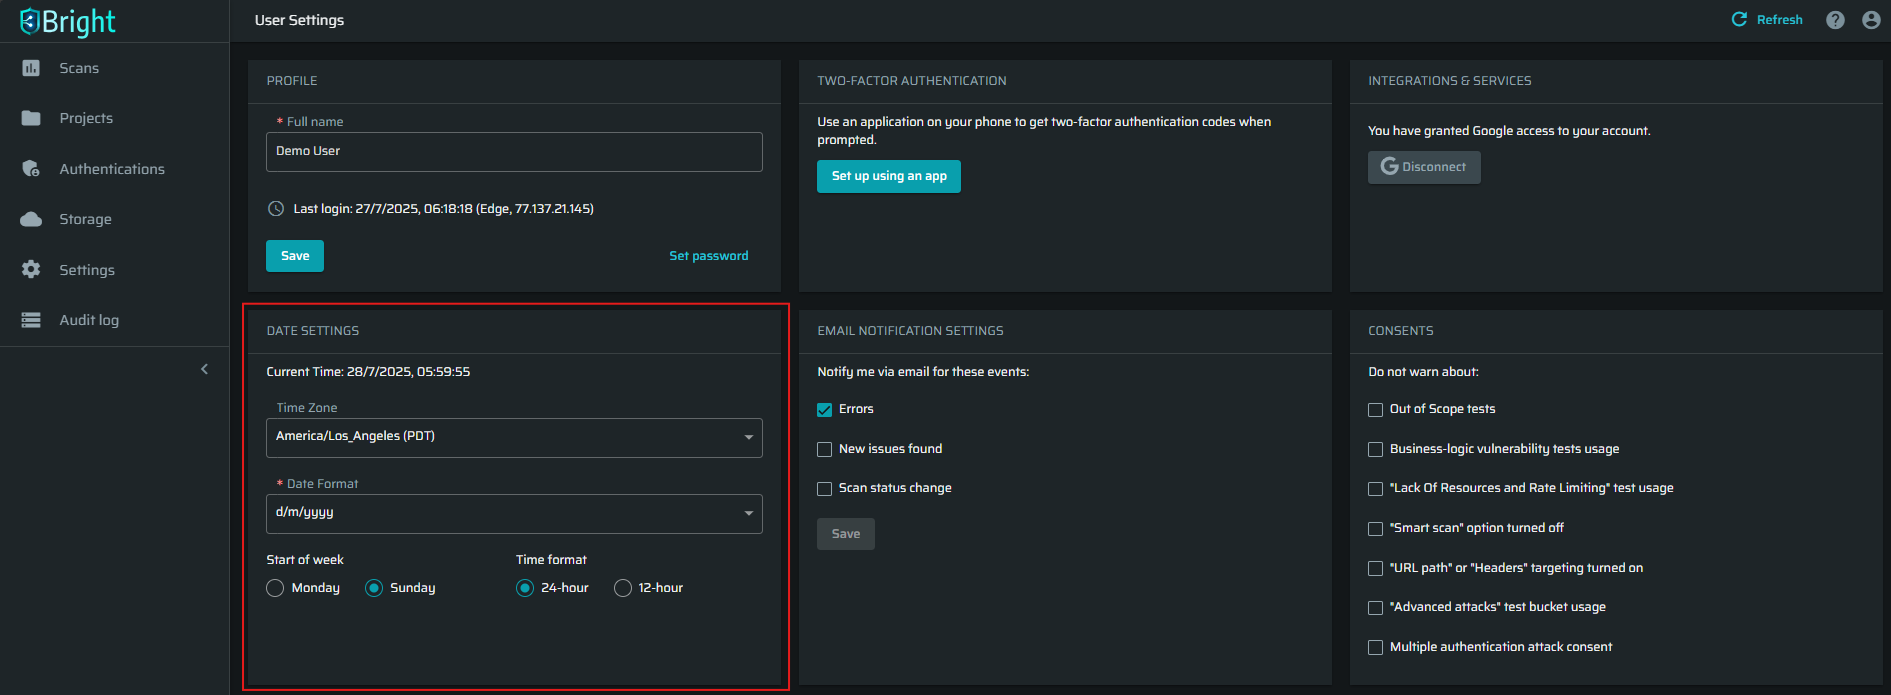
Setting date and time
All your activity in the Bright app, scan runs and details are time-bound. That is why to ensure proper management of the activity log and scans history, you need to verify the date and time settings.
The current date and time are shown at the top of the DATE SETTINGS section. To change the time and date formats, follow these steps:
-
From the Time Zone dropdown list, select your time zone.
-
From the Date Format dropdown list, select the format for date indication.
-
Select the first day of the week and the time format using the relative buttons.
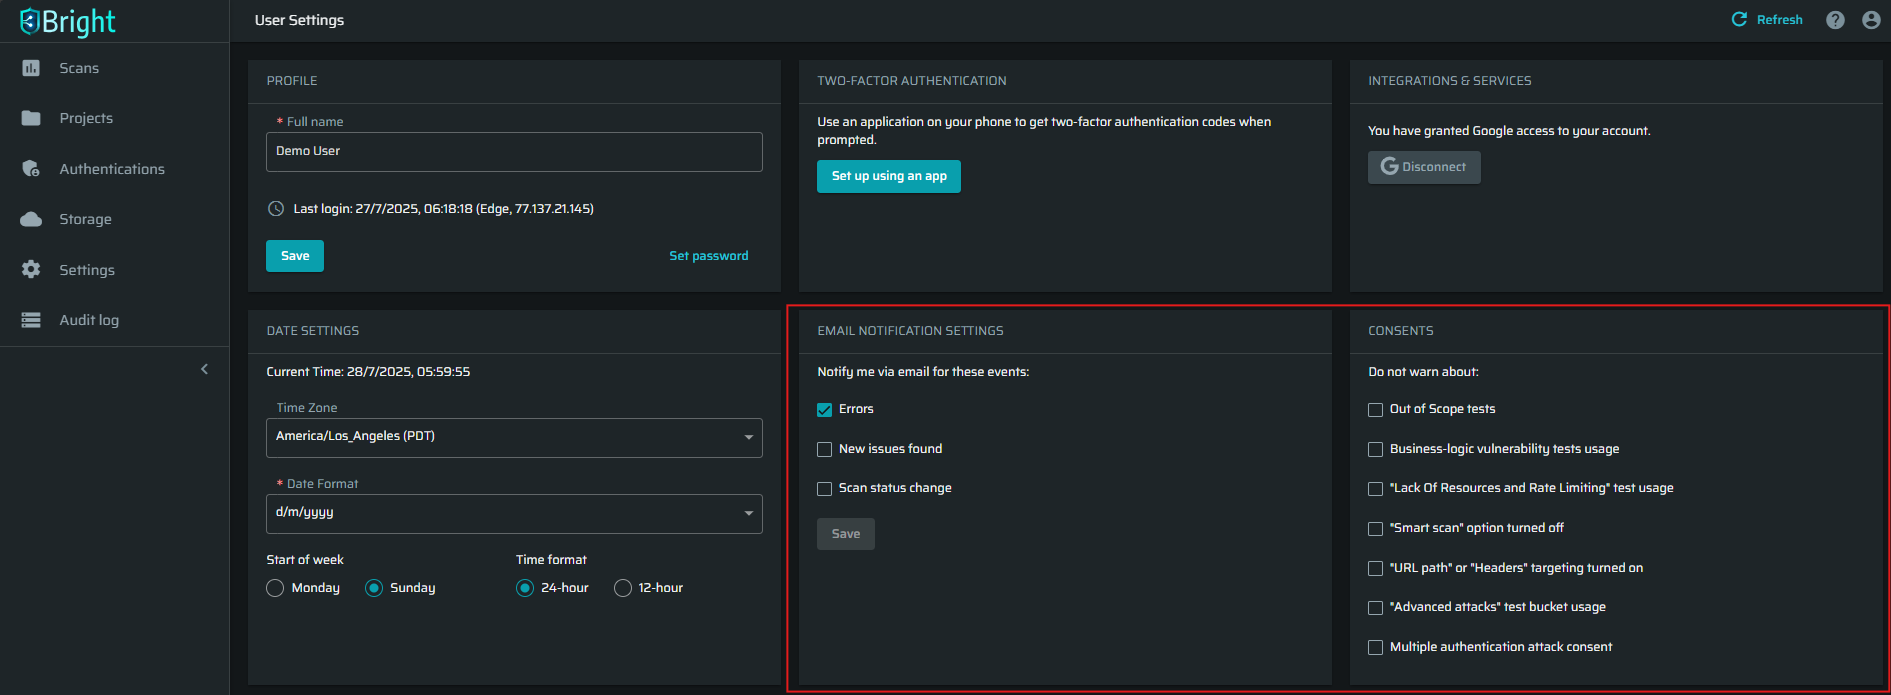
Setting your notification preferences
Bright allows you to select the types of events you will be notified about via email as well as to deny some specific warnings.
To enable or disable such event notifications, you simply need to select or clear the relative checkboxes in the EMAIL NOTIFICATION SETTINGS and CONSENTS sections. After you complete the selection, click Save.
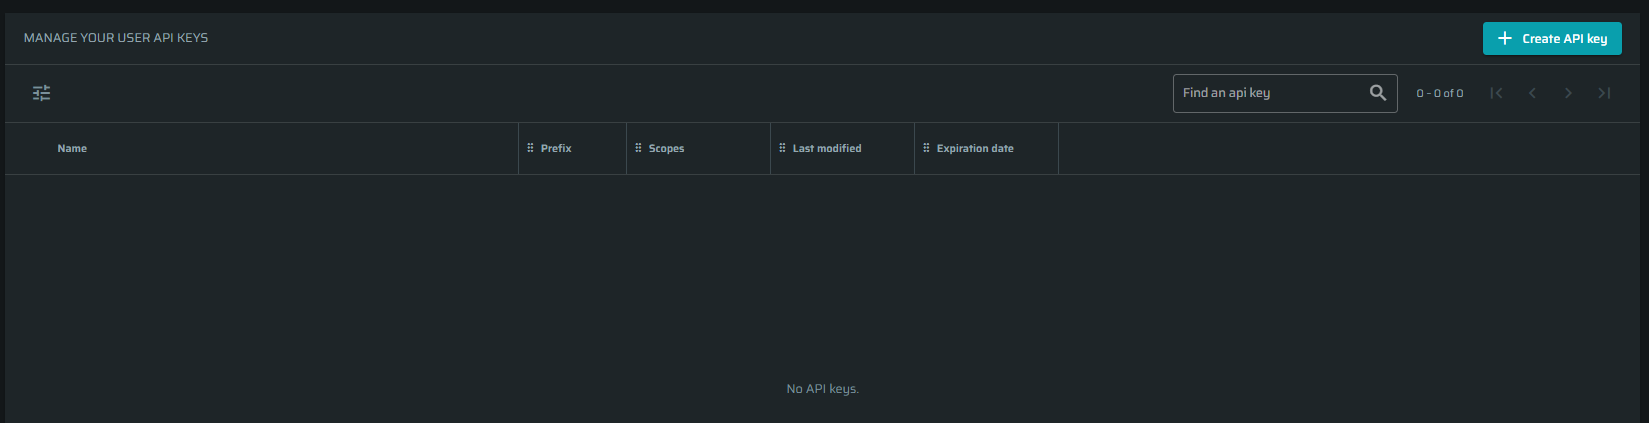
Managing your personal API keys (authentication tokens)
To enable some Bright operations and integrations, you will need an authentication token (API key). You can create a personal API key on your User Settings page. To create a personal API key, follow these steps:
-
Enter your personal settings page. For that, click
 in the upper-right corner of the screen, and then select User Settings.
 -
In the MANAGE YOUR USER API KEYS section, click + Create API key.
-
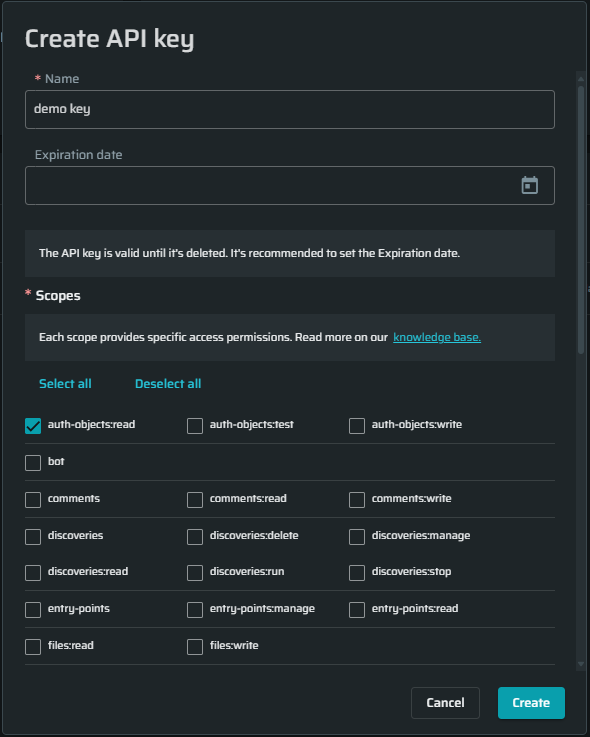
Fill in the form.
-
Assign the API key a name.
-
(Optional) Select an expiration date.
-
Select access scopes and which type of actions (such as read or write) it is permitted to perform. Read more about the access scopes here.
-
-
Click Create.
-
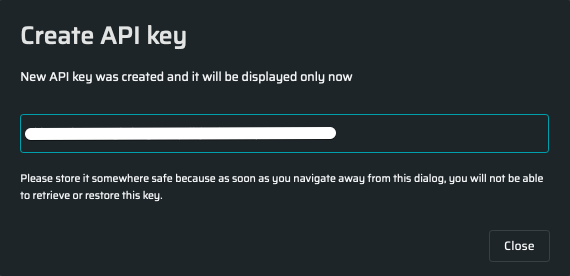
Copy the generated key and save it to a safe place since as soon as you navigate away from this popup, you will not be able to restore this key.
-
The created keys without the entire values are listed in the MANAGE YOUR USER API KEYS section.
Updated 12 months ago