Integrating a Project with Webhooks
The Bright webhooks allow you to integrate with any third-party system you need and automatically send a JSON payload containing the discovery/scan information triggered by specific events. Webhooks eliminate your need to manually check the results of multiple discoveries/scans daily.
Creating a webhook
To create a webhook, follow these steps:
-
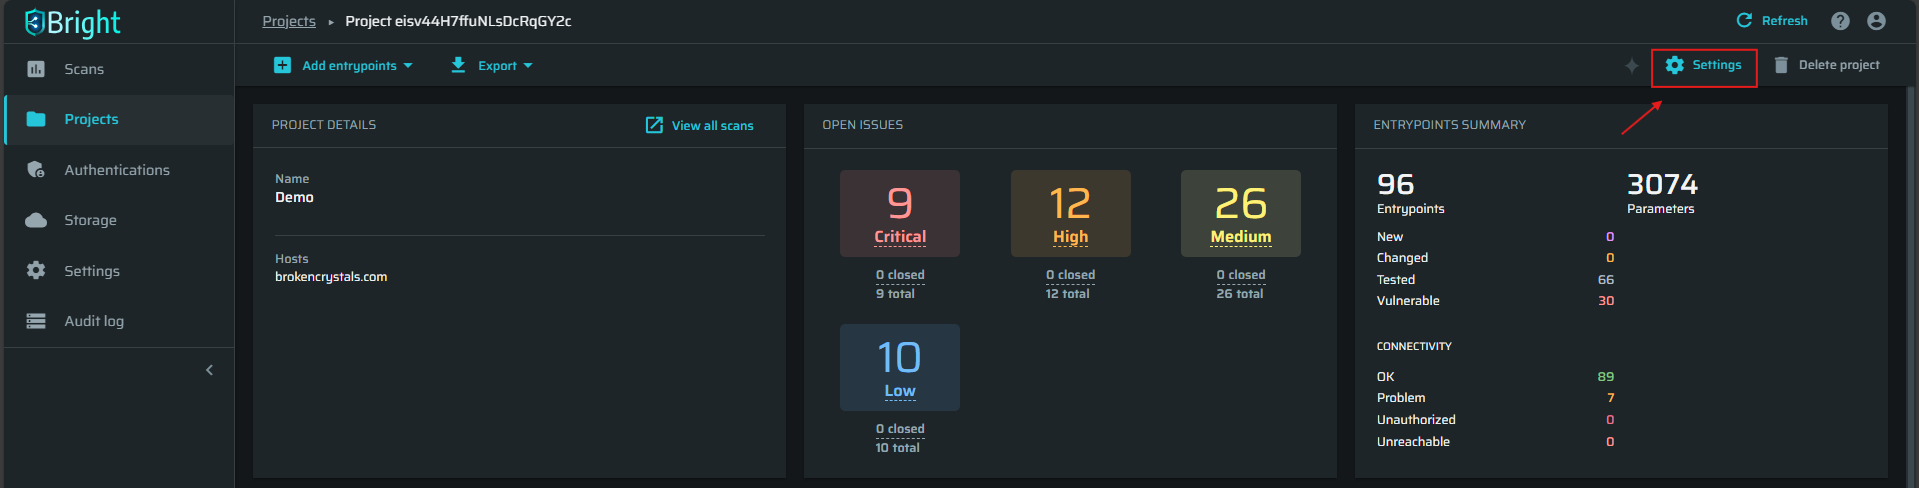
Open the Projects page and choose the project which you want to manage. Click on Settings.
-
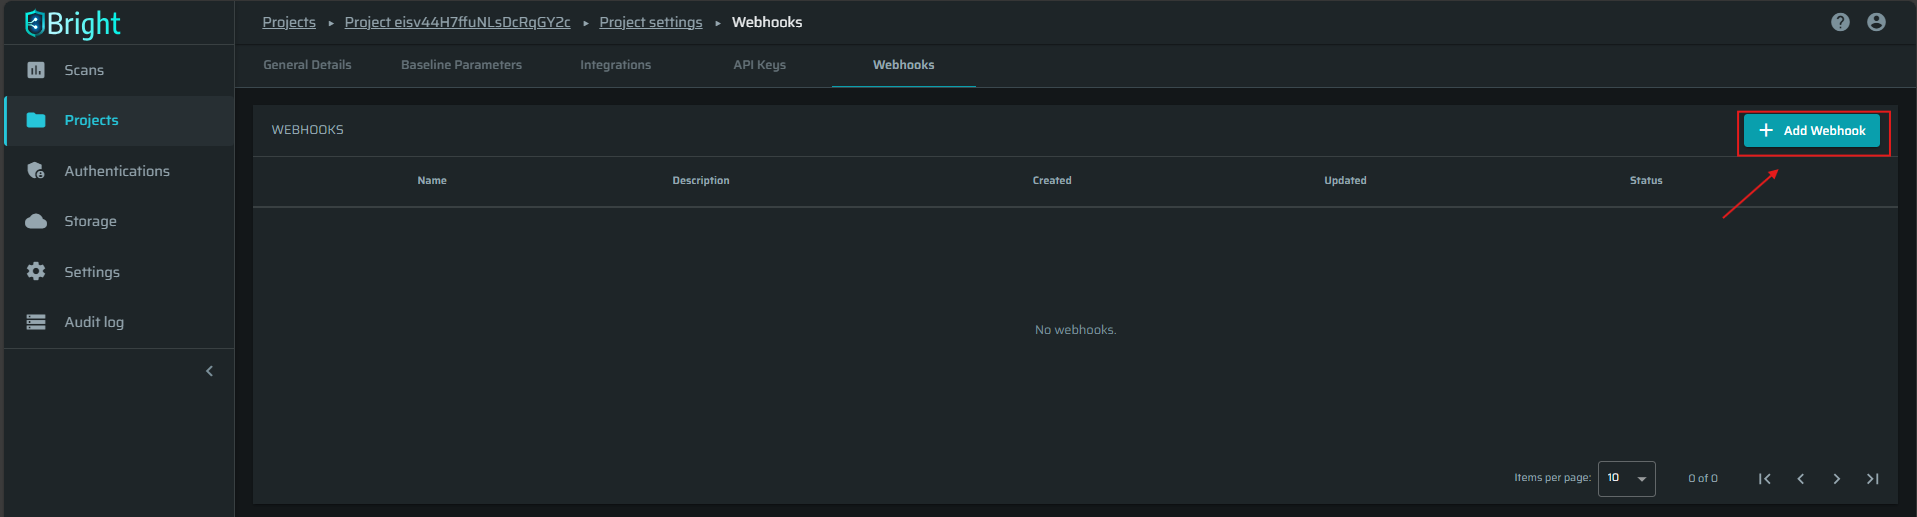
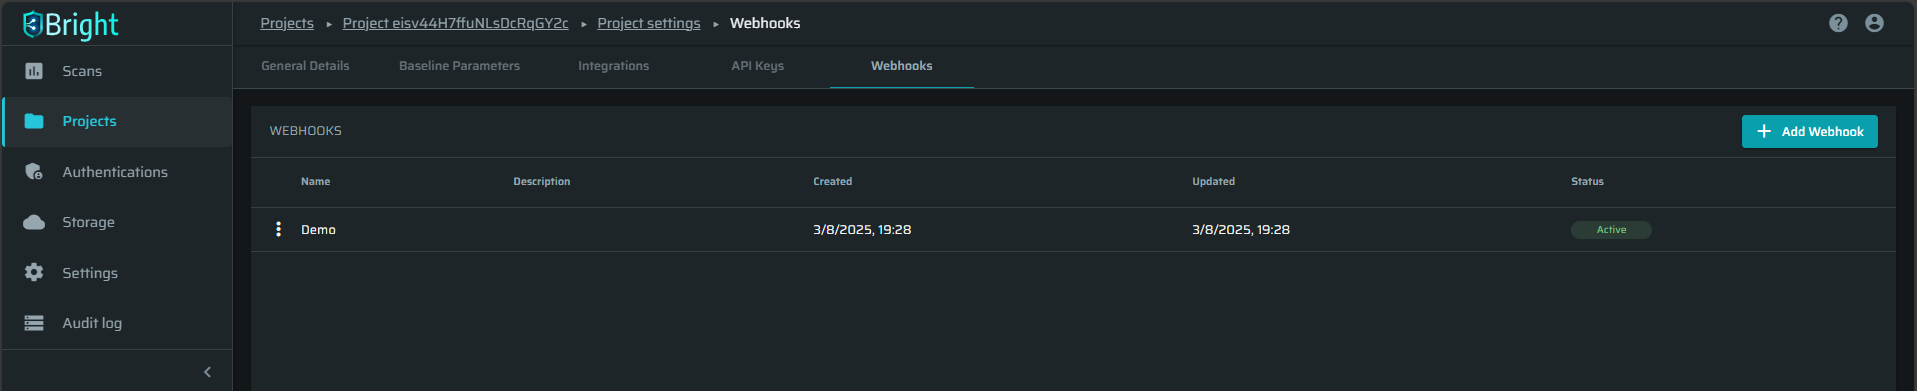
Navigate to the Webhooks tab and click on + Add Webhook.
-
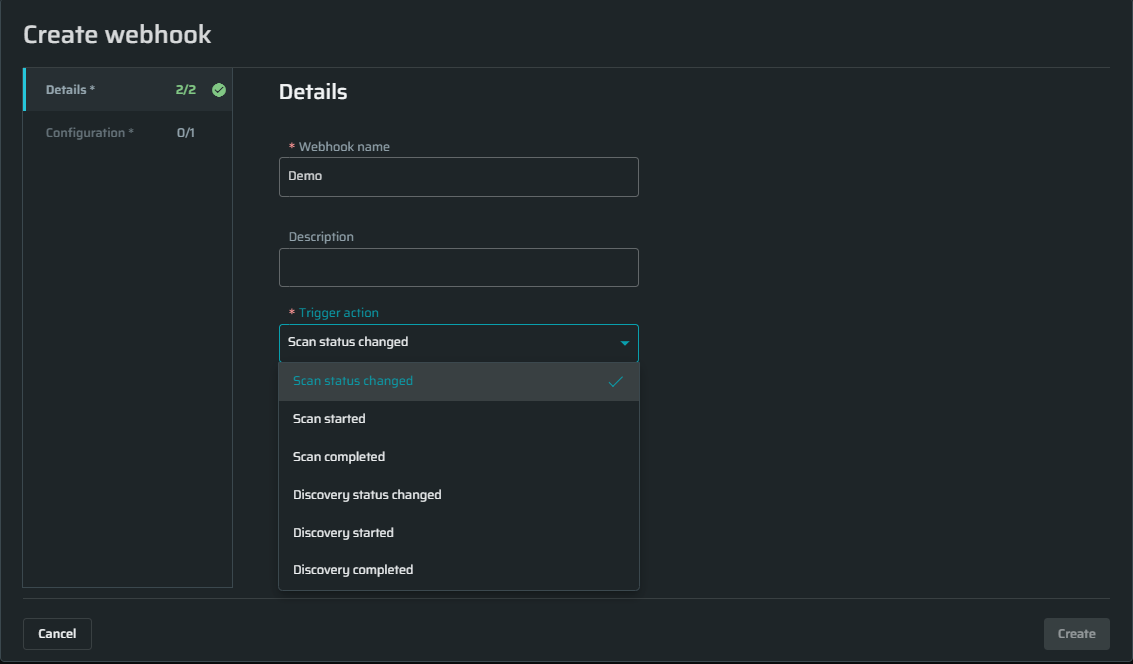
Select the trigger you are interested at. Bright supports the following actions:
-
Scan status changed - A scan status changed from any to any.
-
Scan started - A scan has started.
-
Scan completed - A scan was completed (successfully or unsuccessfully).
-
Discovery status changed - A discovery status changed from any to any.
-
Discovery started - A discovery has started.
-
Discovery completed - A discovery was completed (successfully or unsuccessfully).
-
-
Open the Configuration tab and set the following:
-
(Optional): From the Repeater dropdown list, select a Repeater you want to use when sending the JSON payload to the API endpoint.
-
Select an HTTP method and enter the endpoint URL to which the JSON payload should be sent.
-
(Optional): Add headers if needed. Headers can be used for authorization as example.
When adding a header, you need to provide a header Name (by selecting one from the dropdown or typing your own) and a Value.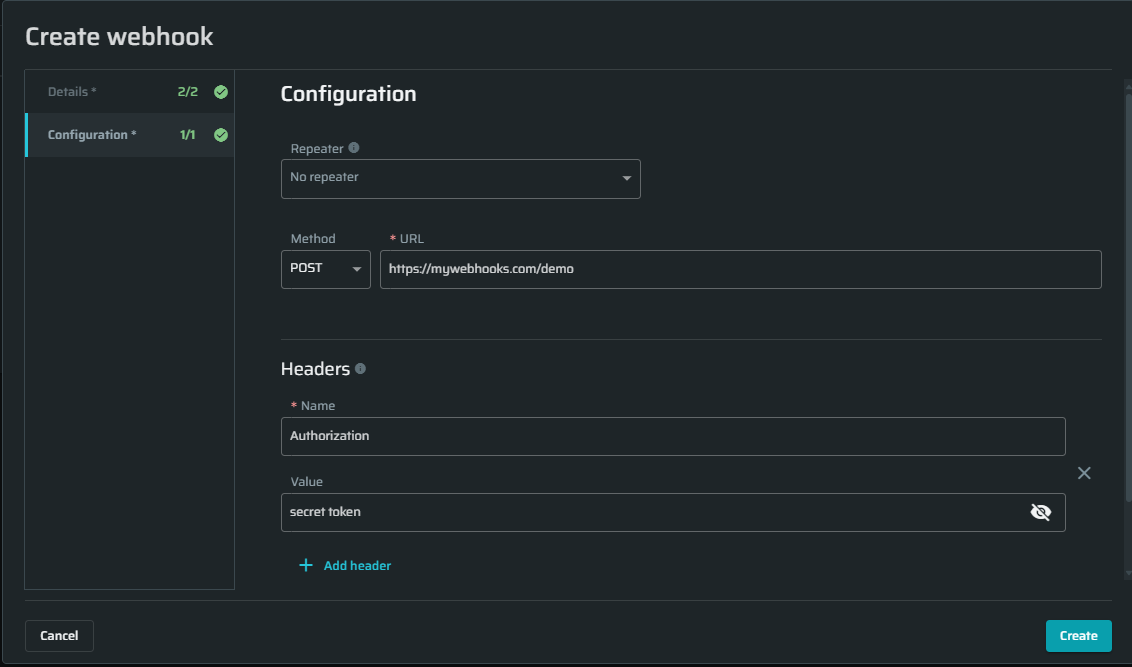
-
-
Click Create.
Deactivating a webhook
Deactivating a webhook will suspend it from triggering and reacting to its action.
To deactivate a webhook, follow these steps:
-
Open the Projects page and choose the project which you want to manage. Click on Settings.
-
Navigate to the Webhooks tab.
-
Click
 next to the webhook you want to deactivate, and then select Deactivate.

-
The webhook status will become Deactivated.

Activating a webhook
Activating a webhook will resume it so it will react to its action.
To activate a webhook, follow these steps:
-
Open the Projects page and choose the project which you want to manage. Click on Settings.
-
Navigate to the Webhooks tab.
-
Click
next to the webhook you want to deactivate, and then select Activate.
-
The webhook status will become Active.
Editing a webhook
You can edit webhook details and configuration without having to recreate it. To edit a webhook, follow these steps:
-
Open the Projects page and choose the project which you want to manage. Click on Settings.
-
Navigate to the Webhooks tab.
-
Click
next to the webhook you want to edit, and then select Edit.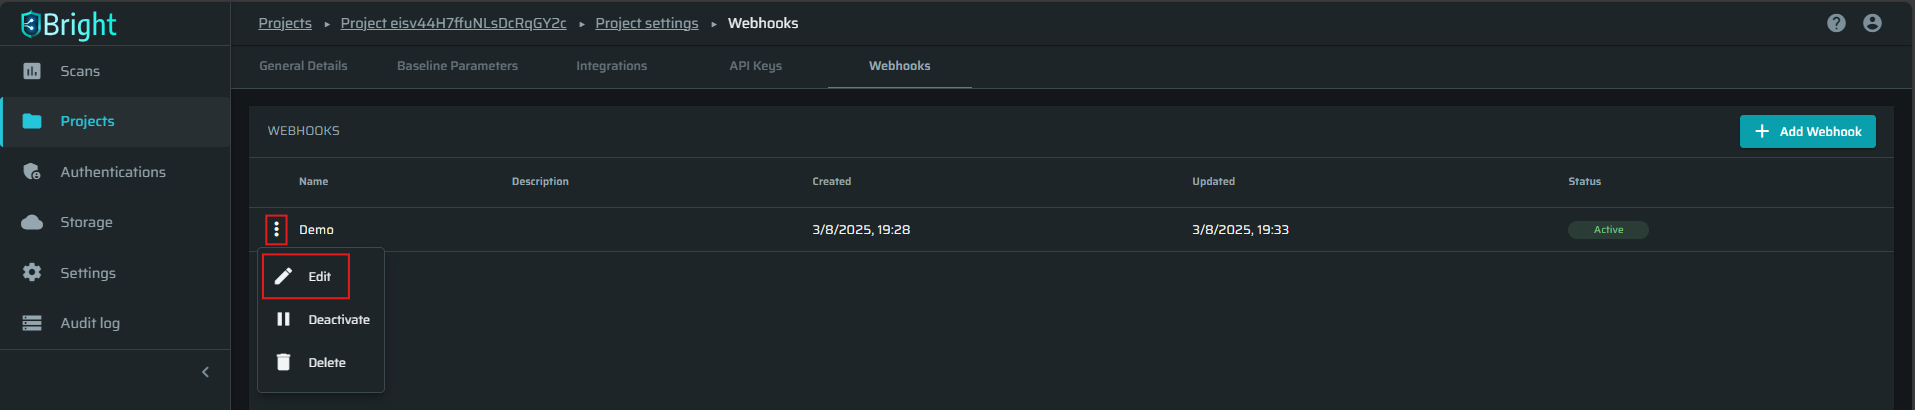
-
Make the required changes in the Edit webhook dialog box and click Save.
Deleting a webhook
To delete a webhook, follow these steps:
-
Open the Projects page and choose the project which you want to manage. Click on Settings.
-
Navigate to the Webhooks tab.
-
Click
next to the webhook you want to edit, and then select Delete.
-
In the confirmation dialog box, click Yes to confirm the action.
Updated 12 months ago