Managing Organization
The Settings option enables Bright administrators to manage organization-level settings and policies.
Introduction
All user and organization access management in Bright has been built around several simple terms. Each term has a number of adjustable parameters to make sure that every organization and user structure can be covered by the tools presented in the Bright app.
You can operate access management in Bright using these terms:
- Organization - a logical entity that contains all of the users, groups, and resources in a given scope.
- Member - a single organization member. Members can be combined into groups. Each member has its role with the relevant permissions.
- Group - several members, connected by a common role.
- Role - a number of scopes for a particular member or a group.
- Scopes - granular permissions to do something in the system.
Viewing the organization dashboard
To view your organization dashboard, in the left pane, select the Settings option.
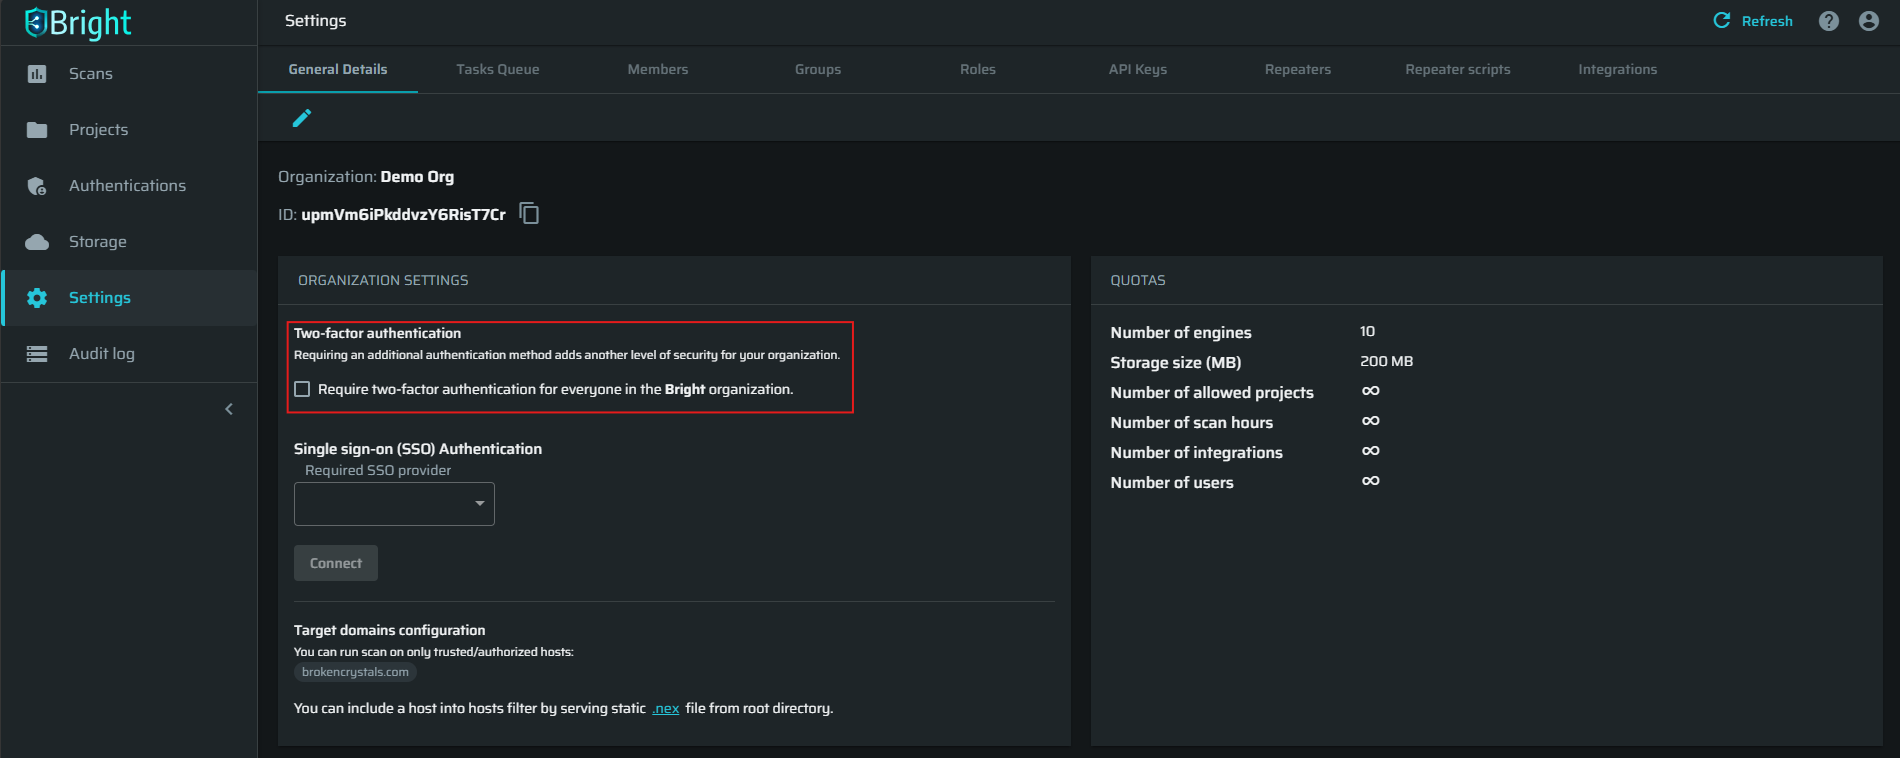
Configuring two-factor authentication policy
You can require that all users in your organization use two-factor authentication (2FA). Before applying this policy, we recommend giving your users prior notice so that they have time to enable 2FA for their accounts.
To apply 2FA to user accounts, select the relevant checkbox in the ORGANIZATION SETTINGS section.
An administrator can see the 2FA status of each user in the organization in the Members tab.
An organization-wide 2FA policy cannot be set to mandatory until all the administrative users have set up their own 2FA. When enabling an organization-wide 2FA policy, the users can access their accounts only after they perform 2FA. In this case, an email notification is automatically sent to each affected user.
Defining hosts authorized for scanning
As a precaution, Bright only allows to scan trusted or authorized hosts.
There are several methods to authorize your hosts:
- Use a .nex file for self-serve authorization:
-
Download the
.nexfile from your Bright organization. For that, click the.nexlink at the bottom of the ORGANIZATION SETTINGS section.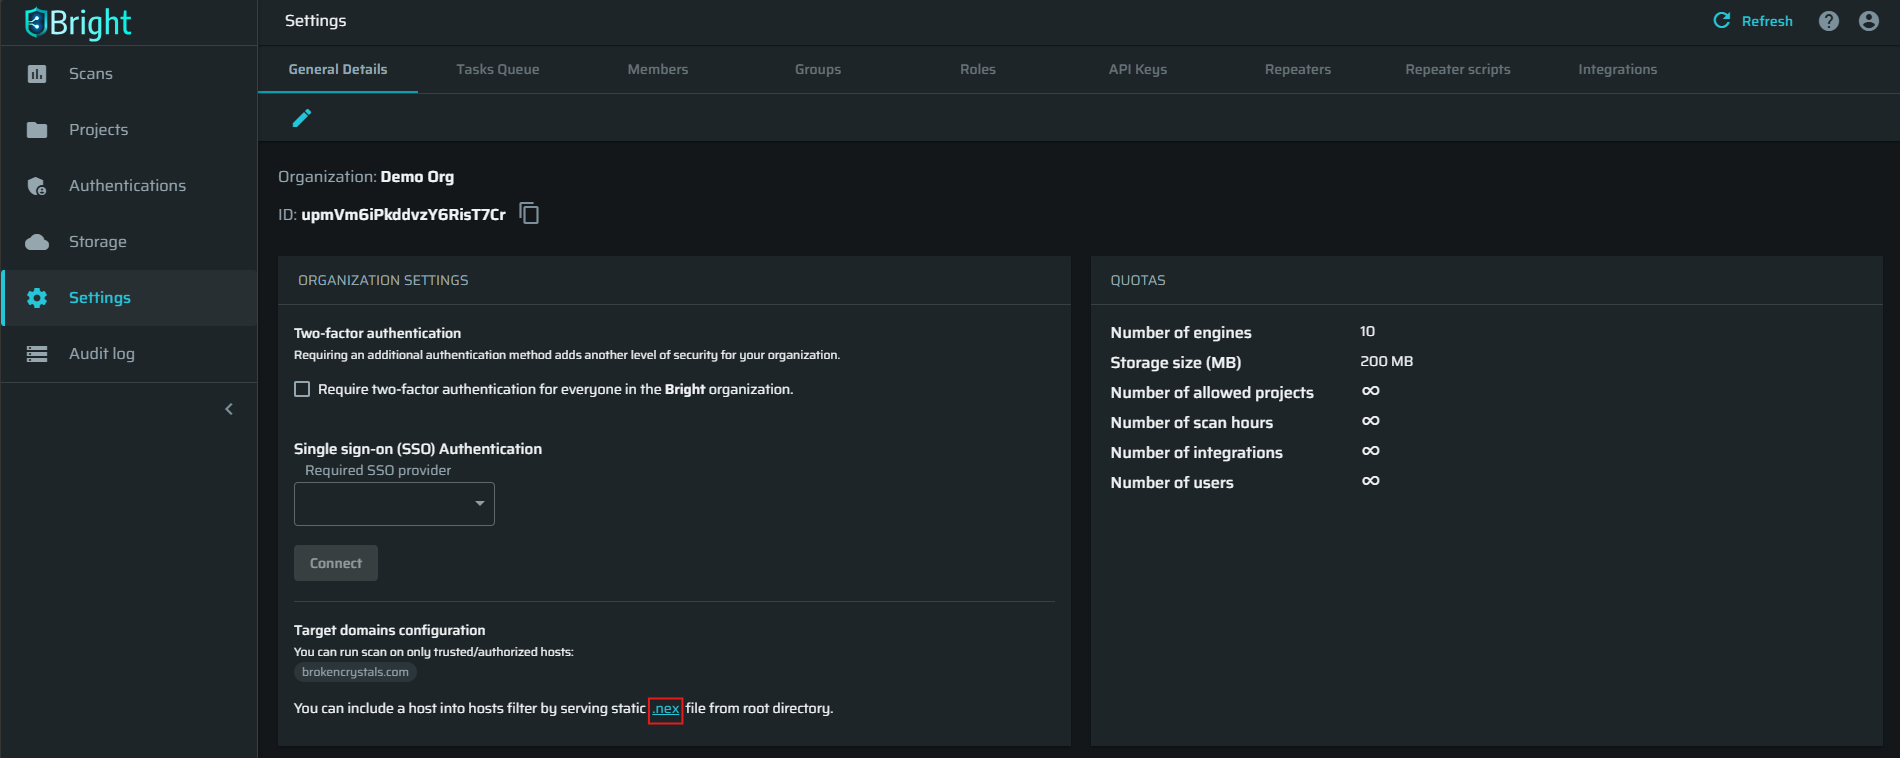
-
Add the downloaded
.nexfile to your application root directory.
Once added, the .nex file enables Bright to recognize the application, associate it with your organization, and gives Bright permission to scan the target directly, without the need for the Repeater.You can reuse this file as many times as needed.
Note:Make sure that the server can serve this file from the webroot (top directory level or just
/path) along with the other static resources from that location.
-
- Use a repeater. To learn more, see Managing Repeaters.
- Contact Bright Support to authorize your host without having to use a repeater.
Viewing your organization quotas
The organization QUOTAS section displays information about your Bright account, for example, total storage for your organization and the number of engines.

Managing organization IP restrictions
IP access restrictions allow organizations to control account access by specifying trusted IP ranges. This ensures that only users from authorized IP addresses can connect, providing added security and control over organizational access.
Note:Only users with
org:writescope can manage organization's IP restrictions. Learn more about scopes and permissions.
To set up the restriction, do the following:
-
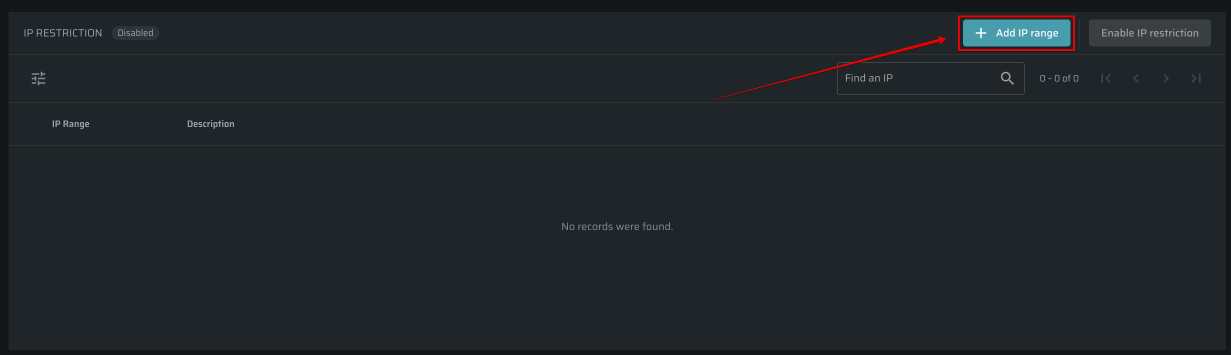
Open the Organization page and scroll down to the IP restriction section
-
Click on the + Add IP range button.
-
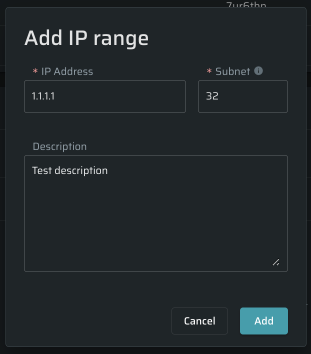
Type an IP address, specify a subnet, and add a description if needed.
-
Click Add once you are ready to proceed.
-
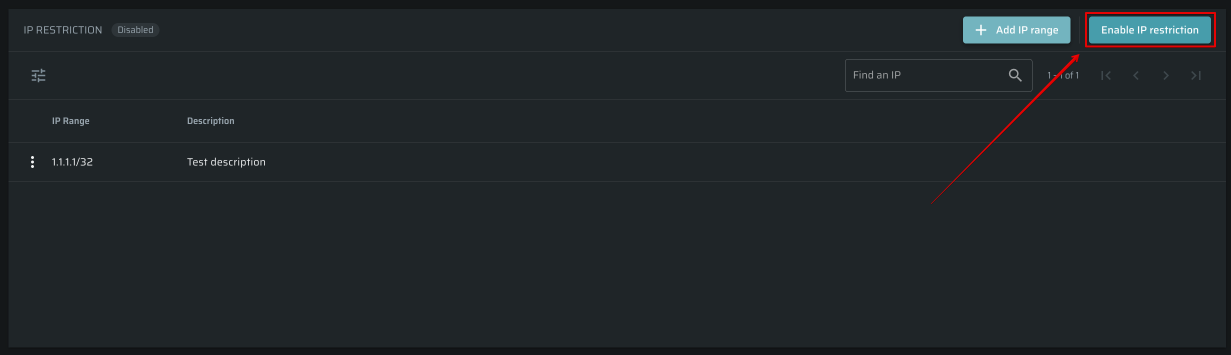
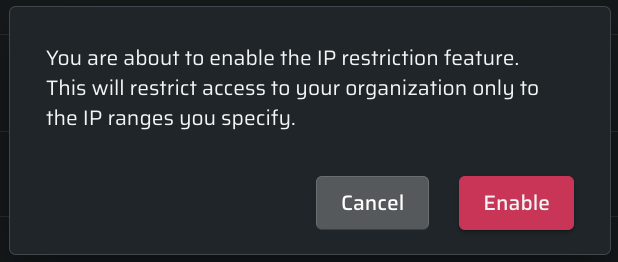
Now, after the new IP ranges have been added, click on the Enable IP restriction to activate it.
-
Click Enable to finish the process.
-
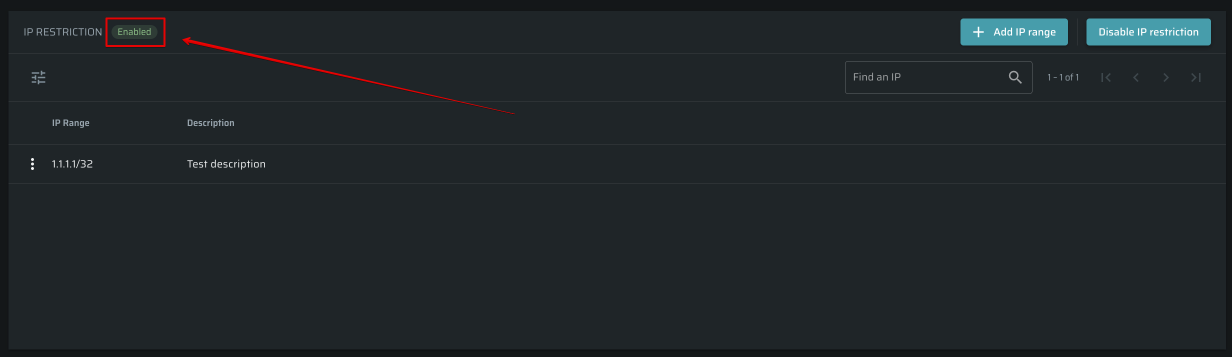
Now it's all set up. You'll see a green status icon at the top of the section indicating that the restriction is working properly.
-
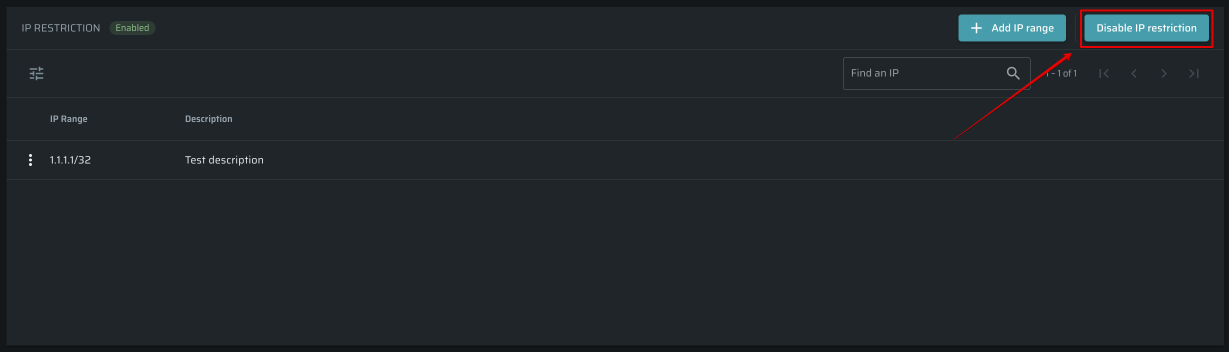
To turn the restriction off, click on the Disable IP restriction button on the right side of the section.
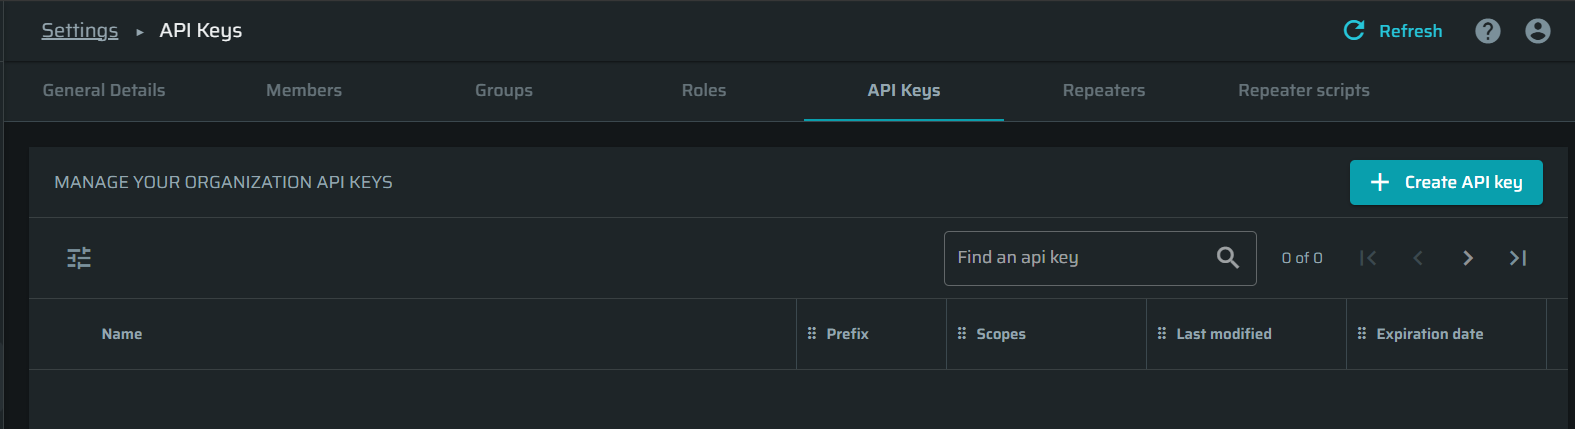
Manage organization API/CLI authentication tokens
On the Settings page, you can obtain and manage authentication tokens (also called API keys) for accessing the Bright API and CLI.
To create a new API/CLI authentication token (API key), follow these steps:
-
Go to the API Keys tab and click + Create API key.
-
Assign the API key a name, select which scope(s) of access to allow it and which type of actions (such as read or write) it is permitted to perform. Read more about the access scopes here.
(Optional): Set an expiration date.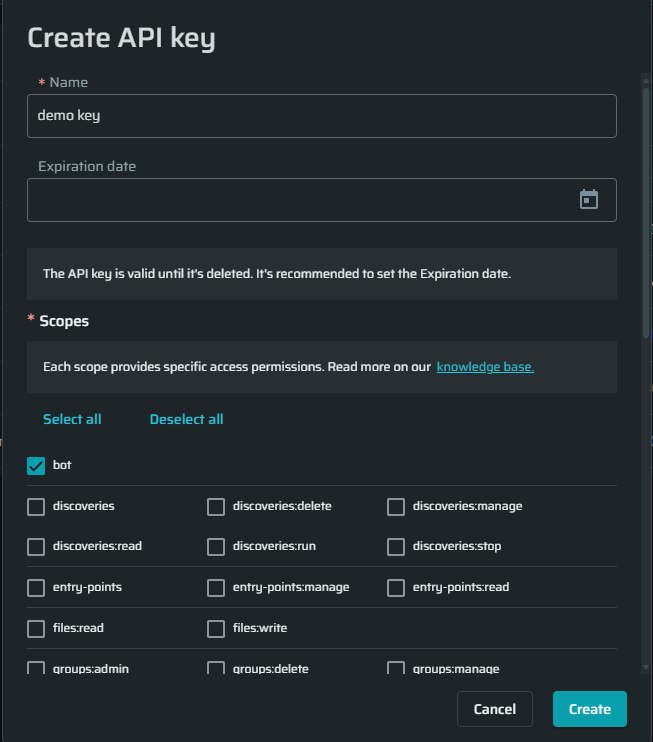
-
Click Create.
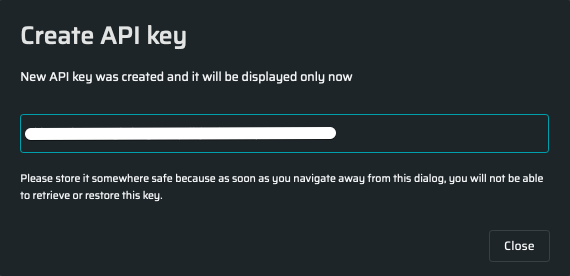
-
Copy the generated key and save it to a safe place since as soon as you navigate away from this popup, you will not be able to restore this key.
-
The created keys without the entire values are listed in the MANAGE YOUR ORGANIZATION API KEYS section.
Updated about 1 year ago