Create a first Project
If your organization has multiple groups that work on the development of several applications simultaneously, the best way to separate and manage the scanning flows is to create different Bright projects. You can manage which user groups get access to a project, and have full control over certain permissions and associated ticketing repositories.
A project is required for the configuration of a new scan, so if you do not have any custom projects, you need to select the default one.
Creating a project
To create a project, follow these steps:
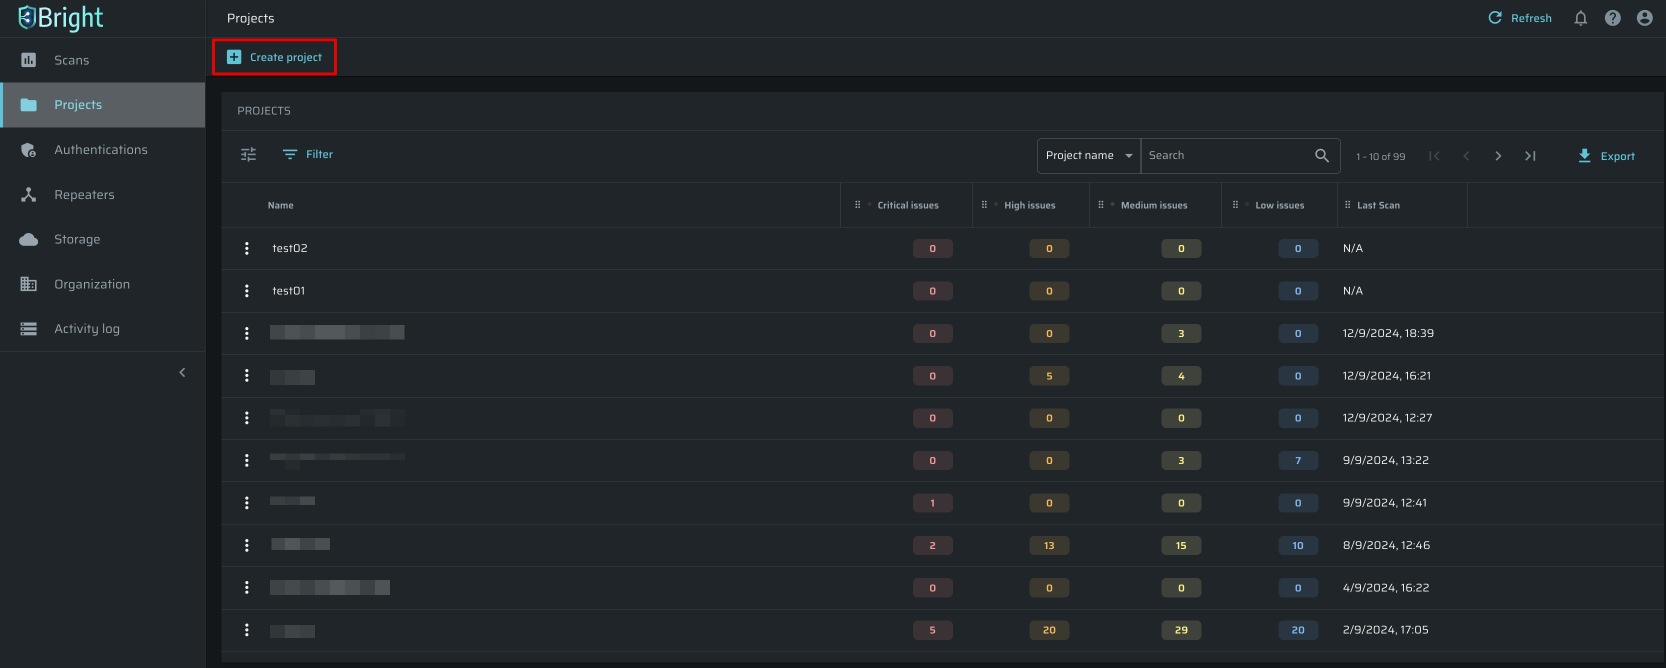
- In the left pane, select Projects and click + Create Project.
- In the Create project dialog box, enter a project name and select the groups that can access the project.
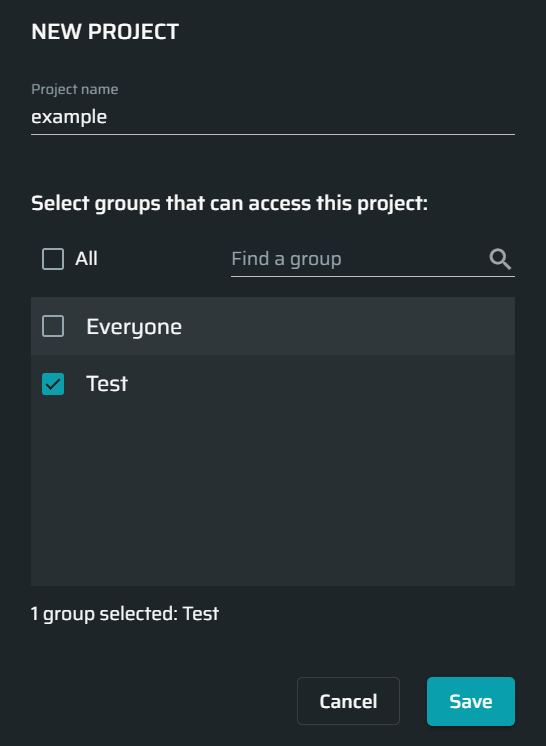
- Click Save.
A successfully created project appears in the MY PROJECTS table.
Updated about 2 months ago