Auto-resolve vulnerablities
Auto-Resolve is a project-level automation that updates vulnerability status after successful rescans. When a vulnerability is no longer reproducible under the same scan conditions, Bright automatically marks the issue as Resolved.
The feature is designed to reduce manual effort while maintaining accuracy, transparency, and full auditability.
Preconditions
Auto-Resolve runs only when all required conditions are met.
Auto-Resolve requires:
- Auto-Resolve is enabled for the project
- At least two scans of the same target exist
- The latest scan completed successfully
- Scan health is stable (80% or higher)
- The same authentication method is used across scans
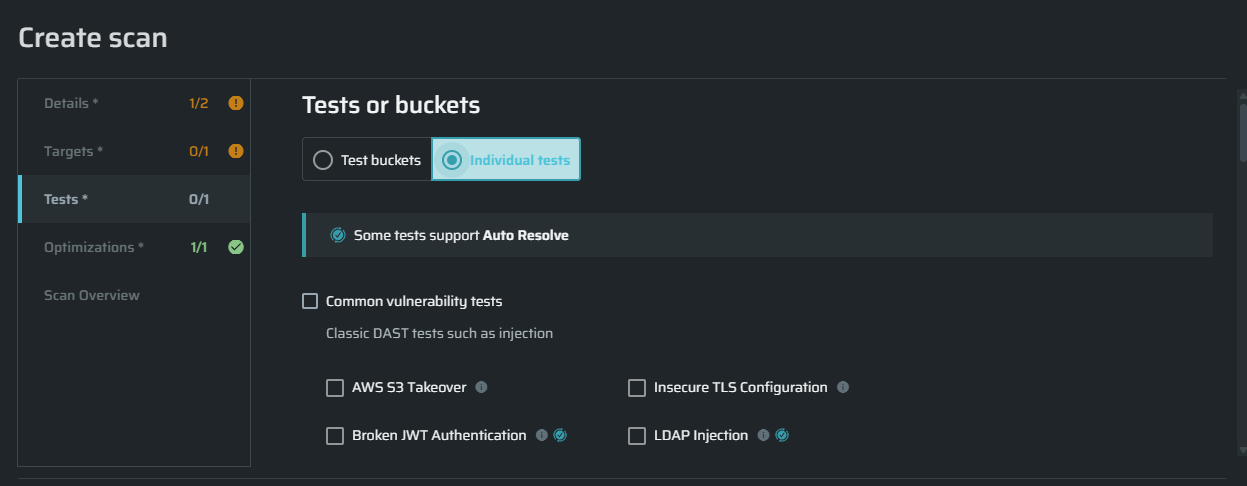
- The selected Test is eligible for auto-resolve
If any of these conditions are not met, Auto-Resolve does not run, and the issue remains unchanged.
Required Permissions (Scopes)
To enable or disable Auto-Resolve, the user must have the following scope:
projects.auto_resolve.manage
Users without this scope can view auto-resolved issues, but cannot change the setting.
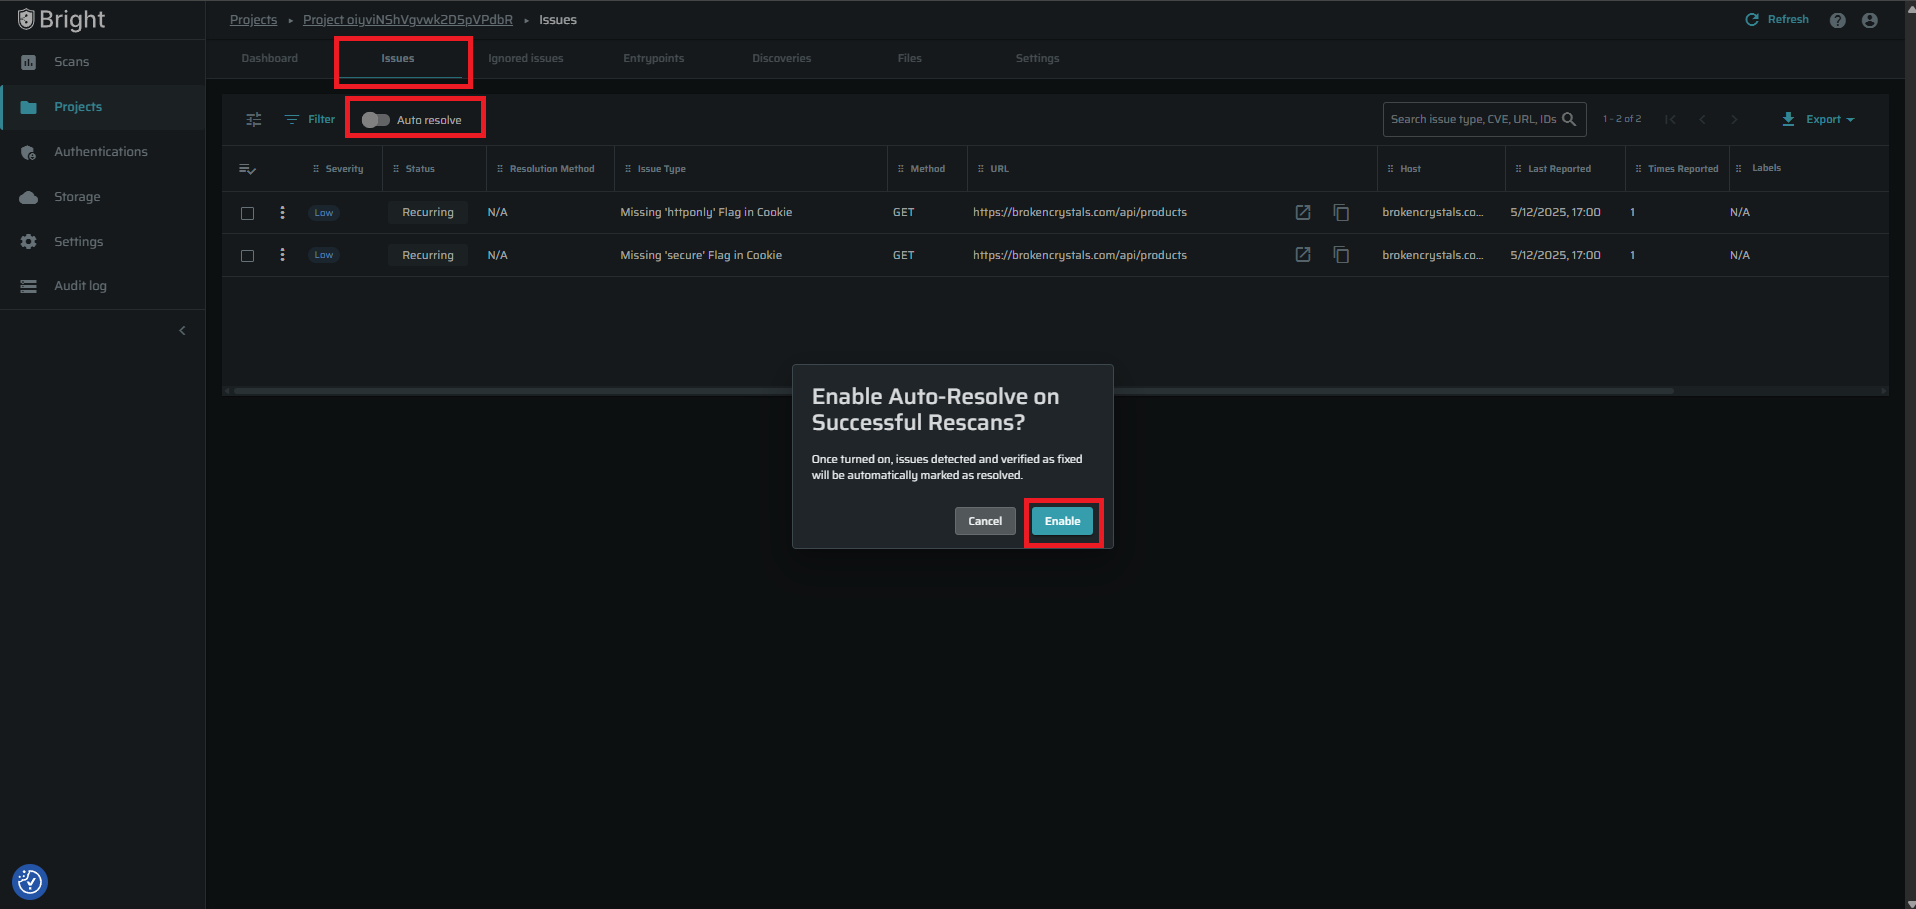
Enabling Auto-Resolve
To enable Auto-Resolve:
- Navigate to Projects
- Select the relevant project
- Open Project Issues
- Locate Auto-Resolve and toggle the setting to ON
- Click on "Enable"
- Once auto-resolve is disabled/enabled, an entry is created in the audit log.
Auto-Resolve becomes active immediately for future scans.
Auto-Resolve Execution Logic
After a rescan completes, Bright compares the latest scan results with the previous scan in which the vulnerability was detected. The comparison is performed using a strict matching model to ensure accuracy.
The comparison includes:
- Entry point (URL or endpoint)
- Authentication configuration
- Attack parameter location (query, body, header, etc.)
- Test type
If the vulnerability is not detected in the latest scan, the issue is automatically marked as Resolved. If the vulnerability partially reproduces or the system cannot confirm resolution with high confidence, the issue remains Vulnerable.
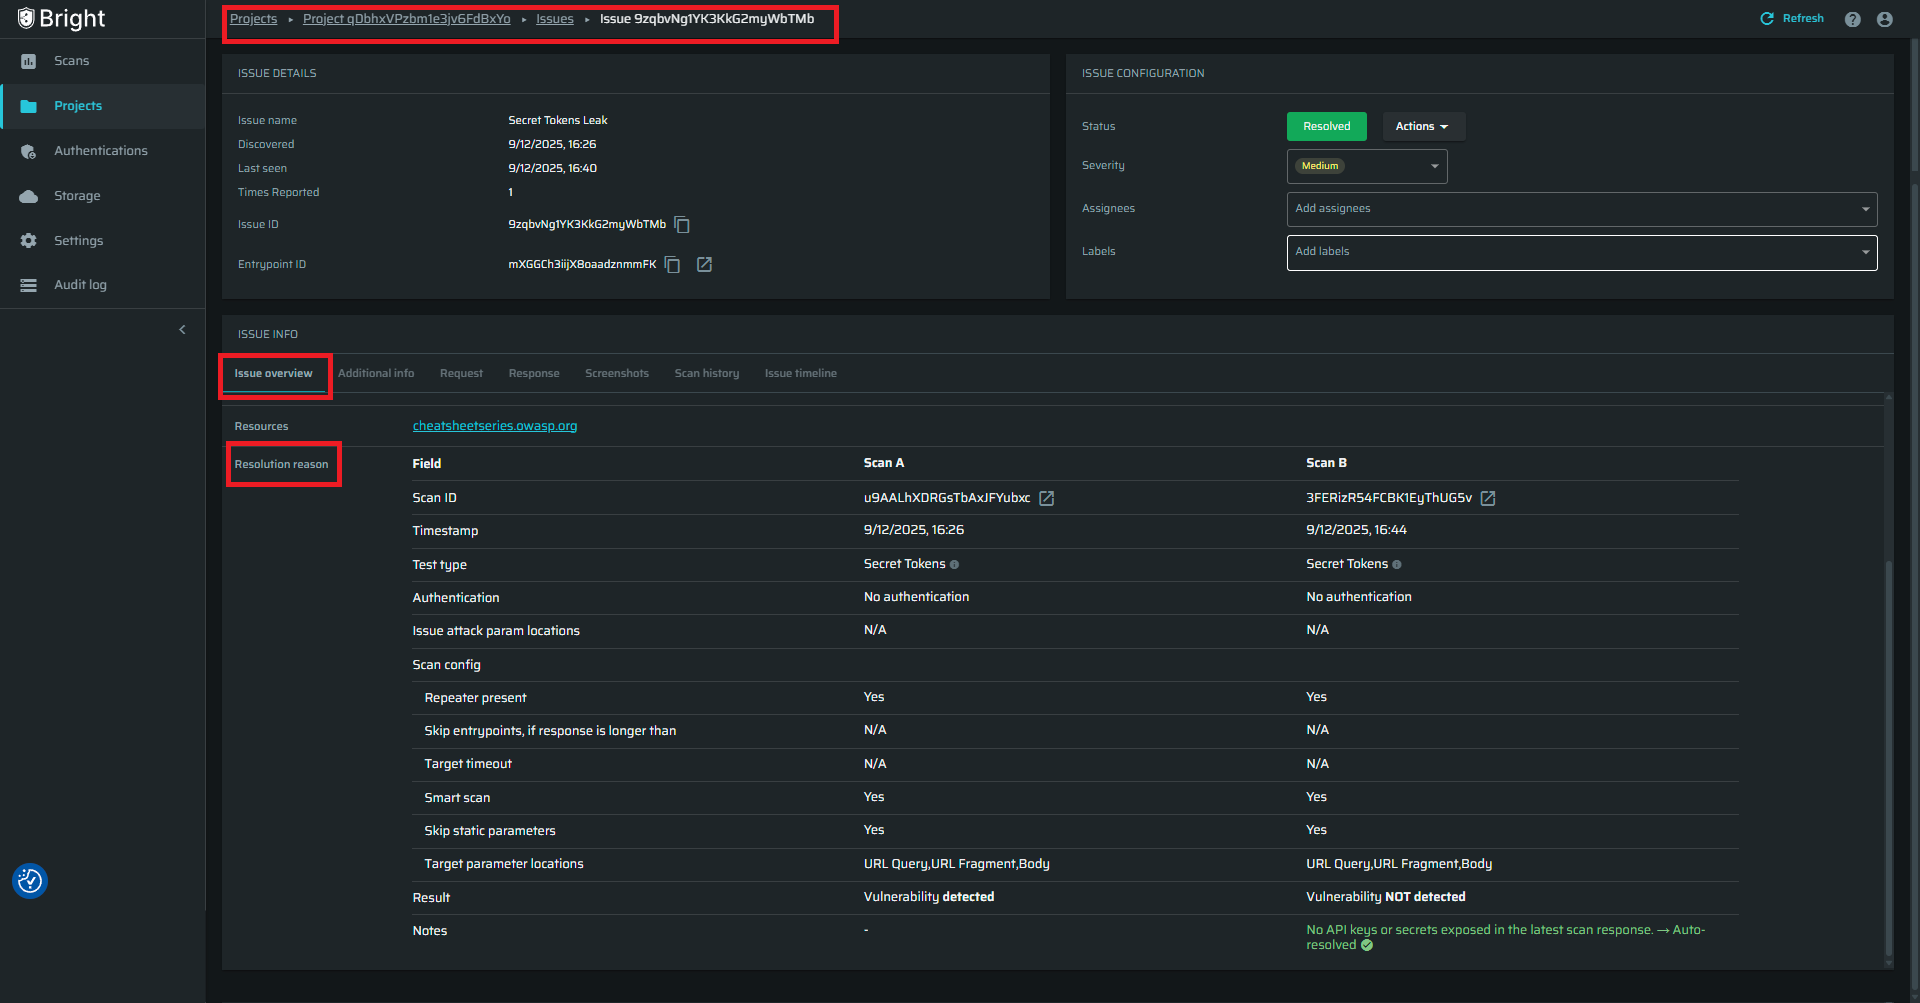
To see the comparison details, click on the resolved issue and scroll down to: Resolution Reason
Each auto-resolved issue includes a Resolution Reason that describes the outcome of the rescan in clear, test-specific language. Supporting evidence confirms that the vulnerability was detected in a previous scan and not detected in the latest one. This information is provided for transparency and cannot be modified.
Issue Status and Resolution Method
When Auto-Resolve resolves an issue, the following updates occur:
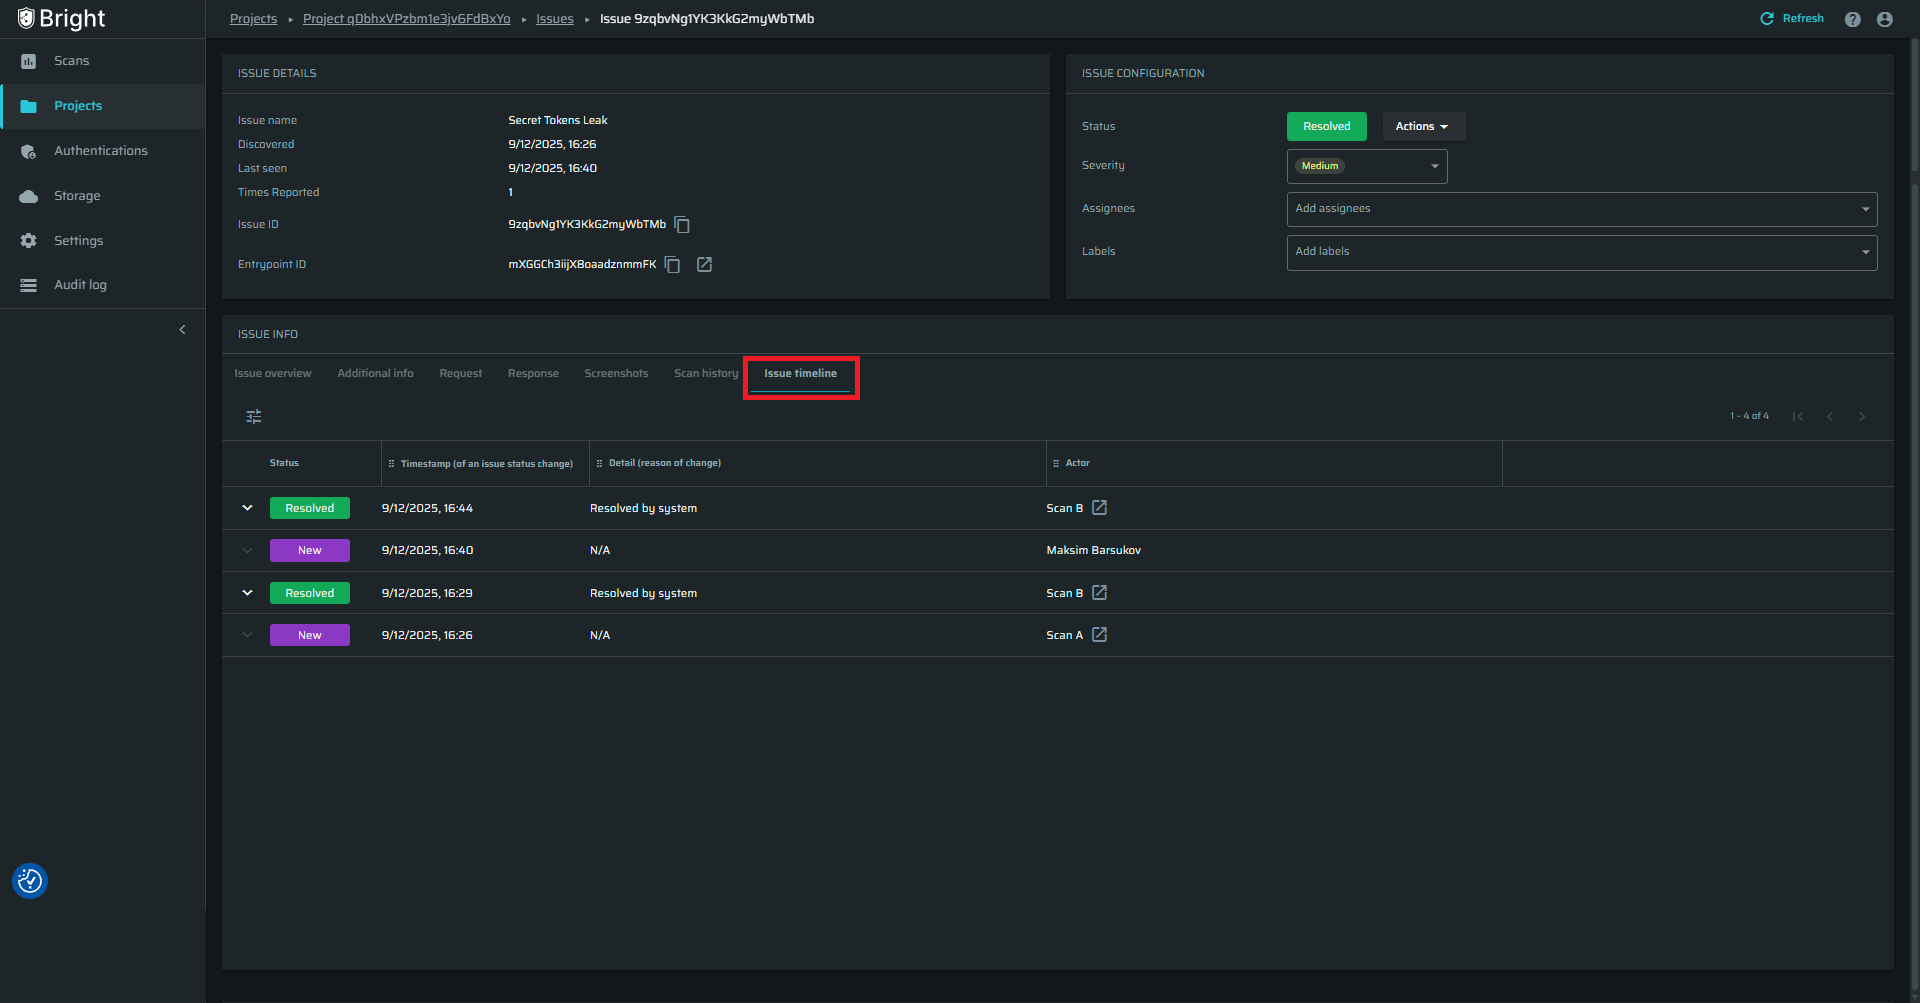
- Issue status changes to Resolved
- Resolution Method is set to "Resolved by system"
- Resolution timestamp is recorded automatically
- The triggering scan is logged in the Issue Timeline
No manual action is required from the user.
In addition, users can see the lifecycle of the issue under the "Issue Lifecycle" tab.
Notifications
Auto-Resolve supports optional notifications to inform users when issues are resolved automatically.
Notifications are sent only when:
- Email notifications are enabled in the user’s personal settings
- Auto-Resolve notifications are enabled at the project level under the Project Settings page.
If no issues are auto-resolved in a scan, no notification is sent.
Limitations
Auto-Resolve does not:
- Resolve issues without a rescan
- Resolve vulnerabilities when scan health is unstable
- Resolve unsupported test types
- Override manual user decisions
If the system cannot confidently verify resolution, the issue remains open.
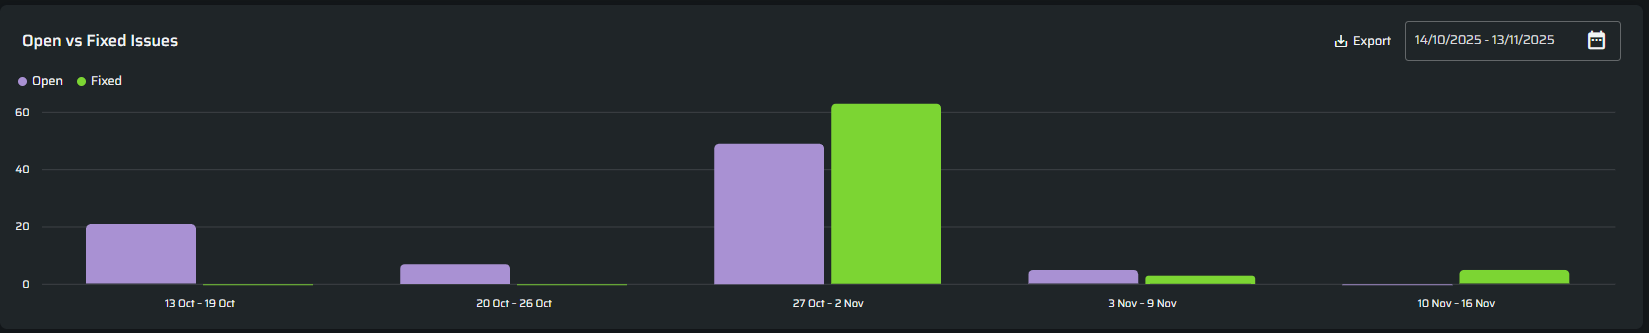
Dashbaord Impact
When enabled, Auto-Resolve reduces manual issue management and improves the accuracy of dashboards and reports. Metrics such as Open vs Fixed and SLA-related views are updated automatically once issues are resolved. All actions are logged and fully traceable.
Updated 2 days ago