Managing API keys
To access specific features of the Bright CLI or API, you need to have appropriate access scopes enabled for your user role or API key. Each scope allows the user to perform a specific action on a specific type of resource, for example, view, edit, or delete scans, files, or authentication objects.
Locating an API key settings
There are three levels of API keys in the Bright app: personal, project, and organization. The process of adjustment is the same, with the only difference that the settings are located in different places.
- To get into the personal API keys settings, click
 in the upper-right corner of the Scans page, and then select User Settings. Then scroll down to the Manage your user API keys block.
 - To get into project API keys settings, open the Project Tab, then click
 and choose the Settings. Then scroll down to the Manage your Project API keys block.
 - To get into organization API keys settings, open the Organization Tab, and then scroll down to the Manage your Organization API keys block.
Creating a personal API key
To create an API key, do the following:
- Go to the location you need depending on what kind of API key you want to create, and then click + Create API key.
- Type the name of the key
- Set the expiration date, if needed. To do that, click
 and then select the date in the pop-up calendar.
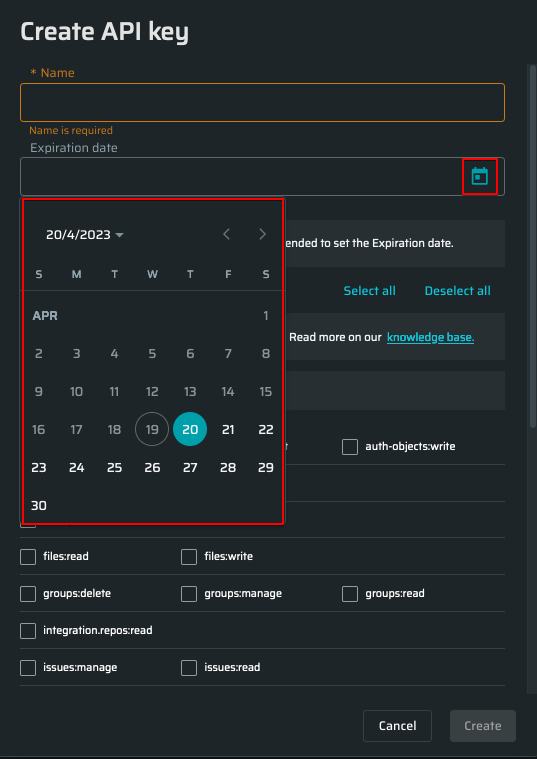
- Select the scopes you want to manage using this API key. Use Select all and Deselect all buttons to quickly manage the scopes.
- Once everything is ready, click the Create button to continue.
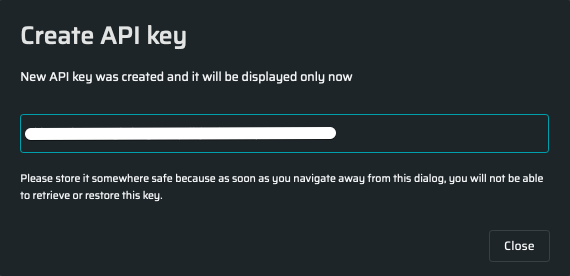
- The unique key will appear. Make sure you store it in a safe place because it is impossible to restore it.
Updated about 1 month ago