Authentication Types
Authenticated scans ensure the best and the most efficient coverage of the scan target
Deprecation notice:This page is deprecated. To learn about authentication types, use the new article.
Overview
The Bright authentication capabilities allow you to scan all the login-protected resources within your target application or API. If you need to scan an application or API with some authenticated pages, you first need to configure Bright with the correct authentication method(s) and valid credentials, so that it can easily reach each of them when running a scan.
By creating an authentication object, you enable Bright to reach complete scan coverage of the target application or API during the security testing.
NoteThe created object is only available for the user who has created it. Other users of the same organization cannot add this specific object to their scans. However, they can run, edit and re-test the existing scans with the authentication objects created by other users.
The authentication setup enables you to test access to the authenticated resources covered by the created object before using it in a scan, easily determine the configuration failures and fix them.
You can enable Bright to get access to an authenticated resource by using any of the following authentication options:
- Browser-based form authentication - is a simplified option of the form authentication method. Simply specify the relevant fields on login pages with the corresponding valid credentials to be entered in to those fields. Using this data, Bright automatically completes the form in the same way you would to gain access to the protected pages. You are also able to configure a browser-based authentication object for multi-step login forms.
- Recorded browser-based form authentication is a quick and visual way of creating authentication flows. It allows uploading an authentication flow which was prerecorded with the Chrome recorder and using it as authentication with Bright.
- Header authentication - the most straightforward method of authentication, used for static header authentication tokens that are generated outside of Bright and will not expire during a scan.
- OpenID Connect (OAuth) - the authentication method used to configure the standard OAuth 2.0 flow, which requires the use of client or user secrets. This authentication method relies on the authentication performed by an OpenID Connect Provider to verify the identity of a user.
- Custom API authentication call - the authentication method used for the configuration of a custom authentication object. Easily create a single or multi-stage authentication flow to enable the Bright engine to access the authenticated resources. During the authentication object configuration, you can also create templates to extract dynamic information from the previous steps, easily performed by using the String Interpolation Syntax.
- NTLM authentication - the authentication method used to establish a connection between a user’s workstation and a corresponding network which uses the NTLM protocol.
- (Deprecated). API call - one of the most flexible methods of authentication, used for multiple API requests that include customized request queries, headers, and bodies, requiring the use of dynamic information between steps (such as CSRF tokens).
- (Deprecated). Form authentication - the default method of authentication, used for authentication requests with the content type set as
application/x-www-form-urlencoded.
If you need to get access to a scan target via a Repeater using the HMAC authorization, see Using Repeater Scripts.
Setup
To create an authentication object in the Bright App by using any of the available authentication options, you will need to get valid parameters and values required for a successful authentication setup, the specific parameters depend on the required authentication flow. You can find them in the browser DevTools of your application. To do that, follow these steps:
- Open the DevTools in your application.
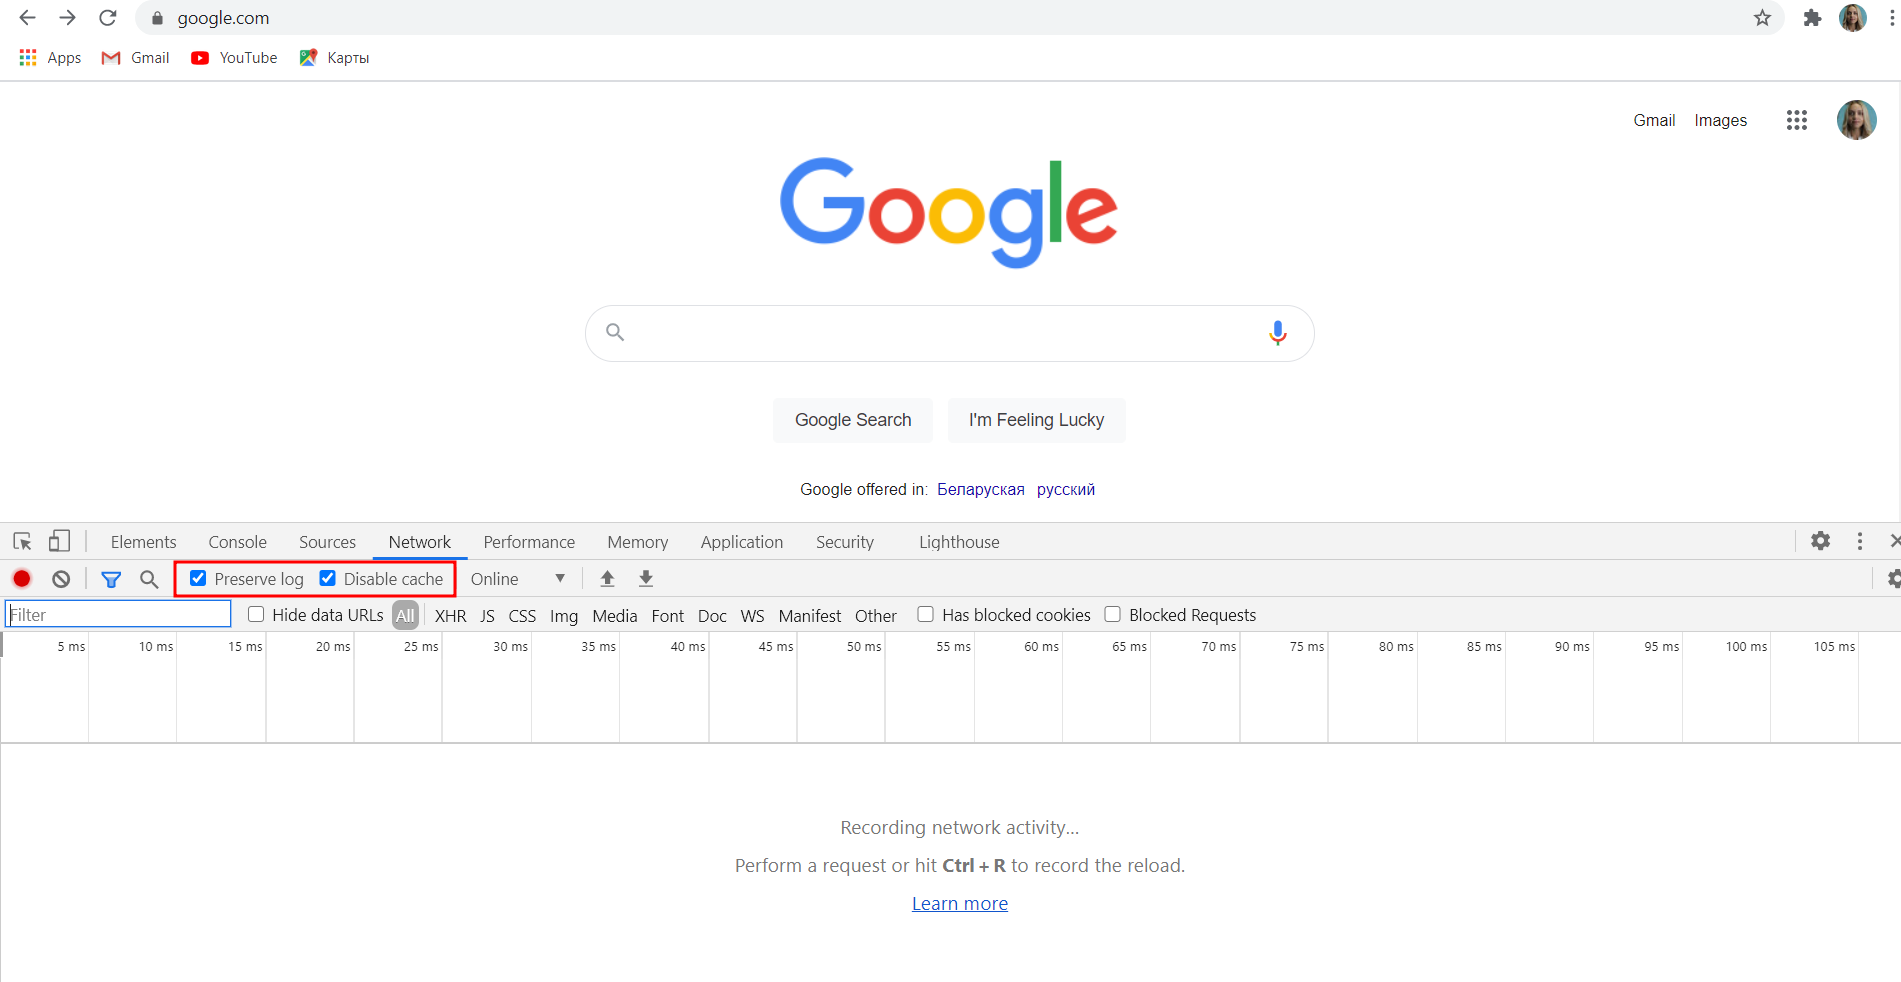
- In the DevTools, select the Network tab.
TipMake sure that the Preserve log checkbox is selected.

- Perform a request by submitting the login call.
- Use the data of the relevant login request when completing the authentication setup fields.
NoteIt is important to select the actual login request from the overall list to pass the authentication setup successfully.
Updated about 1 month ago
