Integrating a Bright Project with Webhooks
The Bright webhooks allow you to integrate with any third-party system you need and automatically send a .JSON file containing the scan information, triggered by specific scan events. Using the webhooks will keep you notified about critical changes that happen during the scanning process, with no need to manually check the results of multiple scans daily. You will also be able to detect a failed scan and fix it quickly.
Currently, the Bright webhooks will be triggered and sent on any scan status changes (but more advanced triggers are planned), for example, from “Running” to “Disrupted”, or from “Running” to “Done”. The .JSON file will contain the scan details, including the initial configuration, start time, issues detected so far, and will be sent to a preferred API endpoint, either directly or via the Repeater.
To configure the integration, you need to create a webhook for the project under which you are going to run your scans. The created webhook will be automatically triggered for all the scans run under this project.
Creating a webhook
To create a webhook, follow these steps:
- In the left pane, select Projects.

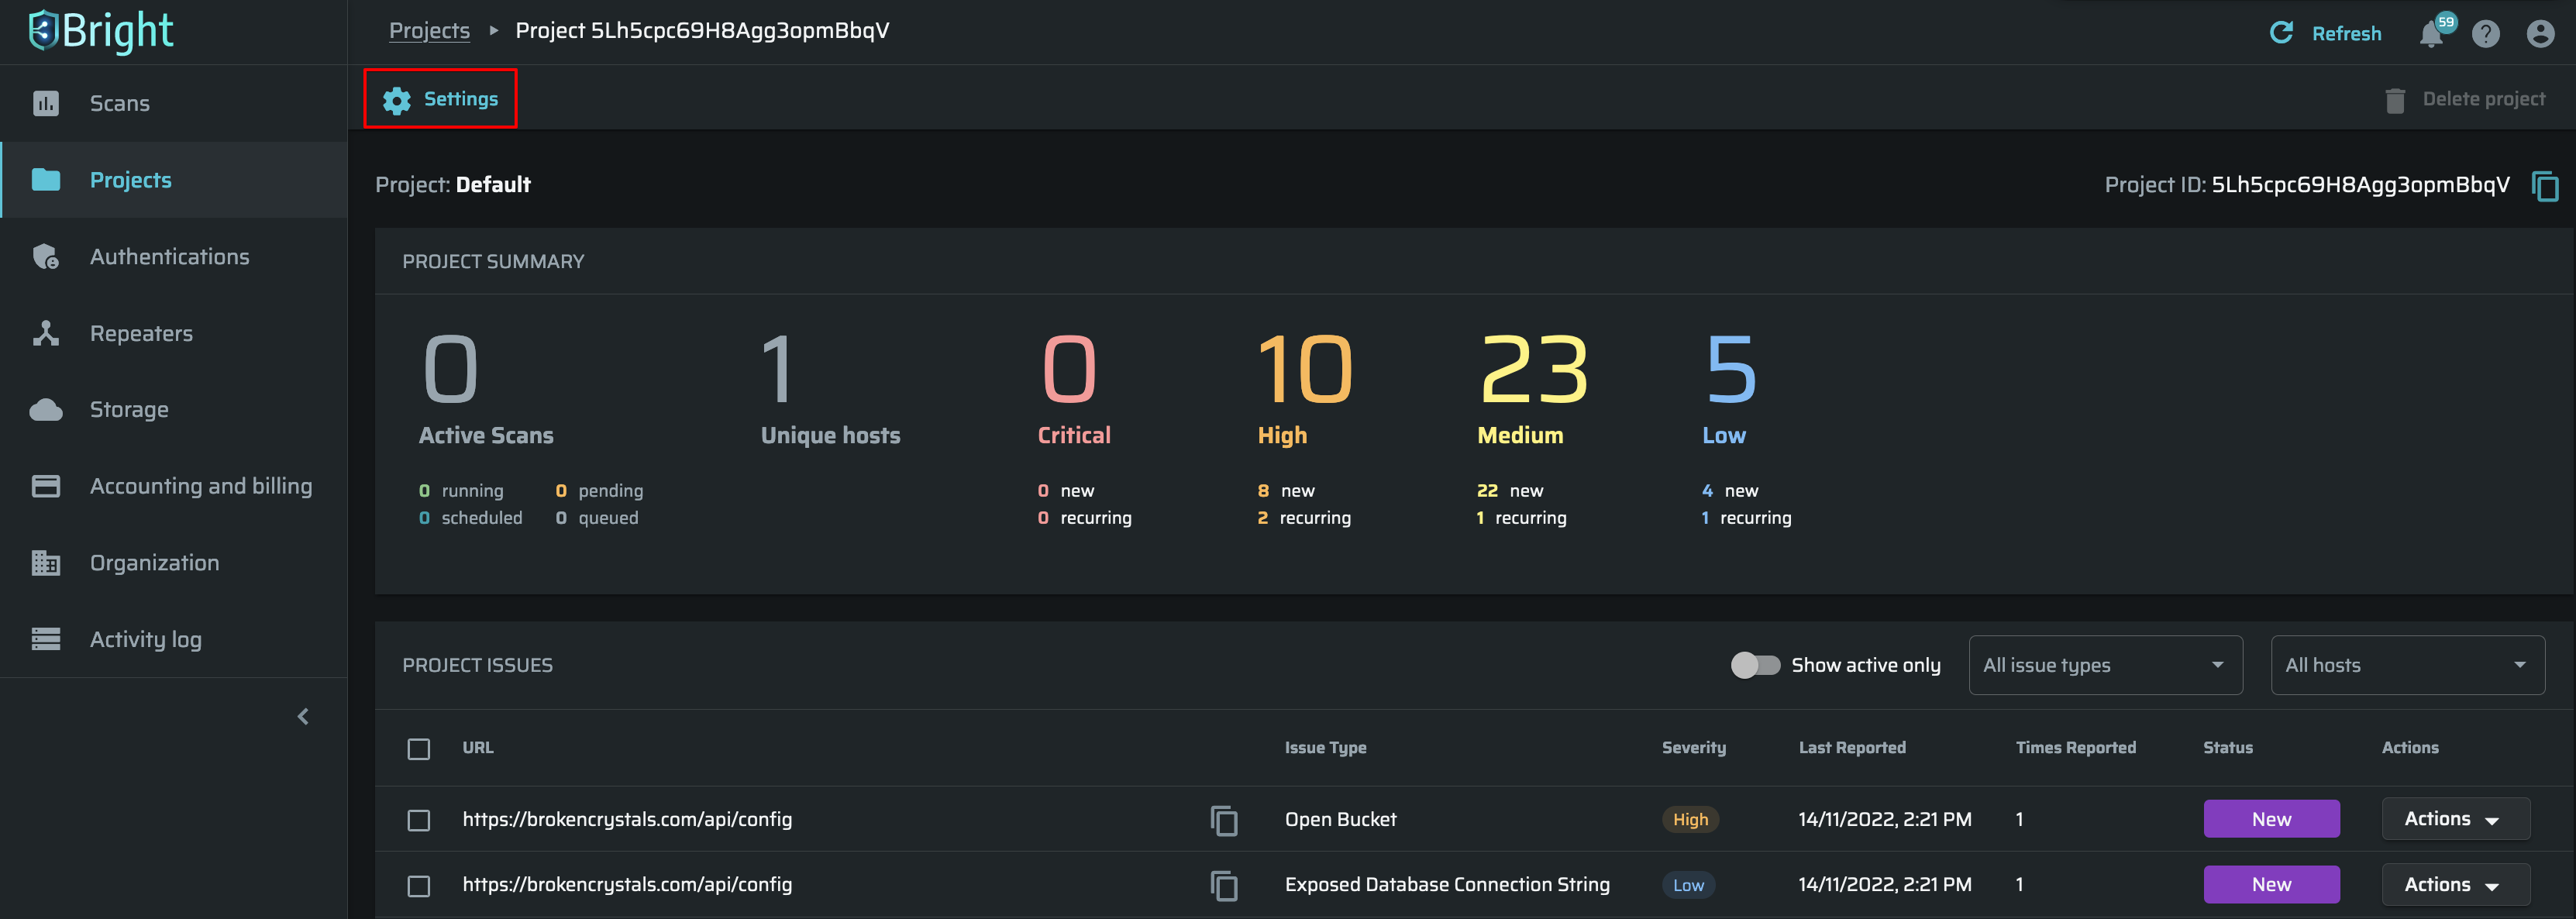
- In the MY PROJECTS table, select the project for which you want to configure the webhook integration.
- In the upper-left corner of the project page, click
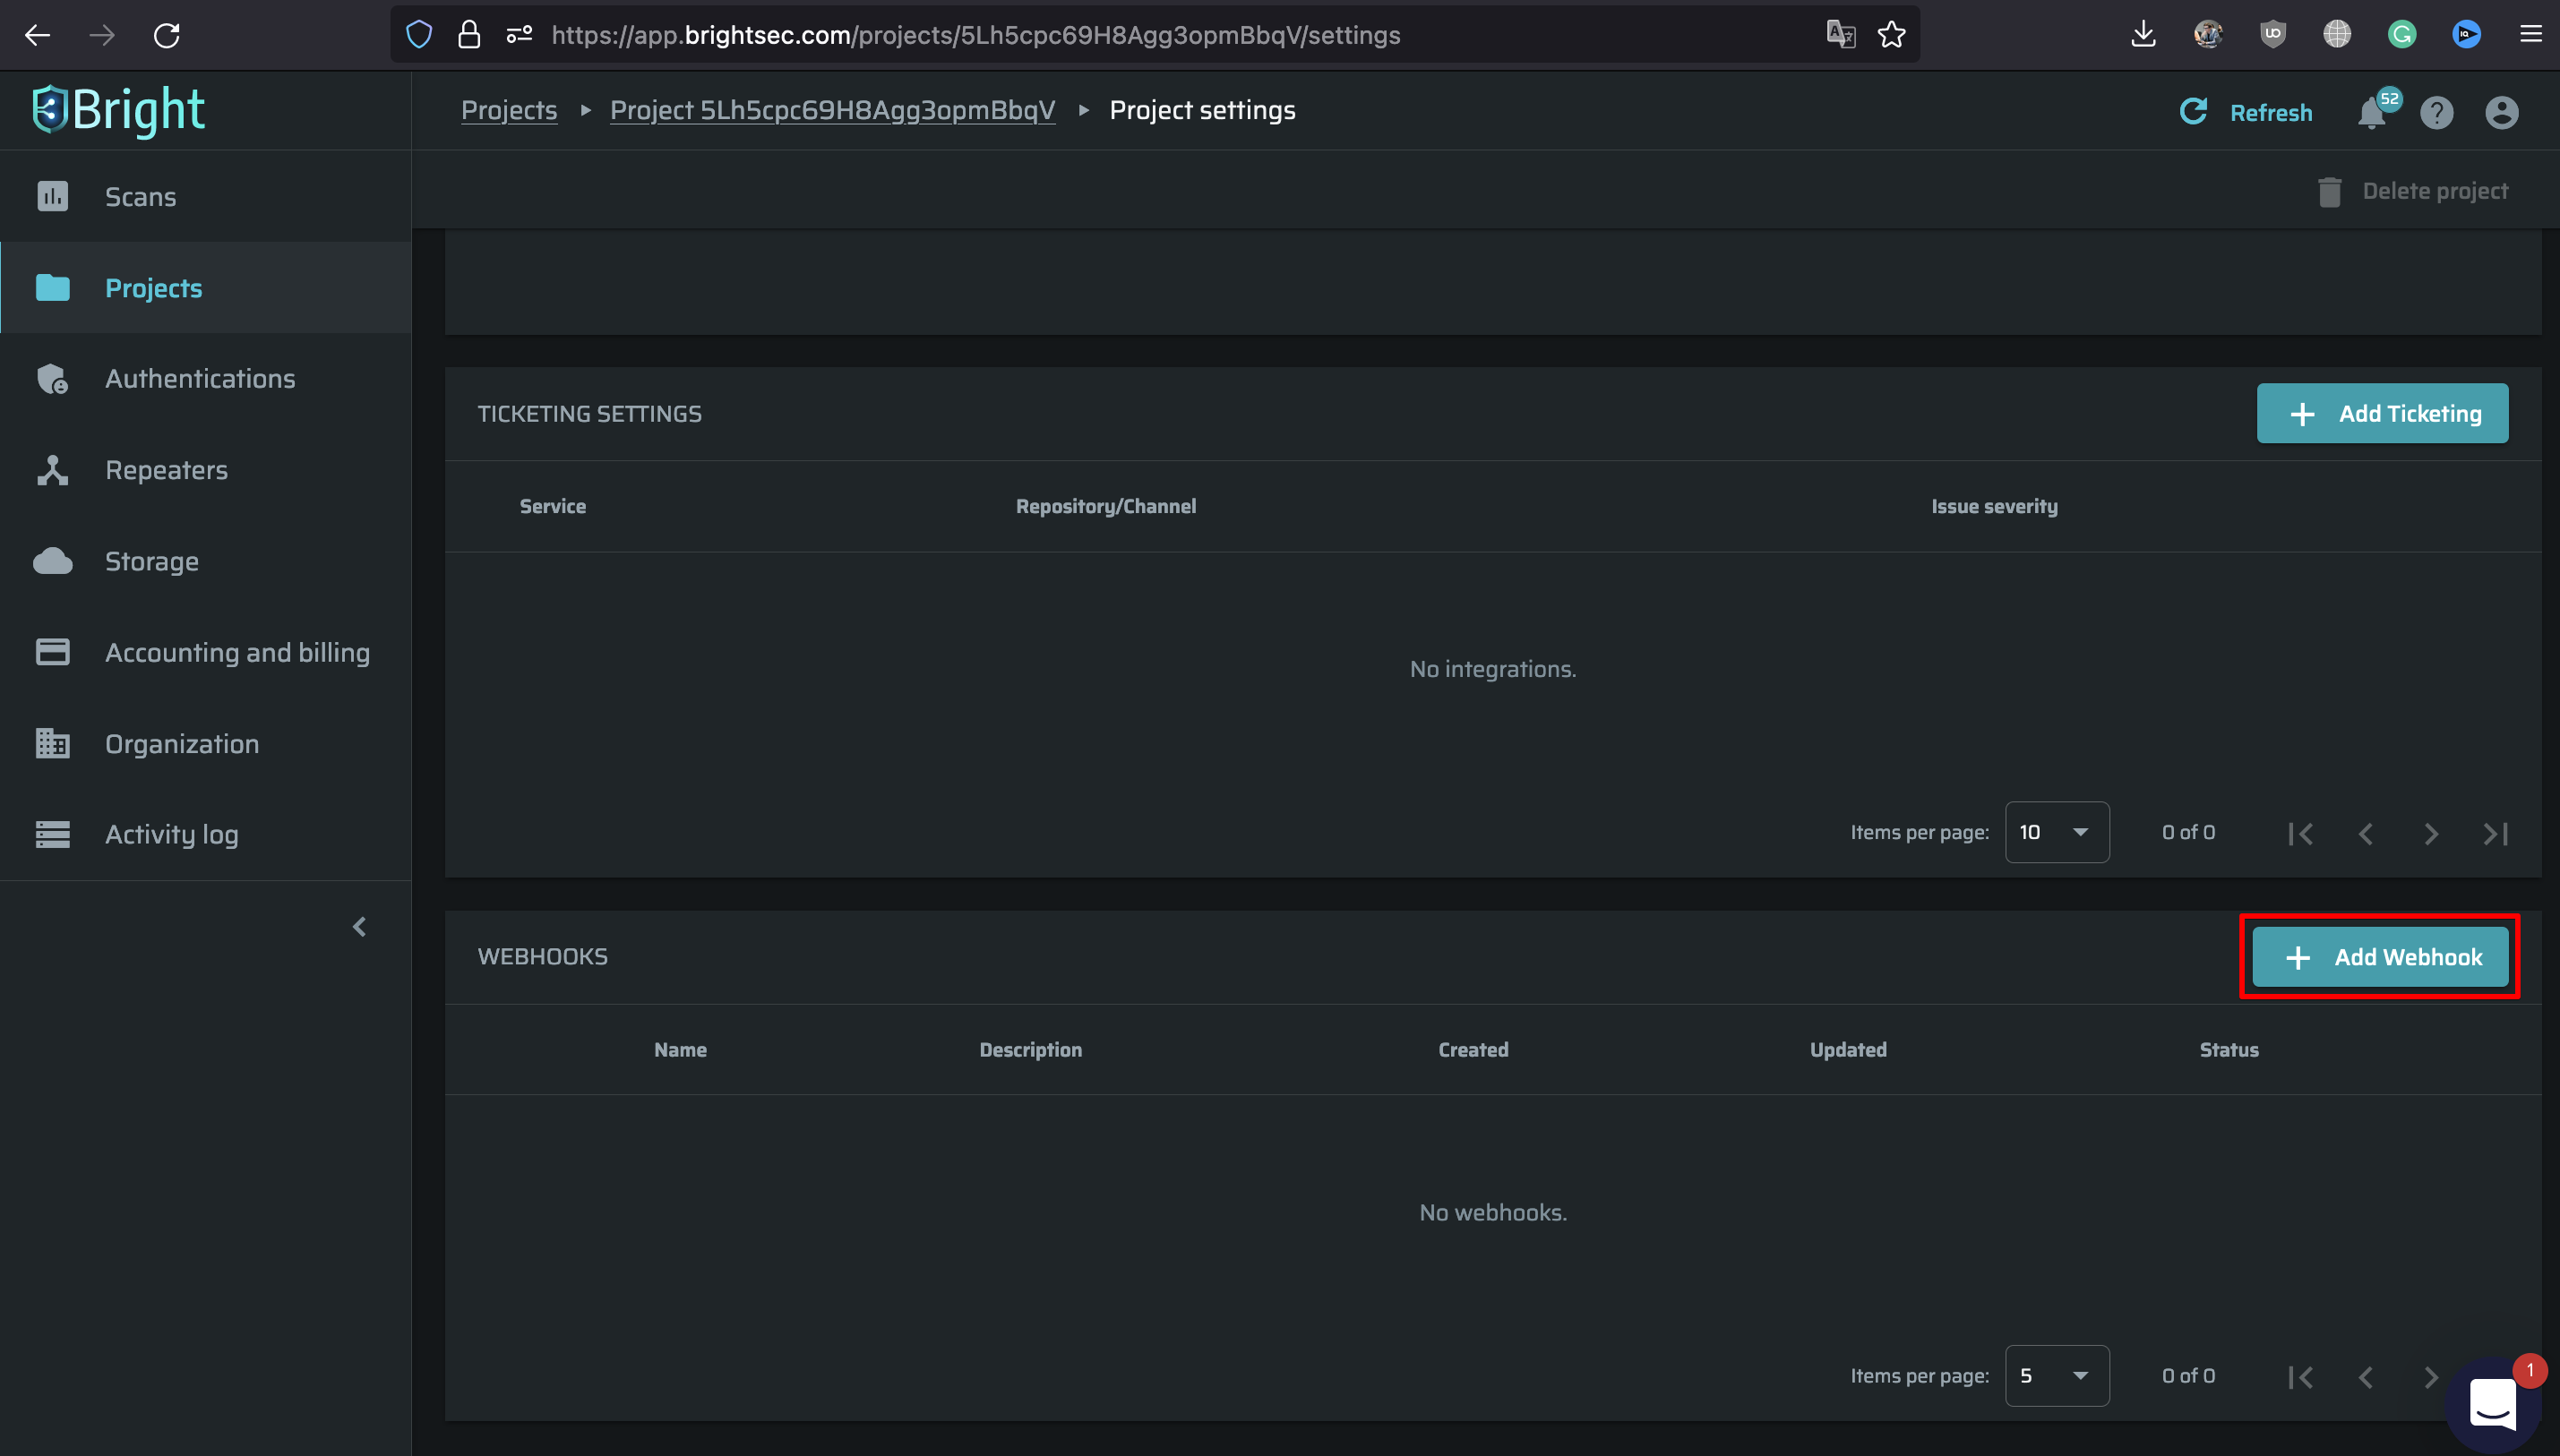
 to open the project settings, and then scroll down to the WEBHOOKS section.

-
Click Create webhook.
If you already have webhooks, the button name will be +Add webhook. -
In the Details tab, do the following:
a. In the Webhook name field, enter a name for the webhook.
b. (Optional). In the Description field, enter a short description for the webhook, for example, what distinguishes this webhook from others.

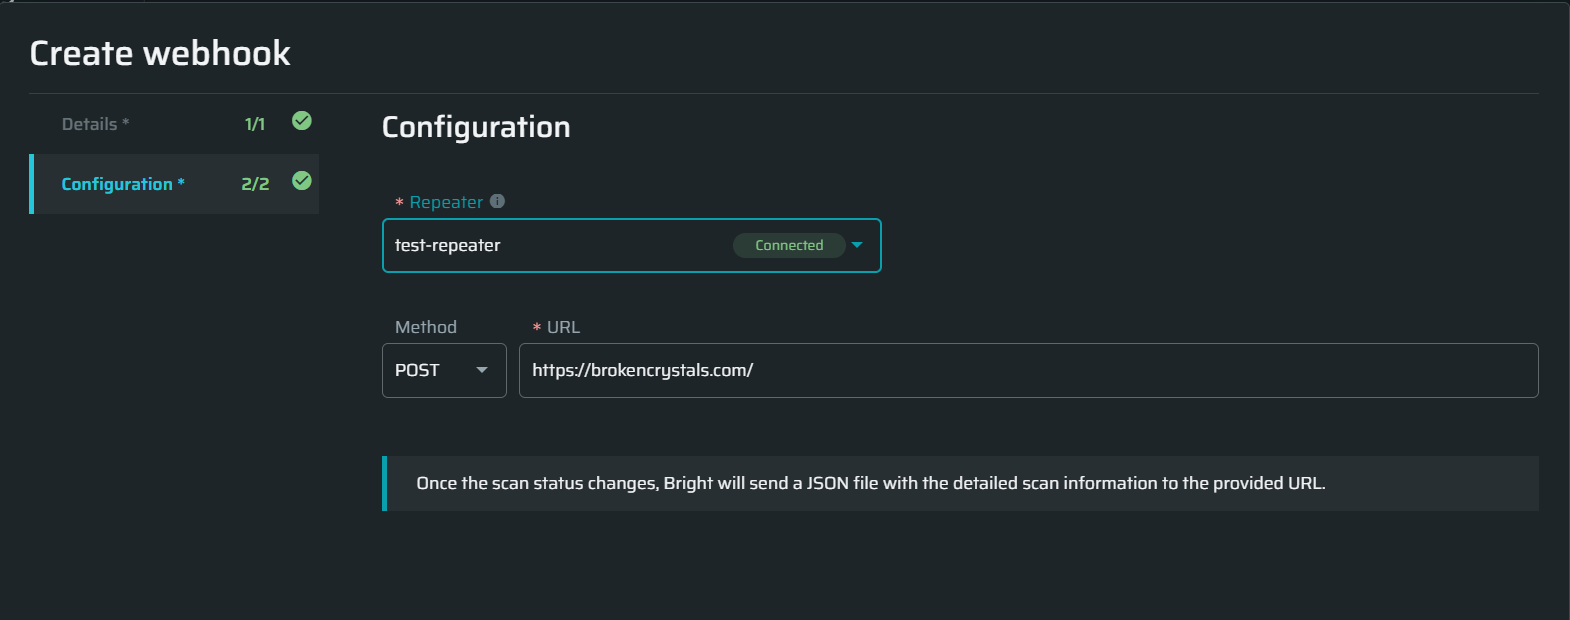
- Open the Configuration tab and do the following:
a. From the Repeater dropdown list, select the repeater that you want to be used during sending a .JSON file to a preferred API endpoint.
NoteMake sure that the selected repeater is connected via the Bright CLI. See Managing Repeater for more information.
b. Select an HTTP method and enter the endpoint URL to which a .JSON file should be sent.

- Click Create.
The webhook is automatically activated and displayed in the Webhooks table on the Project settings page. For all scans run under this project, Bright will send a .JSON file to the specified URL whenever a scan status changes.
TipAll the webhook request/response details are also recorded to the .JSON file. You can review them to make sure that there were no critical problems when triggering the webhook. Additionally, you can also run the Repeater used for this webhook in the verbose mode, to create visibility and monitor the whole process in the real time.
Deactivating a webhook
All created webhooks are available in the Webhooks table on the Project Settings page. Once a webhook is created, it is activated by default. You can temporarily disable notifications on a scan status change by deactivating the webhook.
To deactivate a webhook, follow these steps:
- On the Project settings page, scroll down to the Webhooks table.
- Click
 next to the webhook you want to deactivate, and then select Deactivate.

The webhook status will become “deactivated”, and the Deactivate option in the menu will change to Activate, so that you can activate the webhook back whenever it is required.
Editing a webhook
You can edit webhook details and configuration whenever you want. To edit a webhook, follow these steps:
- On the Project settings page, scroll down to the Webhooks table.
- Click
 next to the webhook you want to edit, and then select Edit.

- In the Edit webhook dialog box, make the required changes, and then click Save.
Deleting a webhook
To delete a webhook, follow these steps:
- On the Project settings page, scroll down to the Webhooks table.
- Click
 next to the webhook you want to edit, and then select Delete.

- In the confirmation dialog box, click Yes to confirm the action.
Updated about 1 month ago
