Adding Ticketing Integration to a Project
You can integrate one or several ticketing systems with a specific Bright project. Therefore, you are able to select any of the repositories available for the specified Bright project when you start a new scan.
Prerequisites
Integration flow is divided into organization and project levels. At the organization level, basic integration settings are performed - in some cases, just turning it on or off. Complete integration setup is done at the project level. This is made in order to simplify and speed up the configuration process in companies with a large number of projects.
Step-by-step guide
Configuring the Bright project integration on the Organization level
-
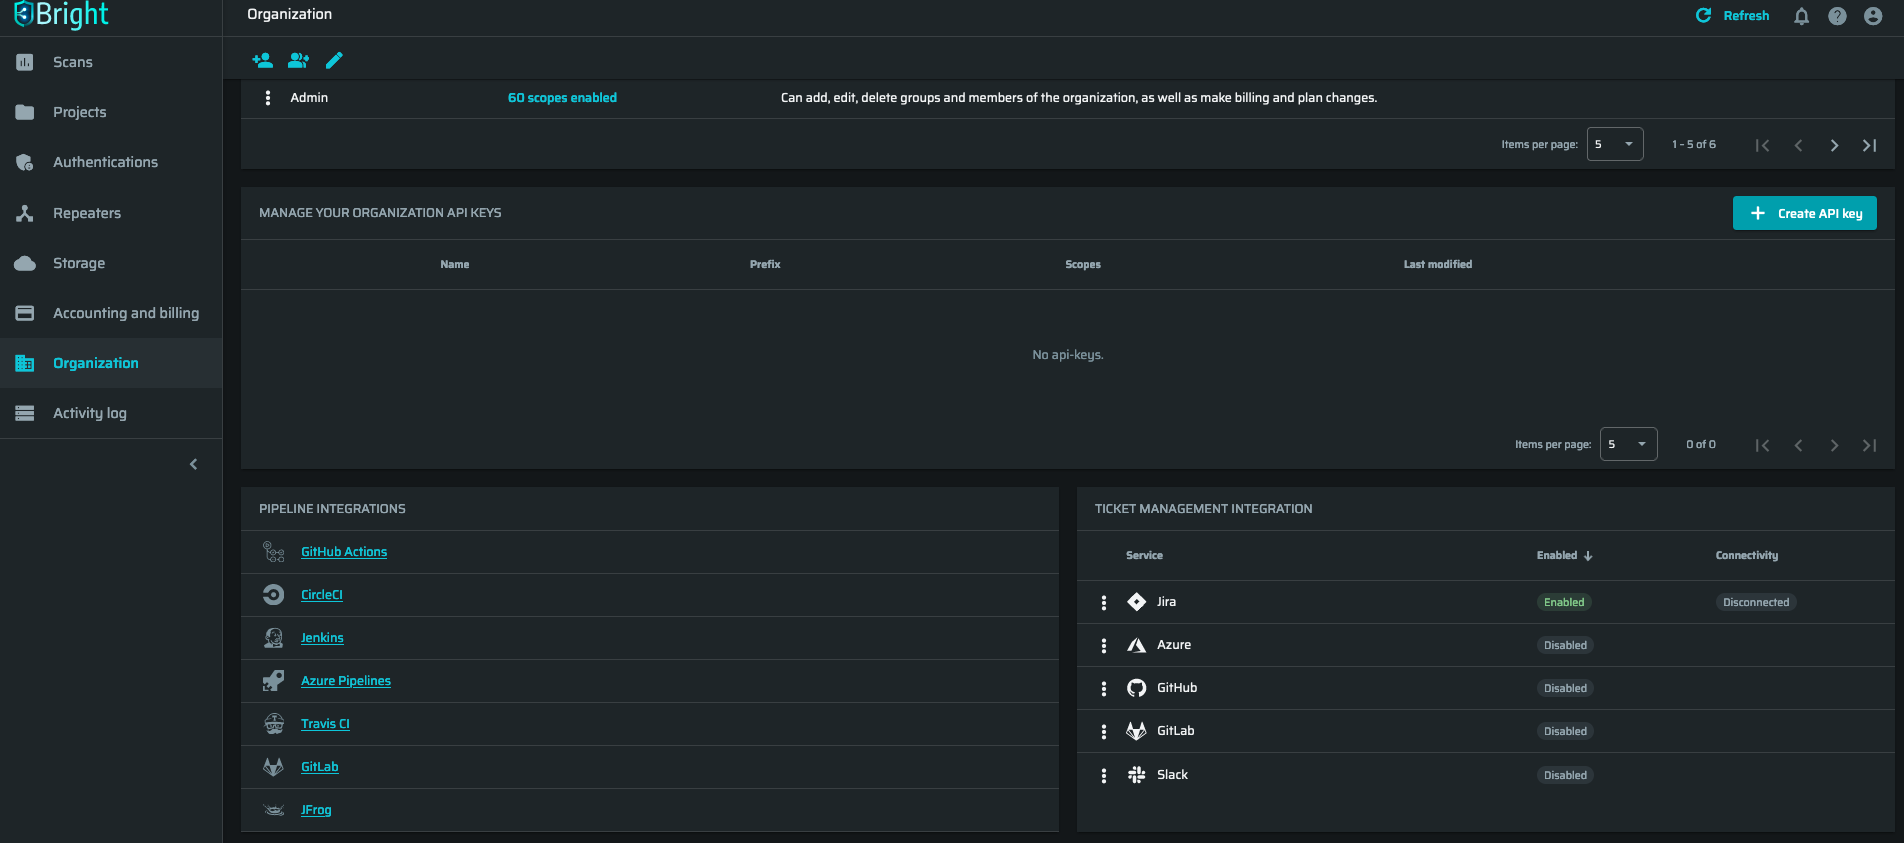
First of all, you need to enable a particular ticketing integration. In the left pane, select the Organization page and scroll down to Ticket Management Integration settings.

-
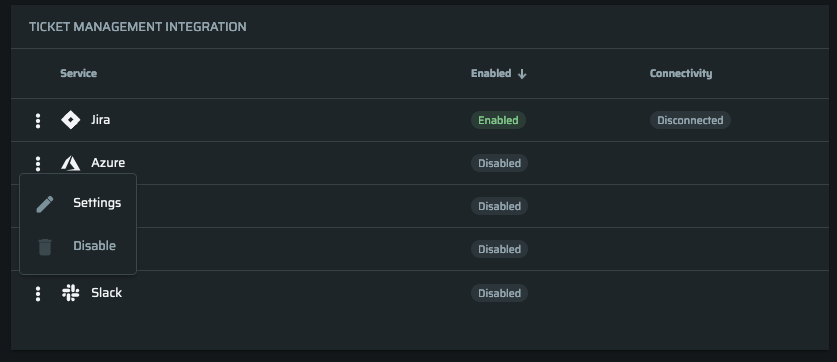
Click the
 , and then click Settings.
-
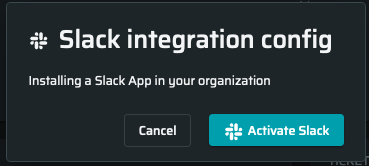
Click Activate to continue.

-
Next, make sure you have granted all required permissions to the integration app.
Congratulations! Now everything is ready to be adjusted at the project level.
Configuring the Bright project integration on the Project level
-
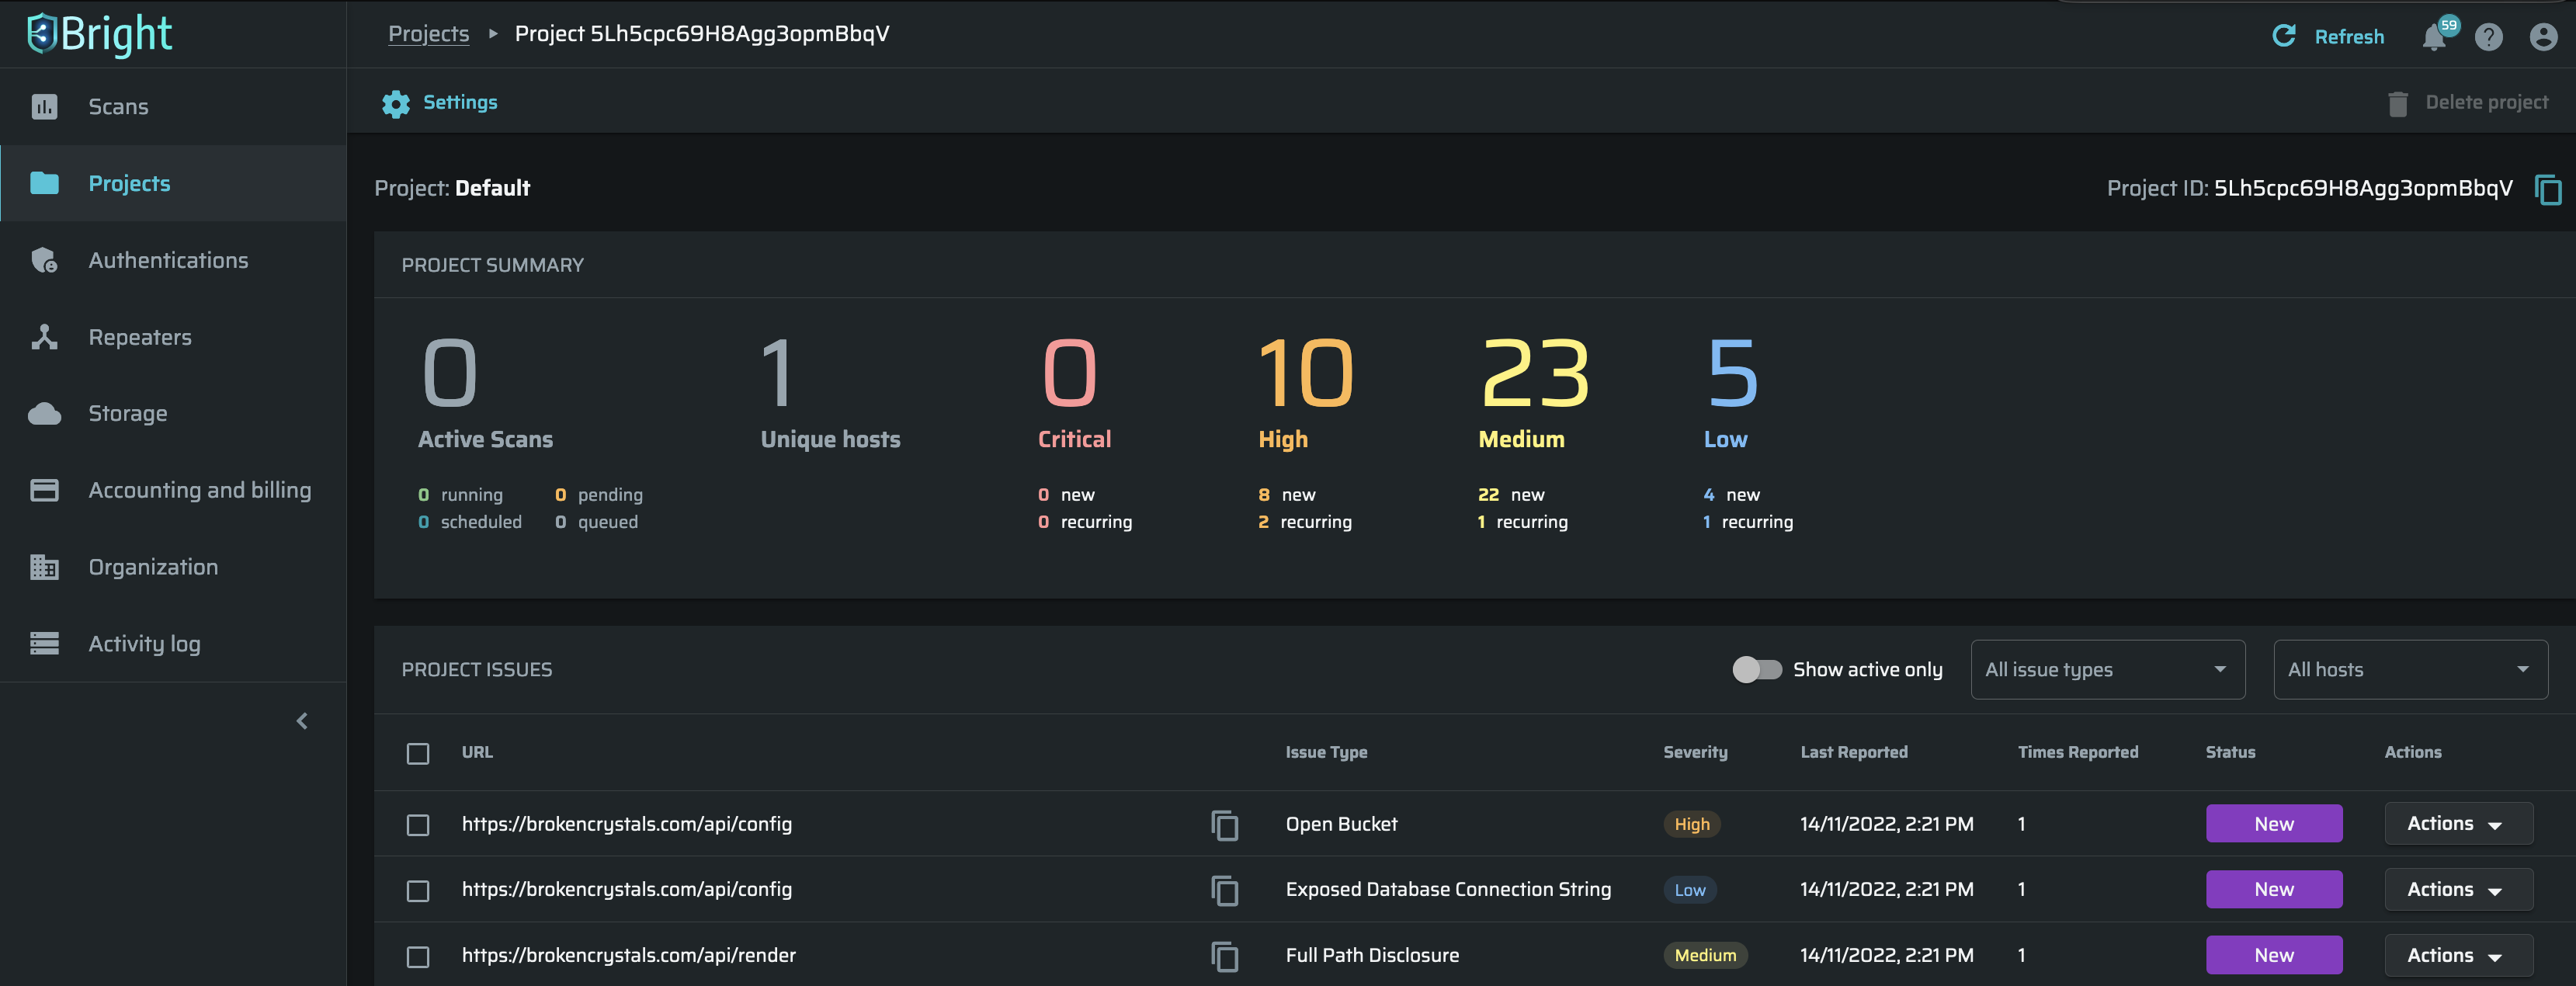
Open the Projects page and choose the one project which you want to manage.

-
Click Settings and scroll down to Ticketing settings.
 Info
InfoAlso, you can simply click the icon near the Project name and then click Settings without opening the Project page.
-
Click +Add Ticketing and then choose the integration you have added in the organization-level step.
-
Choose a repository, which you want to associate with this ticketing service.
-
Click Save.
Now, this service is displayed in the Ticketing Settings list and successfully integrated.
Filtering the severity level of issues to be opened in the integrated services
You can select a certain severity level of issues to be sent to a repository/channel associated with your Bright project. For example, if you set the high severity level for the GitHub integration, then only the detected issues of high severity will be displayed in your GitHub repository.
NoteThe option to filter issue severity is only available to the users whose roles include the
integrations.repos:manageaccess scope. For more information, see Manage Access Scopes.
- In the left pane, select Projects.
- Click
 next to the project which is integrated with the required ticketing service, and then select Settings.
 - In the TICKETING SETTINGS section, use the Issue severity dropdown menu to filter the issues that will be sent to the associated repository.
How to turn off the integration with the ticketing service
- To disassociate an integrated ticketing service, open the Project settings page and scroll down to the Ticketing settings.
- Click
 and choose Disassociate.
 - Click Yes to continue.
Updated about 2 months ago
