Managing Bright File Storage
Bright enables you to upload API schemas and .HAR files to the storage and select them as a target when setting a new scan. Uploaded files can be shared within the organization members with appropriate permissions. The following section describes how to manage the storage of these files.
Note:Every file should be associated with a project. To learn how to associate files with a projects, see this chapter.
In the Bright file storage, you can do the following:
- Upload a file
- Associate a file with a project
- View the list of uploaded files and details about them
- Check the storage capacity and maintain the remaining space
- Delete a file
The Bright file storage has the following specifications:
- Maximum storage capacity (free/enterprise plan): 200 MB/500 MB (can be expanded by request)
- File conversion timeout: 5 min
- The upload request timeout: 60-70 min
Uploading a file
To upload a file to your storage, do the following:
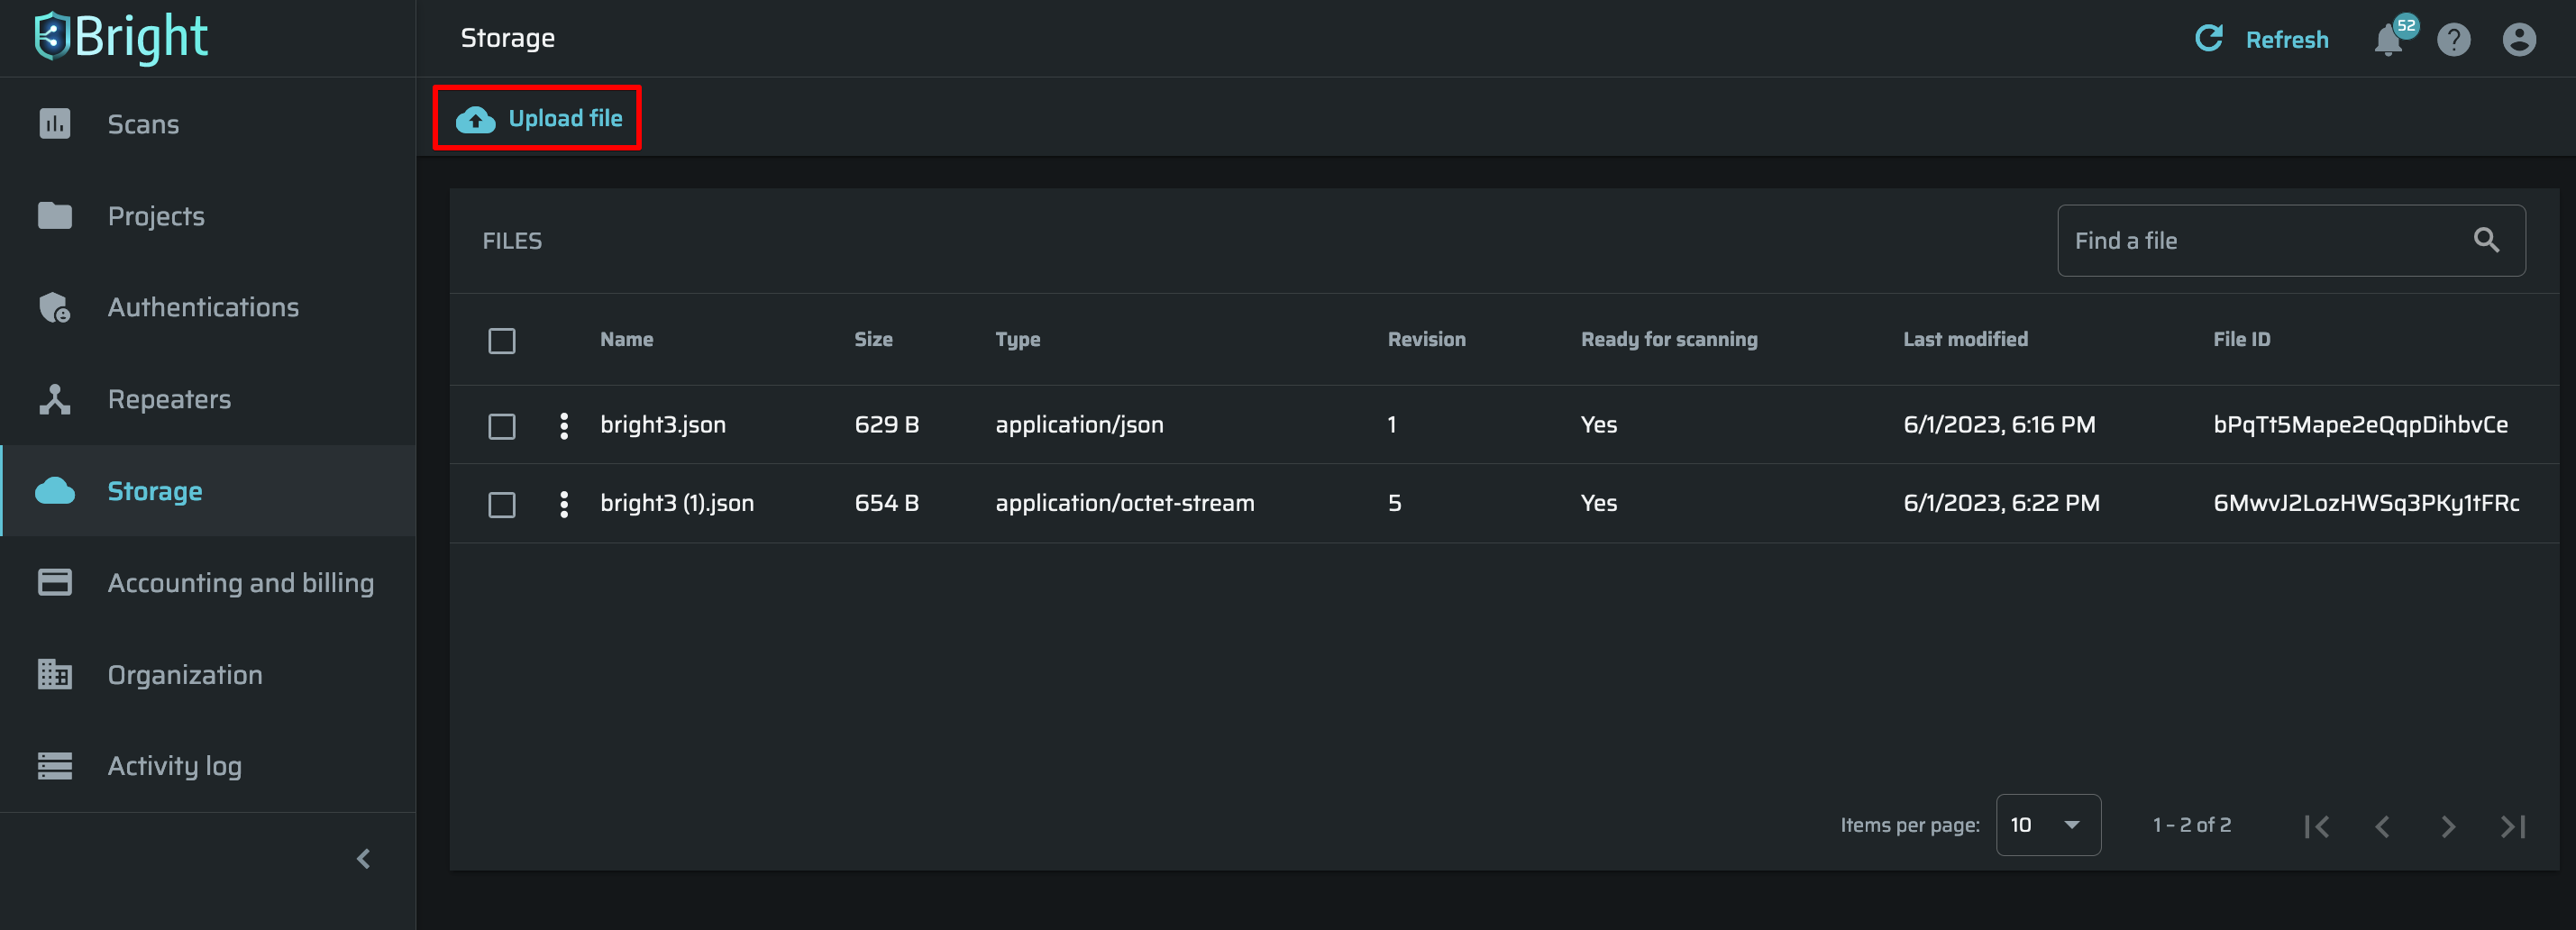
- In the left pane, select Storage, and then click Upload.
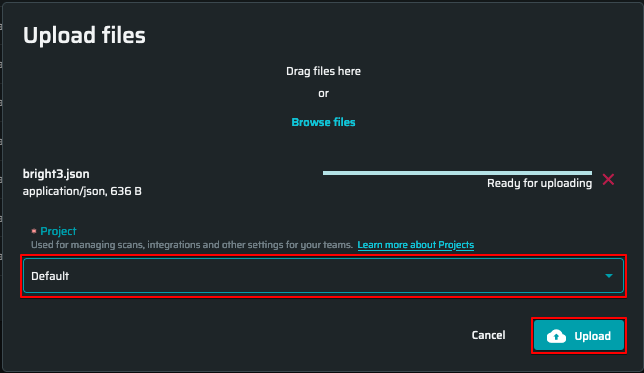
- On the popup, drag-and-drop or select a file from your local storage, and then click Upload.
- Select a project to attach a new file. Once a project is selected, click Upload to start.
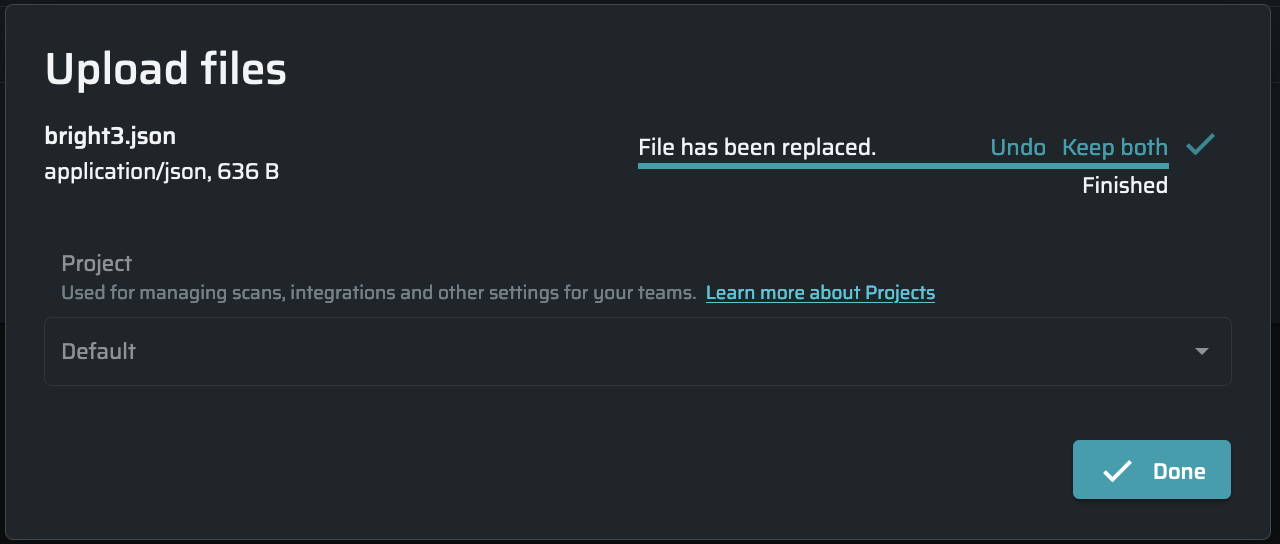
When uploading is ready, this pop-up will appear.
- Click Done to finish the uploading process.
Uploaded files will appear on the STORAGE tab and on the Project page.
Associating a file with a project
Every file should be associated with a project. It is obligatory to select a project to associate files while uploading.
Note:Previously added files should also be associated with some project.
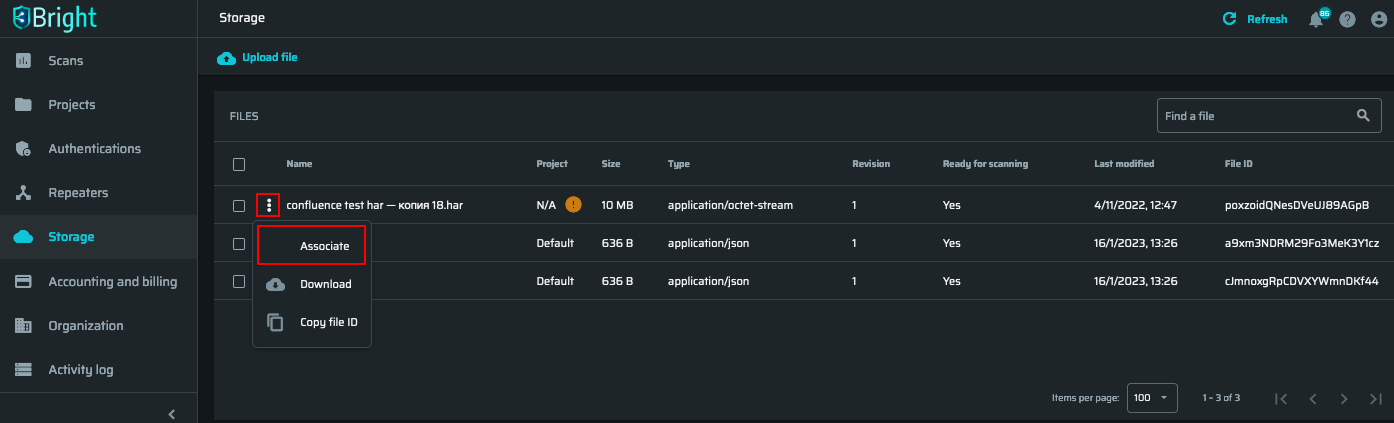
When a file is not associated with any projects, this notification will appear next to the file title:
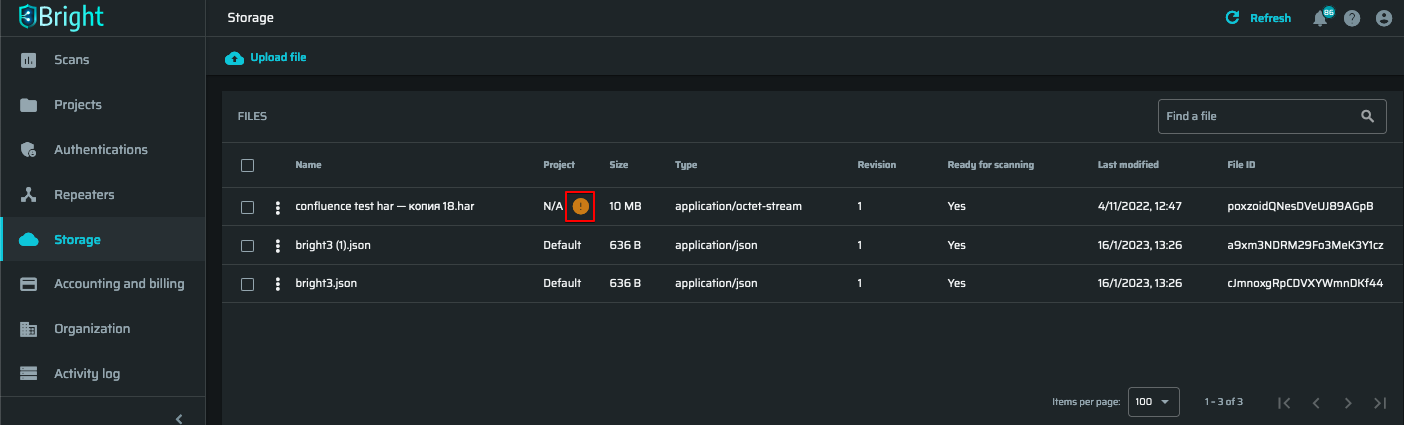
To associate a file with a project, click on ![]() and then select Associate.
and then select Associate.
Choose one project you want your files to be associated with.
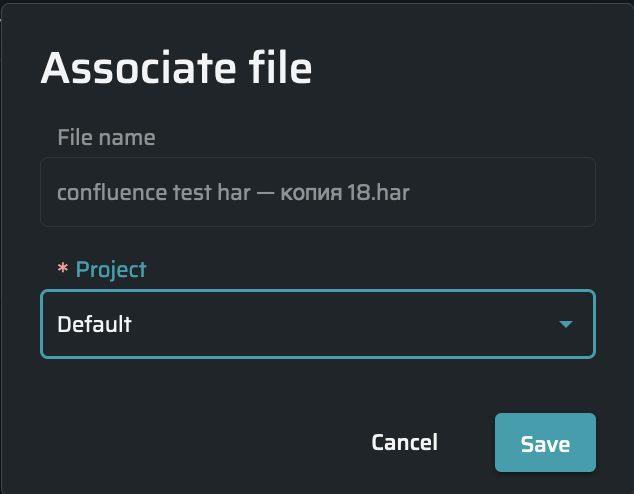
Click Save to continue.
Deleting a file
To delete a file, do the following:
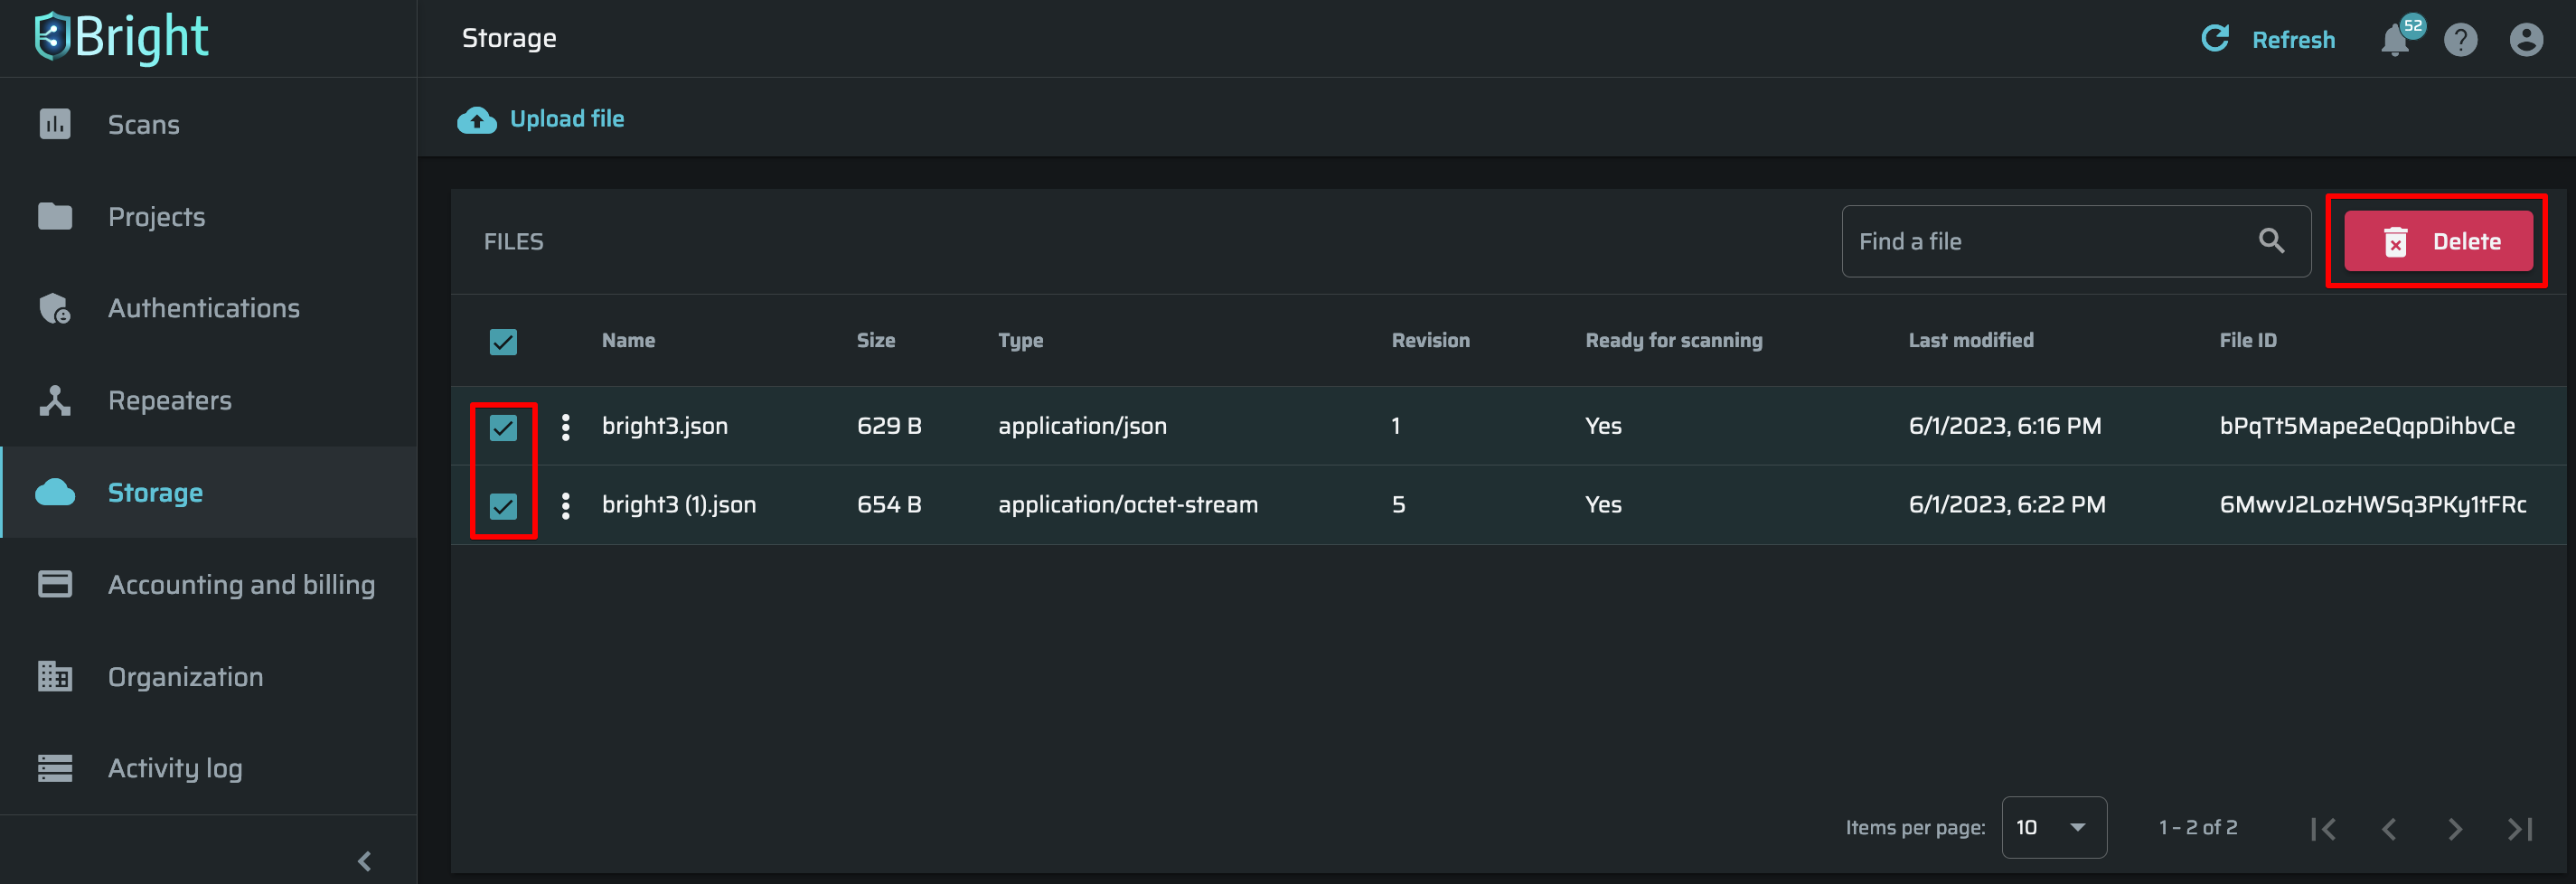
- In the FILES section, select the checkbox to the left of the file you want to delete and click Delete.
- On the popup, click YES to confirm the deletion.
Updated about 1 month ago