Configuring Recorded Browser-Based Form Authentication
Recorded browser-based form authentication is a quick and visual way of creating authentication flows. It allows uploading an authentication flow that was prerecorded with the Chrome recorder and using it as authentication with Bright.
Recording authentication
To record a session using Google Chrome Recorder, follow the steps below.
- In the Chrome browser, open the login URL in a separate tab.
- Open Developer tools:
 → More tools → Developer tools
Note:
Use these shortcuts to open a developer tools:
- On Windows: F12
- On Mac OS: Command+Option+I
- Click
 in appeared developer tool tab → More tools →
  Recorder.
 - Click the Create a new recording button. The browser will display the settings pane.
- Enter a name for your recording In the Recording Name field.
- Click the
 Start recording at the bottom of the page.
 - Record your login session and click the End recording button to stop the recording.
- Save the record on your PC: click
 → JSON.
Notice:
If you use the Incognito mode in Chrome to make the recording and have more than 1 Incognito windows running, clicking the logout is not enough to clean the credentials. Additionally, you will need to close all the Incognito windows.
Note:
Before following the instructions below, ensure that your application and authenticated resources are accessible to the Bright engine, either directly from the Internet or via the Repeater.
Uploading recorded file to Bright
Note:
This topic describes only how to fill in fields specific for recorded browser-based form authentication (the Setup tab). For general steps, see Creating Authentication.
-
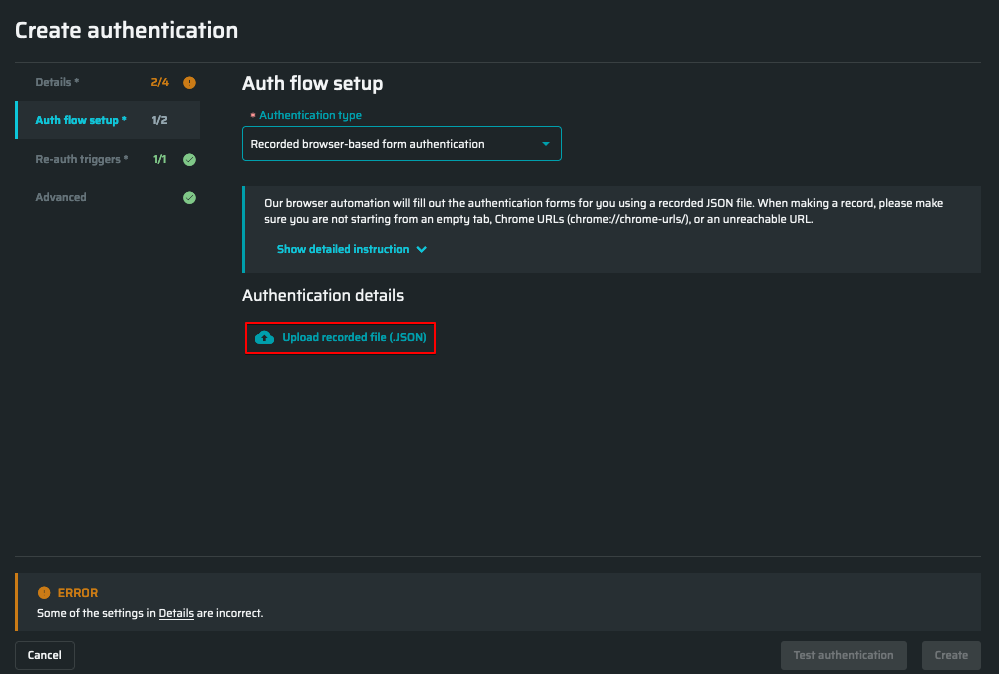
From the Authentication type dropdown list, select Recorded Browser-Based Form Authentication. The Upload Recorded File (JSON) link will appear at the bottom of the dialog window.
-
Click the Upload Recorded File (Json) link and upload the recording.

Note
Bright allows testing a scan before saving it. For details, see the Testing Authentication.
Configuring Custom Headers
The Bright app now allows users to manually add a custom header to browser-based form authentication and -recorded one. As a result, users are able to cover complex non-standard headers to make protected resource tests possible.
Note:
All existing templates, except those containing
$faker, must have theauth_objectcontext, if they do not already. To learn more about Faker.js data generator, see Generating mock data.
To use a custom header in the authorized requests, follow these steps:
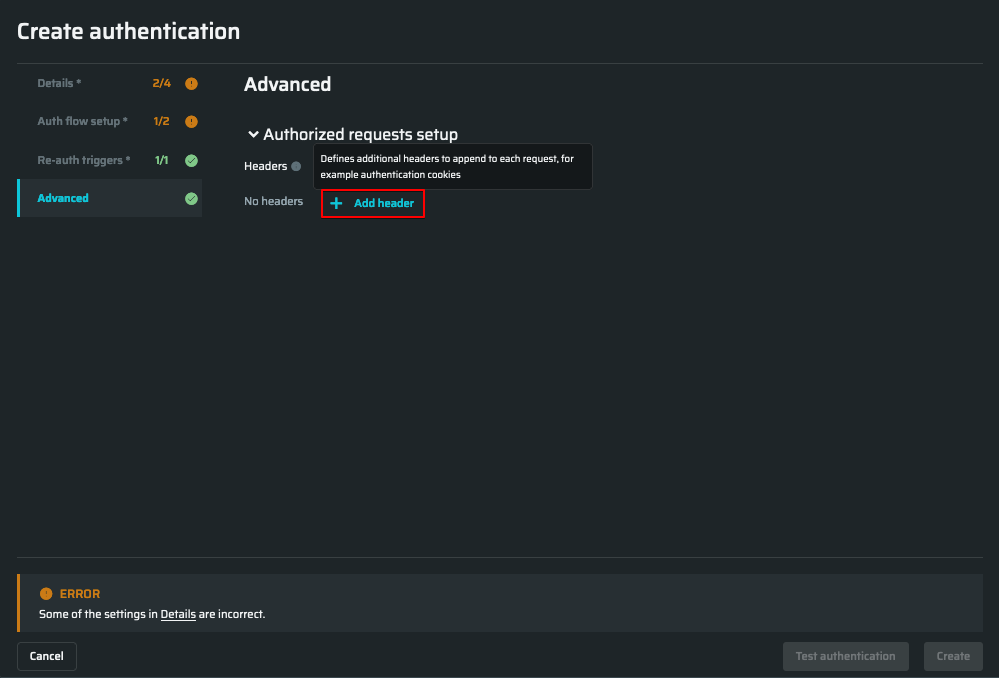
- Go to Advanced tab, the Authorized requests setup and add click Add header.

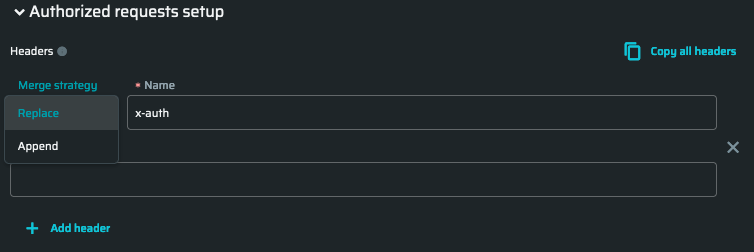
- Fill in the header name:
x-auth.
There are two merge strategies:- Replace - replaces the value without duplication
- Append - adds the value to the end of the page
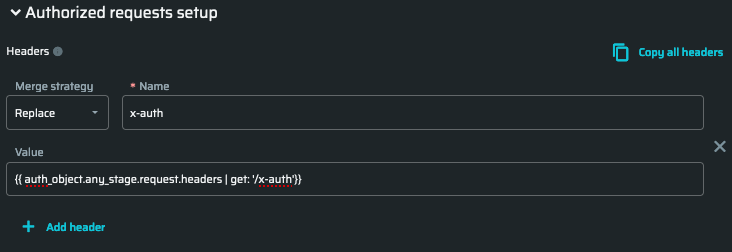
Select Replace merge strategy to continue.

- Fill in header value:
{{ auth_object.any_stage.request.headers | get: '/x-auth'}}.

Click Test Authentication to make sure that no errors are produced.
Updated 29 days ago
