Configuring NTLM Authentication
If the target network uses the NTLM protocol to verify the user’s access rights, you need to set up an NTLM authentication object. The protocol requires a user to be authenticated by providing a username and a corresponding password. After the user’s log-in credentials are recognized, the network can then check access rights and allow the user to enter.
Related Links:
This topic describes only how to fill in fields specific for NTLM authentication (the Setup tab). For general steps, see Creating Authentication.
Therefore, you can grant Bright access to an NTLM authenticated network you are going to use for a scan by providing your credentials, workstation name, and the network domain.
Important:
If using a Repeater, add
--experimental-connection-reuseflag to keep an open connection between a Repeater and the target. To learn more about Command Language Syntax, see the article.
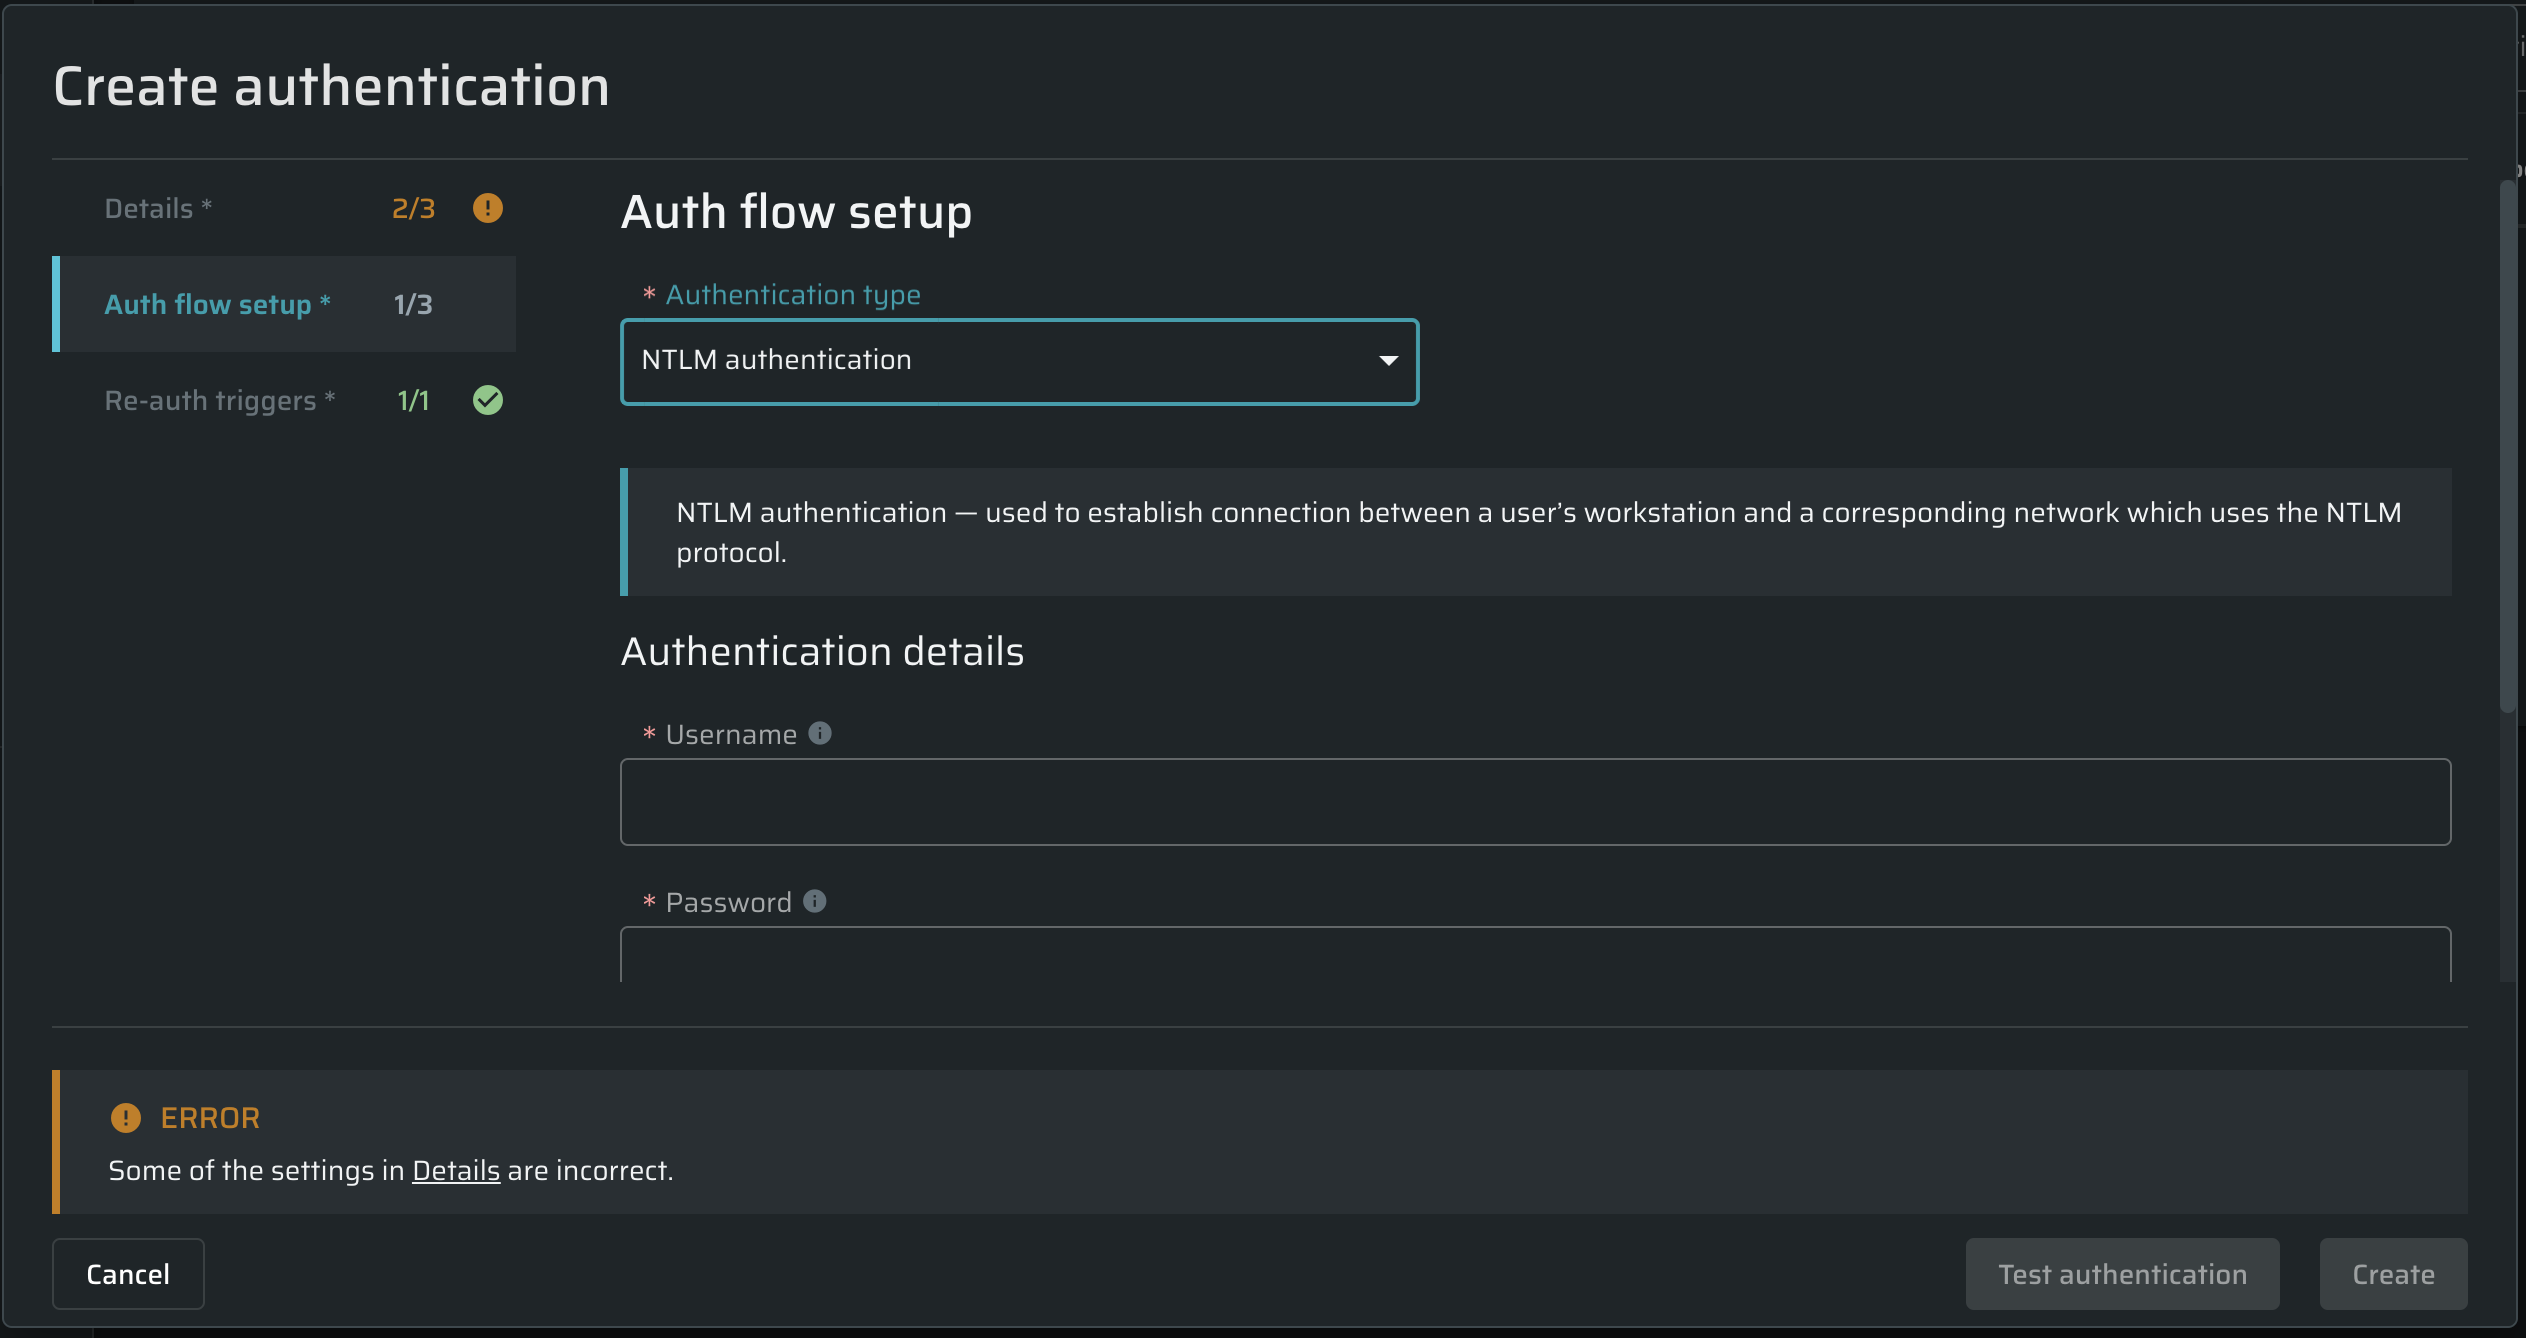
From the Authentication type dropdown list, select NTLM authentication, and then proceed to the authentication details.
Authentication details
In this section, set up a valid authentication request to be sent to the end-point API by completing the provided fields.
| Field | Guidelines |
|---|---|
| Domain | Enter the domain of the NTLM network you need to get access to. |
| Workstation | Enter your workstation name, for example, a computer name. The maximum length of a workstation name is 64 characters. |
Note
Bright allows testing a scan before saving it. For details, see the Testing Authentication.
Updated 28 days ago